

If you don’t know how to change bulb in flush mount ceiling light and are thinking about it. Do you want to update the look of your home and need a great way to increase the quality in a simple way. Updated mounting ceiling lights.
You are trying to change the bulb and you have failed. No more fear. Now the victory is yours. We also had this problem at one time and I failed. Replacing ceiling lights is a simple project that most people can do with the right instructions. Working with electricity is a bit scary so you have to be careful
If you do not understand, you can call a professional electrician. So you need to follow all the safety tips in this regard in the right way. Writing a simple procedure for changing your flush-mounted ceiling light, read the step-by-step guide.
Tools for Installing Flash Mount Ceiling Lights:
Before starting this project you need to assemble all the necessary tools. How to change bulb in flush mount ceiling illumination is fairly simple, so the list of equipment is not very high.
- A flat-head
- Phillips screwdriver
- A small adjustable wrench
- Power screwdriver
- Shelves or ladders
However, to make the work faster, you have to engage yourself carefully.
Safety is Important When Changing Light Bulbs
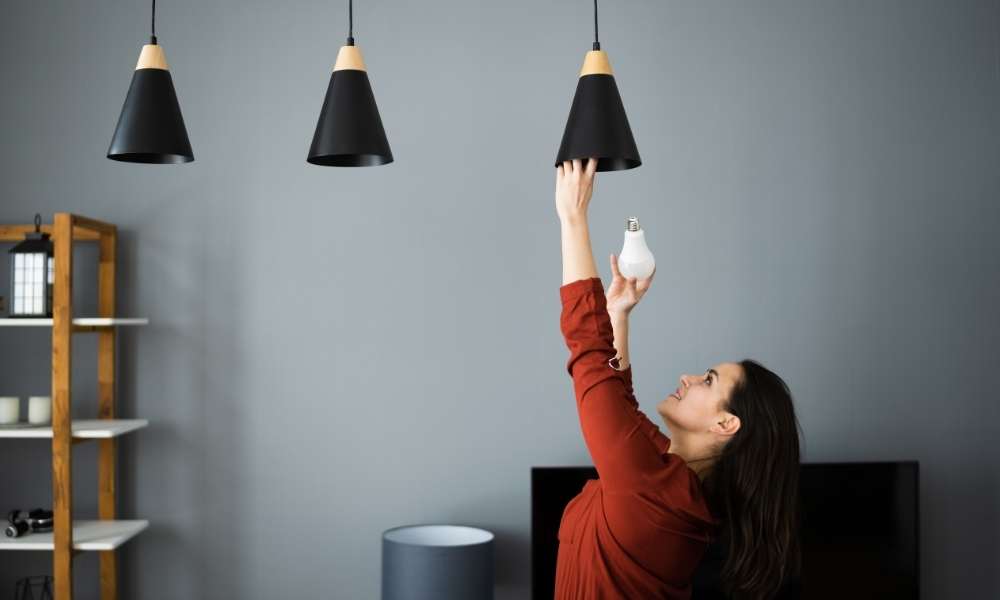
You have to install all your light with long-lasting LED bulbs, but remember. You will need to change the bulbs from time to time. And the method can be a bit dangerous when flush-mounted. Because it is usually mounted on the wall or ceiling, you have to make arrangements to climb something and make sure that you do not fall.
To access the bulb you need to remove the glass diffuser, and this requires the possibility of dropping the diffuser and breaking it. How to change bulb in the flush mount roof light and It is important to always work safely. So use a ladder or chair that is my companion and that permits you to work snugly without stretching.
See More: How to Decorate Bedroom With Lights
Turn Off The Power:
Before starting work, make sure that the power is off or not. If it is on, turn off all the power, and make sure about the flush mount ceiling light.
Get the number of the room you are working in and then get the breaker switch with that number. Push it to the closed position. It turns off all the energy in that room. Again check by turning the flash mount ceiling illumination switch. Never rely on a light switch to turn off the electricity.
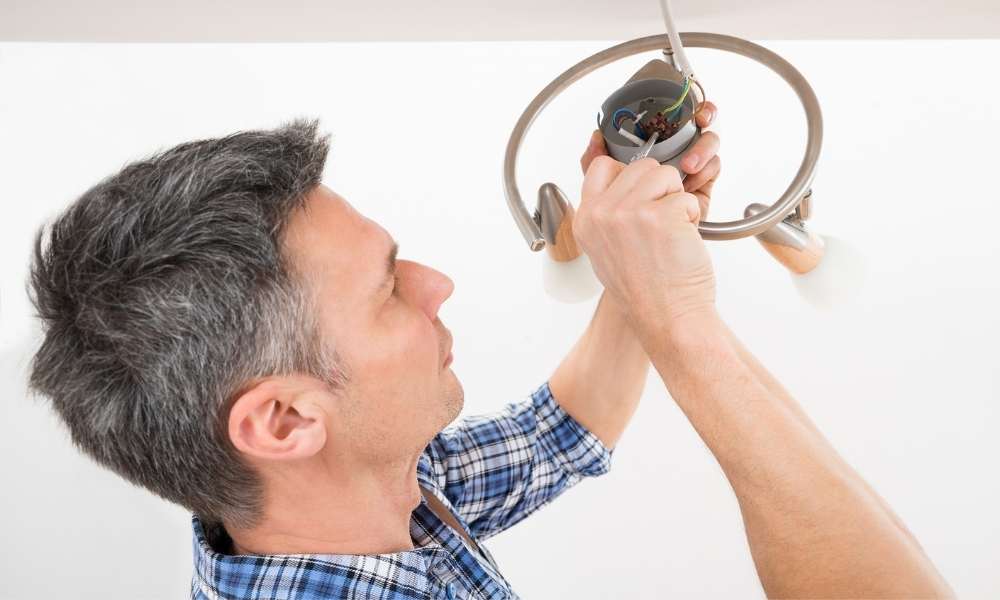
First, take a moment to look closely at your ceiling light to see how it connects to the box. Remember it is a pair of screws, or a main post. Make sure you have the right parts. But before you connect it, you need to attach the wires first.When you connect the wires, keep someone close by that can hold the light fixture a few inches below the ceiling. How to change bulb in flush arise ceiling light and connect the wires? Notice that the black and white wire has slightly exposed copper wire at the ends. With that you twist tightly together and then cap tightly with a wire nut. Learn More Best Crystal Chandeliers.
Make Sure the Light Fixture is Working Before Installing:
Finally you come back to the breaker box, turn on the power again. If no light is seen, check all your cable connections thoroughly. If you do not find any problem then restarting your flush-mount light fixture will work perfectly. Now complete by installing the ‘shadow’ or light cover. Come back now, enjoy the new flush-mounted ceiling lights with you and your family for a few days with the person next to you! There are some short steps which is very important to learn how to change tuber in flush mount roof light and very easy. So follow the steps carefully:
Step 1
First turn off the fixture control switch, if you think you still have a working bulb, and turn off the glass dome for a few minutes to cool.
Step 2
You now set up a stepladder under the light fixtures, make sure the four legs are firmly on the ground and the spreaders are completely down and it is well locked. A four to five-foot ladder is long enough that most people are able to reach the roof of a room with a standard-foot ceiling. So use such a ladder.
Step 3
To reach the fixtures without stitching you need to climb using a ladder high enough. Backing the glass diffuser with one hand when you open the center finial and hex not or diffuser cap with the other hand. Use any shelf or ladder to hold any washer.
Step 4
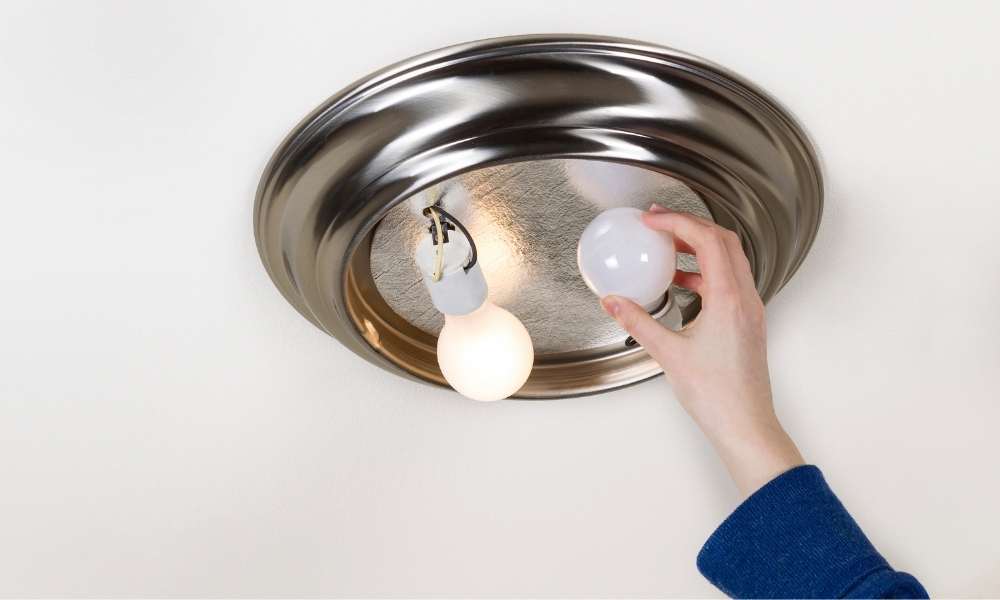
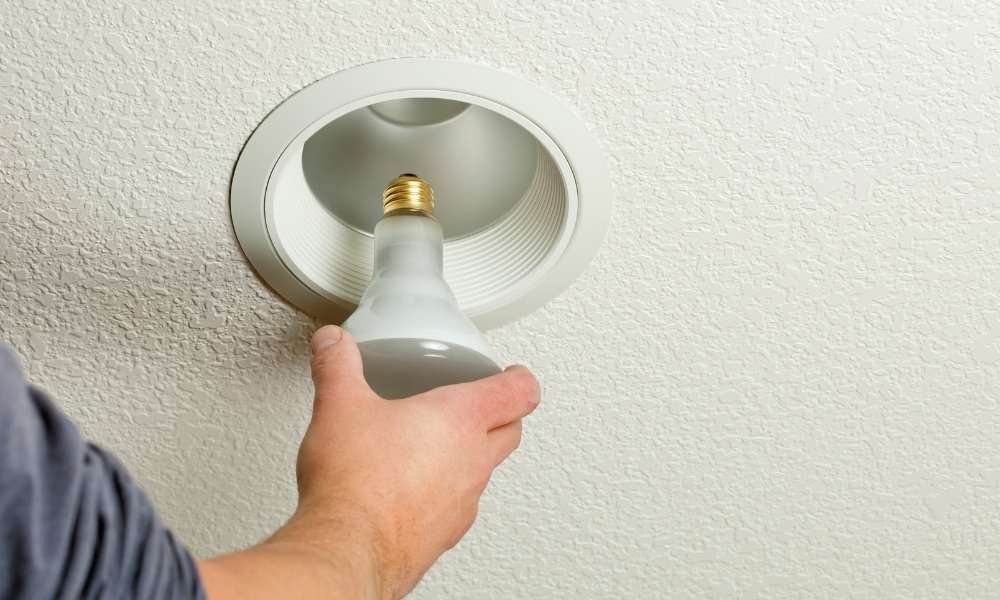
Climb up the stairs, remove the diffuser and place the diffuser in a safe place on a table; Keep the diffuser on the stair shelf if you feel safe. Take the replacement bulb up the stairs again, then open the burned out bulb from the fixture and place it in the new one. Do the job very carefully.
Step 5
Once the work is done go down the stairs, keep the old bulb in a safe place and restore the diffuser. Hold it while replacing the screws. If there are multiple screws to the fixture circle the rim, tighten them increasingly to keep the diffuser centred.
Concluding
Here are some simple steps you can take to know how to change bulb in flush mount ceiling illumination. At present the most well-known design among the lights is the mounting ceiling light. With so much newness, it’s clear that it may help us deal with the modern design of lights. To make it easier for you to change bulbs, keep a fixed bulb cover with a ceiling, you have to follow the steps outlined above.