
Severe weather can contribute to a good amount of rust in the appearance of your fixtures. Depending on the fixture, it is easy to repair and replace with a new one. This may require a little more effort. In this paragraph, I am going to show you how to replace outdoor light fixtures. Installing a new exterior lighting fixture is a very simple process. But in general, the process is the same for most homes. It is always easy to install an exterior lighting fixture before siding and brickwork.
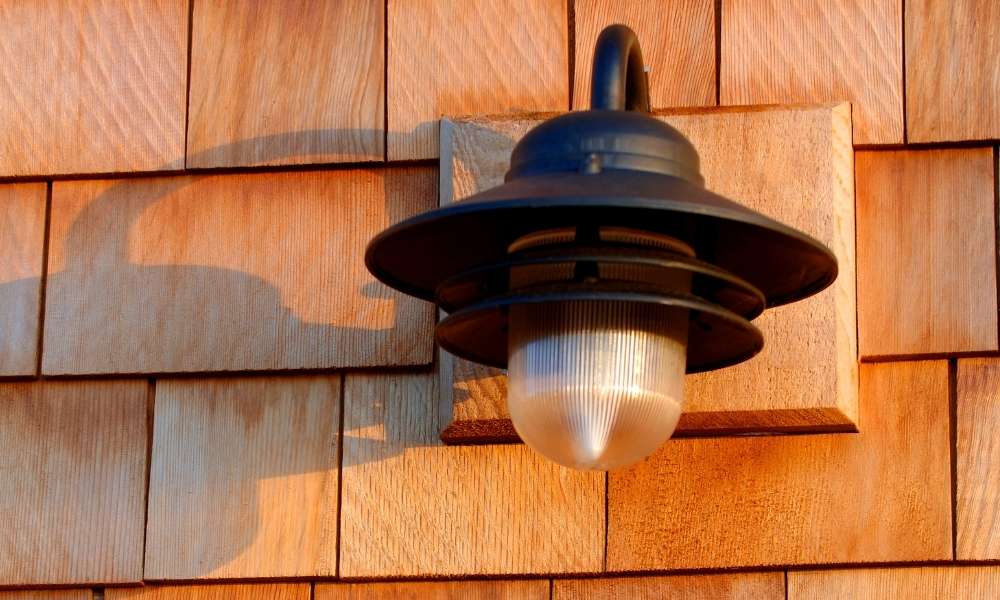
By replacing a light fixture, you are able to get a more modern look without the hassle of renovating the entire porch. It doesn’t matter if you choose an ornate classic or an ultra-modern light, as long as it matches the type of energy. You want to create on your porch. The style you choose depends on you. As long as it sets the right mood for your entrance, then it is perfect.
Preparations
This is not very difficult if you switch from one outdoor lighting fixture to another. Mounted on the wall by removing some screws that hold it in place. In this sense, it is easier to remove light fixtures if you have the right tools. You can choose the type of light fixture you want. I recently switched out some low-voltage landscape lights with solar landscape lights. They just don’t need any wires. You can mount them in a place where there is full sunlight during the day
Prepare to replace an outdoor lighting fixture. Before you begin, identify the power source and determine what type of fixtures you will be installing. You must turn off the electricity to do any work in the house. Besides, here are a few steps. Turn off the electricity. Remove the light unit. Determine the mounting height of the new fixture. Measure and drill the mounting holes. Install the weatherproof box.
Turn Off the Power
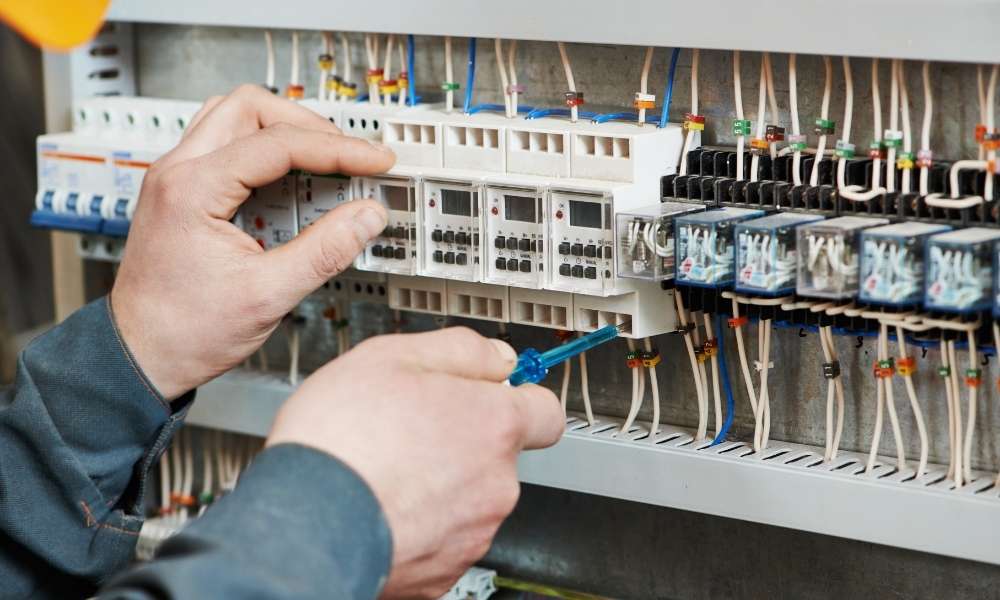
Electrical power for light fixtures is provided by a “hot” wire, a neutral wire, and a ground wire. Black is your “energy” color. Always turn off the circuit breaker on the main electrical panel before doing any electrical work. Which controls the light fixture circuit. Even if you replace an existing fixture. You do not plan to pull the new cable through the walls. Disconnect the existing cable and cable from the box. This energy-saving method prevents electric shock even when there is no current flowing. The dead storage charge may be on a capacitor or other device. If your multimeter does not fall to zero, it means that electricity is flowing even though the breaker is off. If this happens, call an electrician.
Remove the Old Outdoor Light Fixture
If you are replacing an old exterior lighting fixture, the first step is to turn off the power. Locate the main electrical panel and turn off the corresponding circuit for outdoor lighting. Done by flipping the switch that controls this particular fixture or by working from the main breaker if there is no separate switch. Once the power is disconnected, you can remove the bolts or screws. That holds the fixture in the mounting bracket and disconnects it from the housing. Remove the mounting bracket from your exterior wall or ceiling by removing the screws.
Detach the Electrical Wires
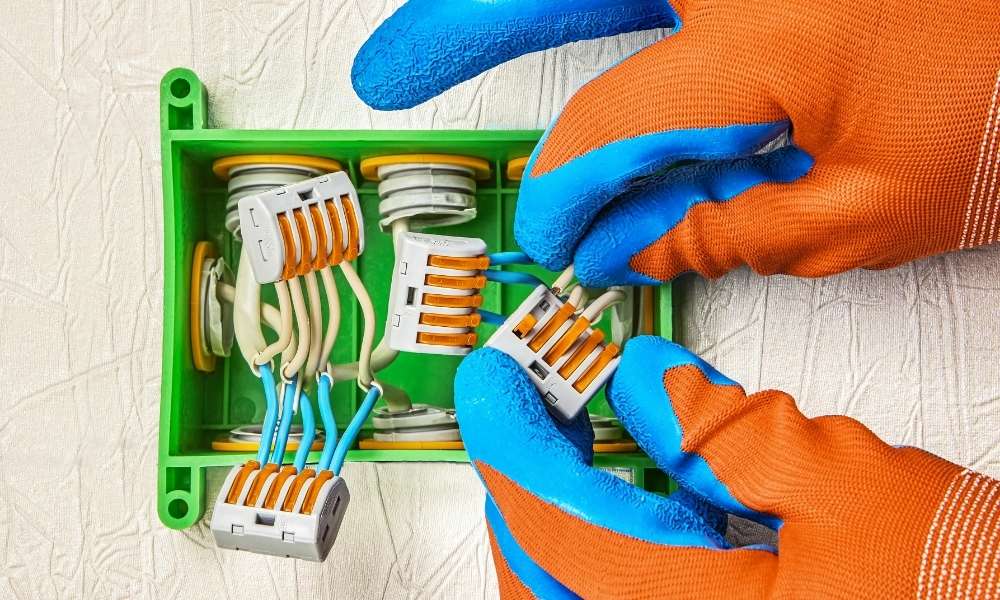
Turn off the power of light. Locate the switch on your circuit panel. Next, climb a staircase (one with an advanced platform). Use a screwdriver or socket wrench to secure the fixture trim plate from the lightbox and remove the mounting screws. Then, remove the trim plate and lens cover. Inside, you wrap the empty wires around the screws. The wire will look protected with nuts. Disconnect each wire from the corresponding screw terminal. They are not color-coded and use small plastic caps, caps separately or as needed.
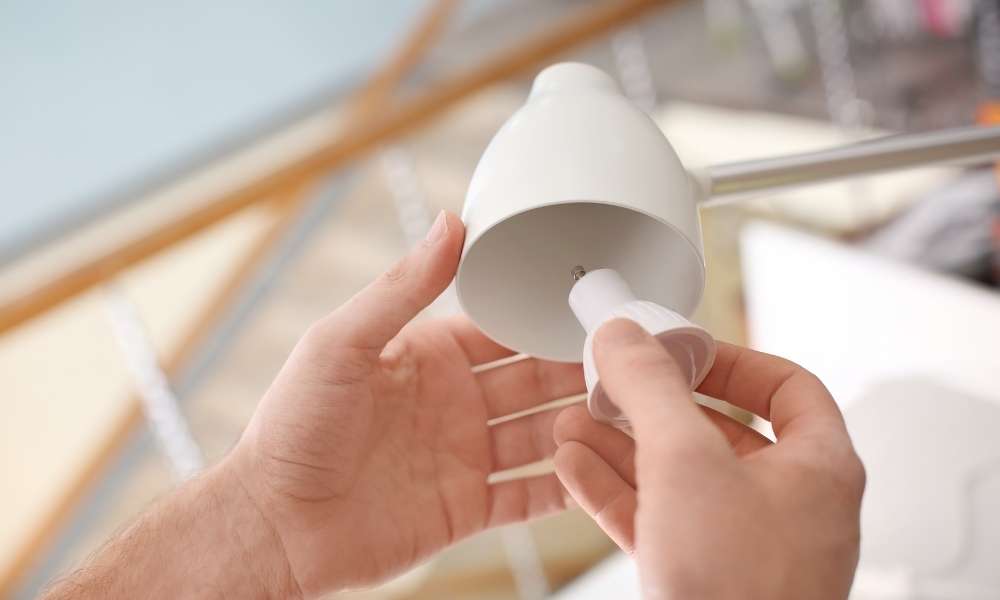
Attach the New Light
Attach the new light fixture to the electrical cable pigtail. Pour the stripped edge of each braid into a twist-on connector then lightly tighten each twist nut. Then screw in a light bulb. Connect the new light to the electrical wiring connected to the old fixture. If your light does not come with the cable connector you can get them at any hardware store or home center. Do not overtighten the nuts on the wire, which may damage them, or at the base of the lamp, which may cause it to crack. See this article for a detailed description of how to replace outdoor lighting fixture. Keep in mind that it’s best to consult your local building codes for the proper way to do this type of work in your area.
Use the wire nut to connect the green or bare copper ground wire to the grounding wire attached to the junction box. Connect the black heated wires together, then the red and white heated wires. In most cases, you will find two heated wires of each color. One is thinner than the other. Used wires for uninterruptible power at the outlets of a circuit.
Mount the New Outdoor Light Fixture
Installing a new exterior lighting fixture is a simple and safe project if you follow these simple steps.
1. Turn off the power in the breaker box.
Be sure to turn off the power in the circuit before removing the old fixture. To make sure there is no electricity in the fixture, check the voltage across the light unit wire using a non-contact voltage tester.
2. Remove existing light fixtures.
Remove existing light fixtures from indoor mounting brackets. You may need to remove the screws before removing the unit from the wall.
3. Install New Light Fixtures Mounting Bracket.
Attach Your New Fixtures’ Finally, attach your new outdoor lighting fixture by screwing it in place. Note: Some outdoor lighting requires hardware. If this is the case with your fixtures, now would be a good time to call an electrician.
Power Back On and Check your Work
Once you have installed your new lighting fixtures, turn on the power again to make sure everything is working. If there is a problem with the fixture or how you installed it. Turn off the breaker switch immediately and take a closer look at the cause of the problem. Turn on the power again in the breaker panel. Flip the light switch to see if the light works. If not, double-check all connections to make sure everything is installed correctly. If all goes well, turn off the power again.
Apply Sealant Around
A small gap between the base of the flange and the wall to which the fixture is. Used it to keep moisture from the space between the wall and the electrical box. You must first make sure that any sealant present around your existing light fixture is intact.
If necessary, you can use 3M or some other high-quality sealant. It involves preparing the surface for a new sealant around your light fixture opening. Remove any existing sealant from the area to ensure a smooth application. Add a bead of clear silicone sealant to ensure the use of a consistent sealant. Generally, it is okay to use the same type of sealant. But always make sure it is the right type before buying.
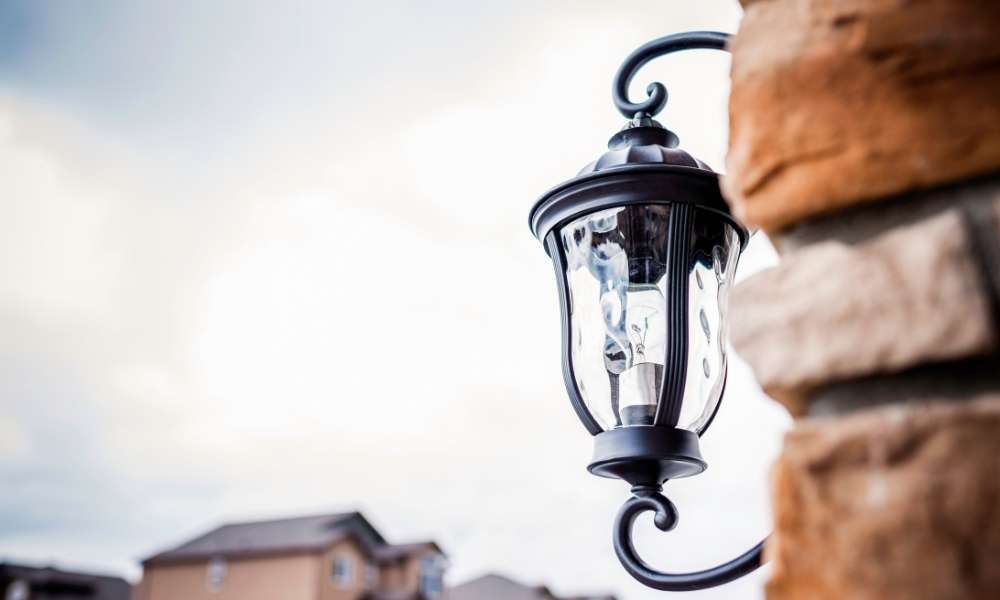
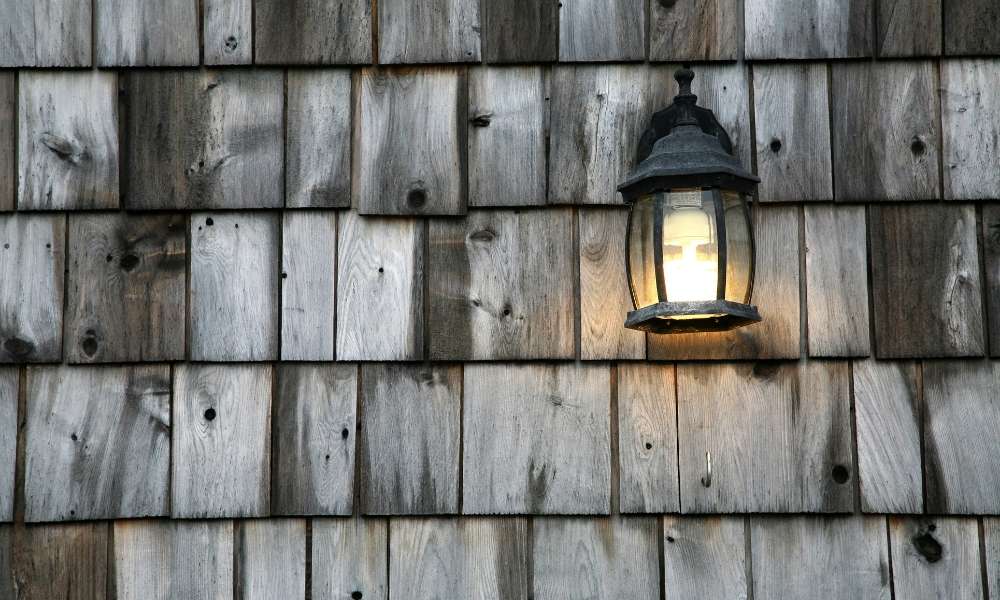
Entryway Lights
Find out how well you work in the area. Plan to spend an hour or more depending on it. To Know now how to replace outdoor light fixtures. Now covers safety precautions, equipment, and steps to replace an outdoor lighting fixture on your own. Security lights can provide security and safety to your family, friends, property, and building. So they are a common application in outdoor lighting fixtures.
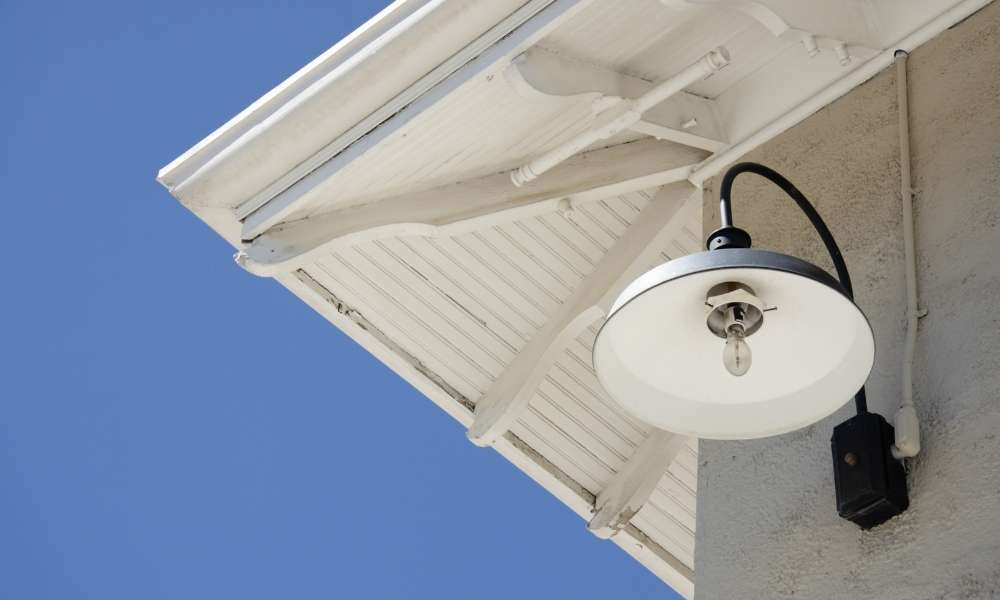
The presence of light also makes it impossible for people to hide in the dark. These features make safety lights the most popular on the market today. A hallway or entrance, an overhead light is important for safety and to create an inviting environment. A pendant is suitable for hanging near the door. Because it will light up the area a lot. We have a motion sensor safety light so we don’t need a switch.
Read More: How To Clean Outdoor Light Fixtures
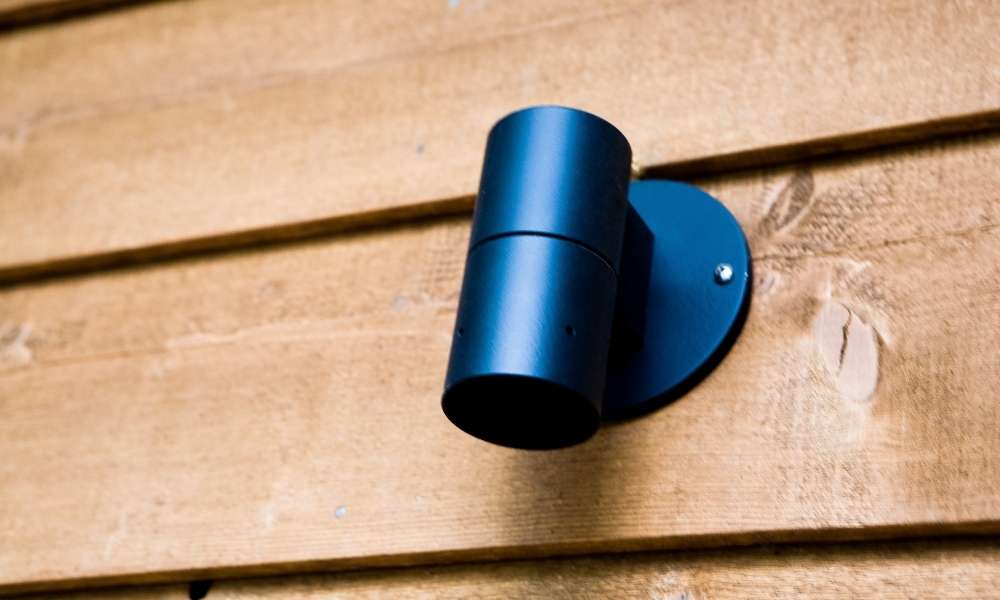
Pole-Mounted Fixtures
The preferred method for replacing pole-mounted fixtures. This is to remove the screw from the mount of the fixture. The fixture may have to be brought down by itself. Before attempting to lower the fixture, make sure the power is off. If there is no clear way to turn off the electricity. Then call an electrician to disconnect it. If it is occasionally driven by a switch. Though you accidentally touch a live wire before the power goes off, you will in your attempt to remove the fixture. Secure new wiring to mount according to code. Screw new fixtures in place. Though you do not have enough space to work, or if there are rust stains at the base of the fixture that could allow rainwater to enter the pole and cause rot. One can extend the entire fixture assembly so that it is just below the top of the pole.
Either a lamp post or a flood light mounts These are slightly higher than the wall-mounted lights, which makes them more ideal for entrances and driveways. Two different types of bases are common: standard Edison socket and medium Edison socket. The standard Edison socket has two prongs, while the medium Edison socket has three prongs. Most poles come in three to five pieces and will screw together using a small socket wrench. The fixture is mounted in the middle of the pole with just a few screws. If you purchased a pole without a pre-drilled hole, you may need an electric drill.
Get Comfortable with Electrical Work

I hope you’re warming up to the idea of doing a little basic electrical work. This may sound scary, but it is really easy if you have some hand tools. It is easy to confuse wires in a cable harness. If you connect them incorrectly. Reinstall the fixture but you may get a light shock or blow a fuse in your home. A new electric box is mandatory. The bulb sockets extend out of the house. When you install your new lighting, add a larger size washer between the siding and fixtures for extra support. Since the hole saw can cut the old electric box. It can weaken. Also, use longer screws than the original to penetrate the hardwood.
Conclusion
In conclusion, I would say that replacing something with electricity. It is a daunting task, the steps to replace an outdoor lighting fixture were quite simple and straightforward. You now know how to replace outdoor lighting fixtures. There are different styles of outdoor lighting. Depending on the type, the installation will take the old fixture down. As simple as mounting a new one in one place. Three things are needed to replace an outdoor lighting fixture: a few simple hand tools, the right replacement fixtures, and some handyman knowledge.
Keep in mind that it is always a good idea to turn off the circuit breaker before working on the electrical circuit. You may want to turn off the power. You can check with a non-contact voltage tester to make sure no one turns on the power while you are working. Next, remove the decorative cover, glass or sheds and then loosen and remove the screws. That holds the fixture in the electric box on the ceiling. Finally, install a new mounting bracelet, wire the new light fixture and screw it in place.