
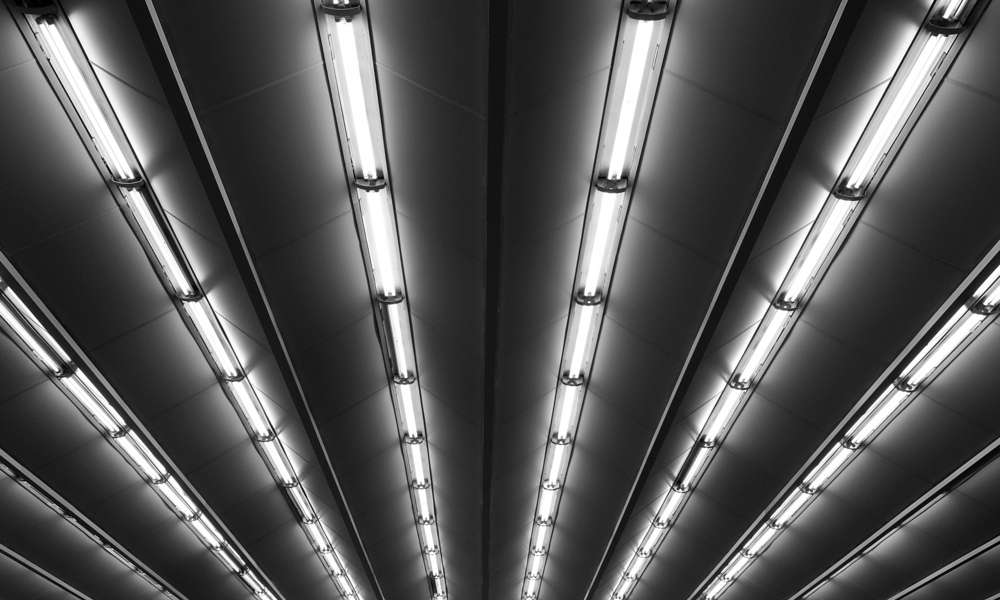
Are you bored of recessed fluorescent lighting? If you want a changed look in your kitchen, you should know how to update recessed fluorescent lighting in kitchens. Fluorescent lighting is long-lasting but not that appealing or elegant.
There was a time when almost in every kitchen there were fluorescent bulbs attached to the recessed ceiling. It feels boring to have fluorescent lighting in the kitchen as you need more brightness in the kitchen along with an innovative look.
Kitchens nowadays are being used in multitasking. If you arrange dinner parties, you will need more lighting that illuminates the entire room. But old recessed fluorescent lighting is not enough to enlighten as much as you require.
The style and designs of recessed fluorescent lighting are also outdated now. The plastic panels are not classy. This old lighting decreases the beauty of the kitchen and they are old-fashioned. You must upgrade them to keep pace with the modern world.
Upgrade your recessed fluorescent lighting with recessed LED lighting. In a recessed ceiling, lights hang in the center and higher. LED lights illuminate proper brightness and make your daily life kitchen work comfortable.
If you learn how to update recessed fluorescent lighting in kitchens, you can update the lights yourself. The steps for upgrading recessed fluorescent lighting are given below:
Turn Off the Circuit
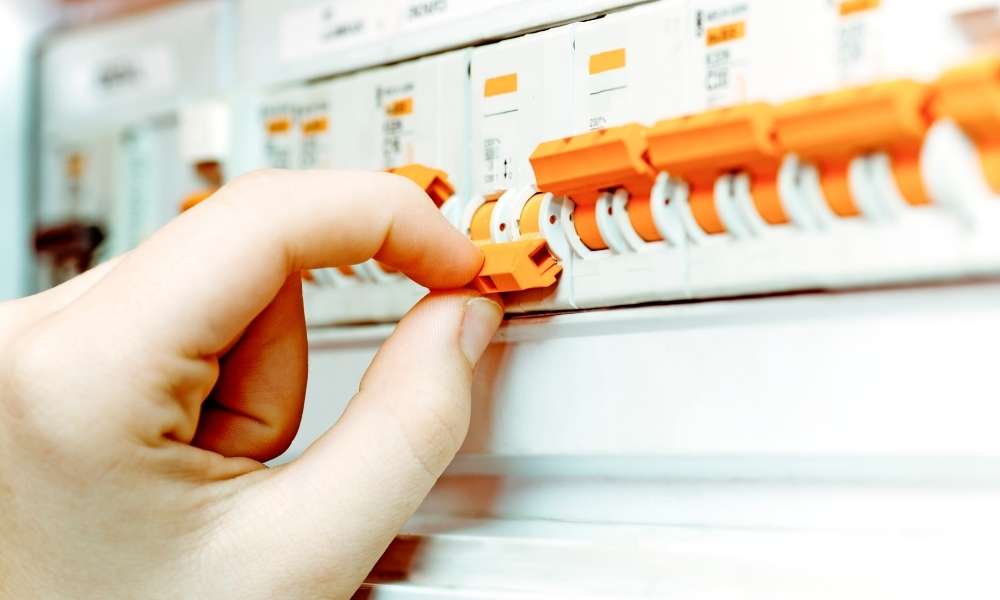
It is a mandatory job to turn off the power circuit before doing any electrical work. You should turn off the main circuit and check twice.
Use a tester to re-check if there is any electrical flow or not. You should have basic knowledge about wiring. If you are afraid of electrical work, then you can hire a professional. But doing it by yourself will be fun and the processes are easy.
Get the Permissions
You need to get permission from local building authorities. Check the rules and regulations properly.
You should inform the local building authority about which light you are going to install and if there is permission to install them. Once you are confirmed, start the procedures.
Remove the Plastic Panels
First of all, you have to remove the plastic panels. Use a supported ladder to do the procedures as you are going to work on the ceiling.
Remove the plastic panels safely one by one. They are not too heavy. So you can easily remove them.
Take Off the Framework
After removing the plastic panels, you need to remove the framework on which the plastic panels were kept. You may need a plier or hammer to remove the framework.
Remove the framework gently so that you do not damage the wall while taking it off.
Unscrew the Fluorescent Lighting
Once you remove the framework, detach the old fluorescent bulbs from the light frame gently. Remove the bulbs safely.
Then unscrew the light frames. Loosen the bolts with a plier or screwdriver. After that, remove the light frames and screws safely.
Detach the Wires
Once you remove the light frames, you will see wires below them. Disconnect the wires with a wire stripper and remove the connectors.
You should detach the wires gently one by one. Don’t be harsh while disconnecting the wires.
Mark the Light points
After detaching the light frames. If you have two fluorescent lights, mark their ending points after removing them. Now decide on the four lighting points and mark them as a circle so that you can install new lights with proper spacing. Keep the exact space between one light to another light.
If you are eager to know how to update recessed fluorescent lighting in kitchens, you must know these tricks. Maintain the same gap between all the lights.
Figure out the joist lines and mark lines on the joist keeping the light circle in the middle of both lines. Remember one thing your lighting points should be in the joist keeping similar space from one another. Otherwise, the outlook will be messy.
Read More: kitchen track lighting ideas
Cut the Dry Wall
You need to cut off the drywall according to the lines you made. Among the four lights, every two lights will be in a row. So there will be two rows. The gap you keep between the first two lights, keep the same gap between the other two lights on the other row.
So you need to make two-row lines keeping space on the drywall and mark the row lines in the middle of the joist.
Use a drywall jaw saw to cut through the lines. Cut the edge squares on both edges of the rows with a drywall utility blade. Now use a hammer to gently push the middle of the cut. After cutting and breaking the cut area remove the broken parts and you will get two opening rows in the middle of the joist of the drywall.
Use the drywall jaw saw to clean the cutting edges and make a smooth finish.
Remove the Insulations
After cutting the drywall in two rows, you will find the insulations. Pull them down and remove them from the ceiling.
You can’t install the lights if the insulations are there. So remove them gently and start the next step.
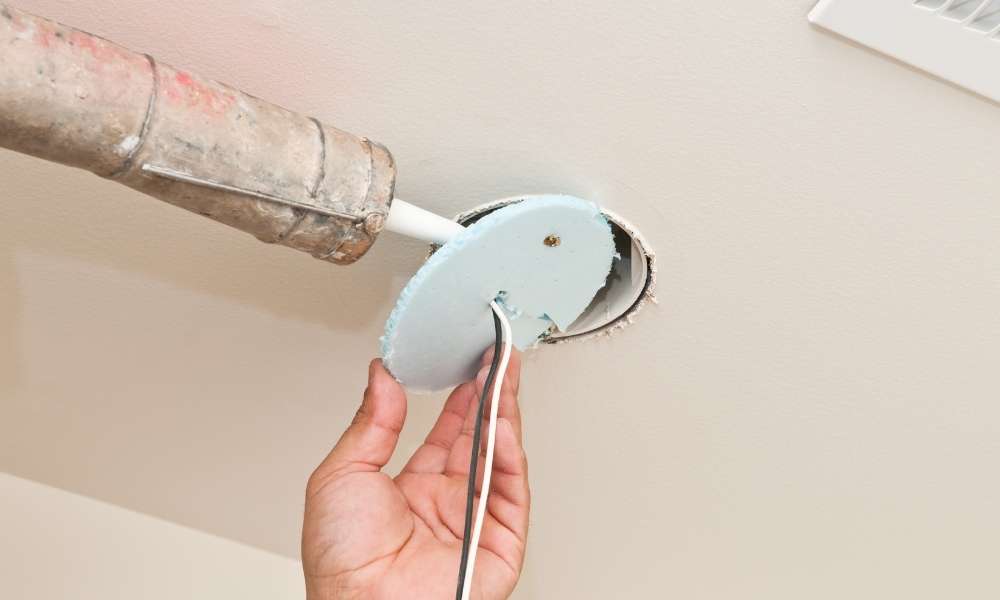
Figure Out the Electrical Box
Cut the edge of the joist where there is the existing electrical cable. After cutting a portion of the edge of the drywall, clean it with a drywall jaw saw and pull the cable. Now push the cable through the junction box where you want to attach the remix cable for the newly installed lights.
Screw the bolts tightly and screw the reducer on the other side of the junction box. You need to connect the remix cable with a reducer as well. Now push the remix cable through the box and use a wire stripper to remove the plastic covers and expose bare wires at least about 1 inch at the endpoint.
Twist white wire to white wire and black wire to black wire. Now use electrical tape to secure the bare ends. Make a ground wire loop for the ground and screw it to the junction box with bolts. Now put the junction box on the wall and attach nail plates to protect the remix cable. Drill holes and pull the remix cable closer to the first light. Start installing the lights.
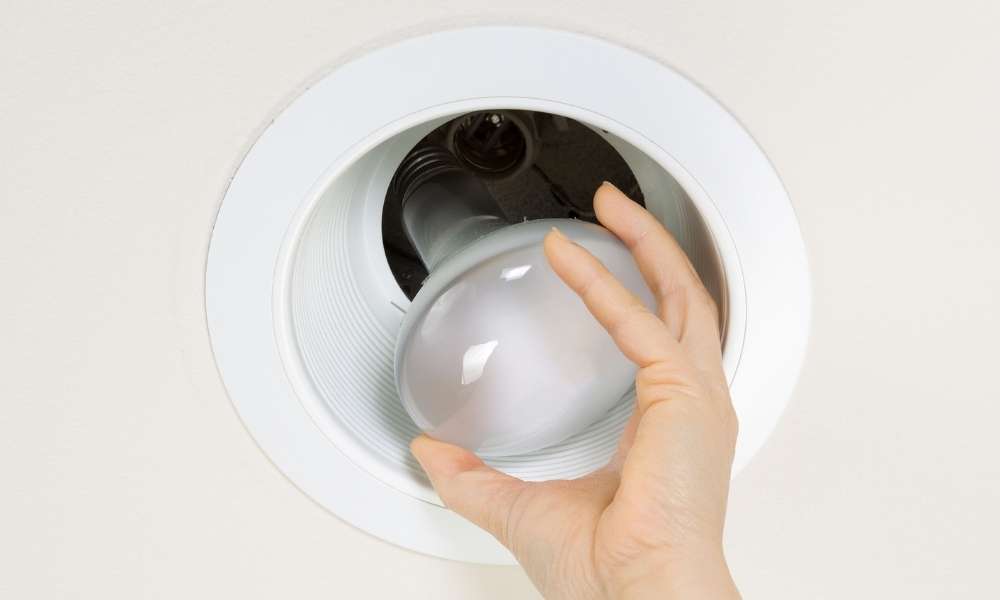
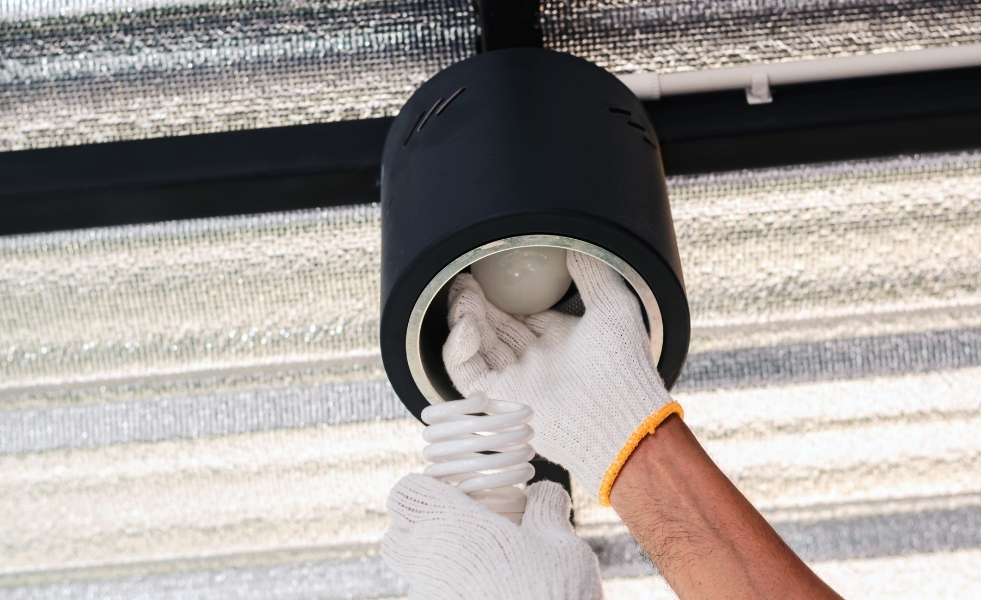
Install the Recessed LED Lights
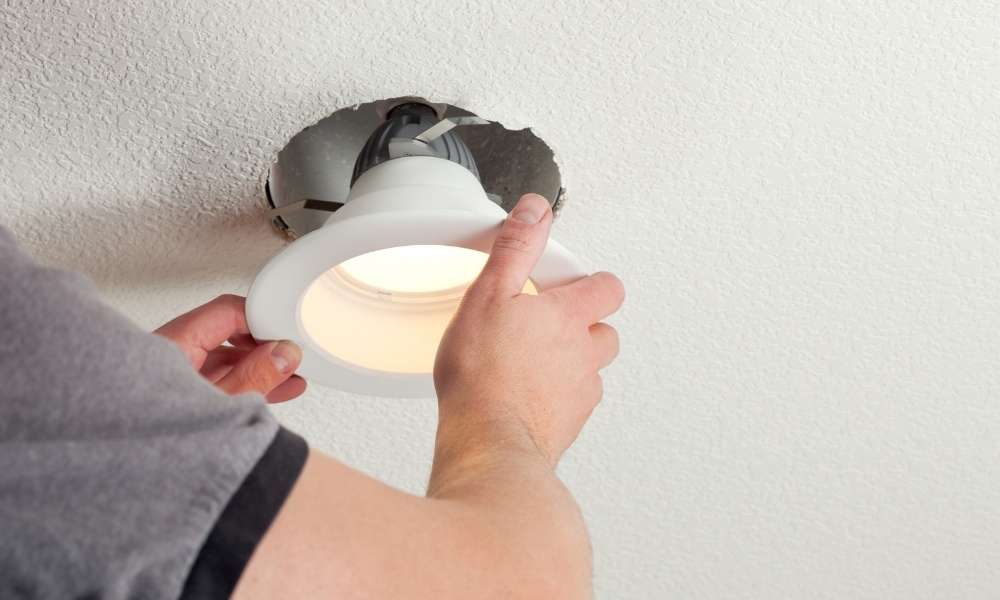
In the process of learning how to update recessed fluorescent lighting in kitchens, you should know which lights are best for upgrading. Recessed LED lights are bright and spread the brightness evenly. They save energy and are easy to replace.
Keep at least an 8 inches gap between the joist edges and the lights. Keep an 8 inches gap between the two lights in each row as well. Measure the inches using a measuring tape so there will be no mess in calculations and the gaps will be perfect.
There should be an 8 inches gap between the two rows that you made. Attach the lights by screwing them into the sides of the joists as the lights are in the middle of the joists. These lights come with sliding tracks so you can adjust them nicely.
Connect Wires to the Lights
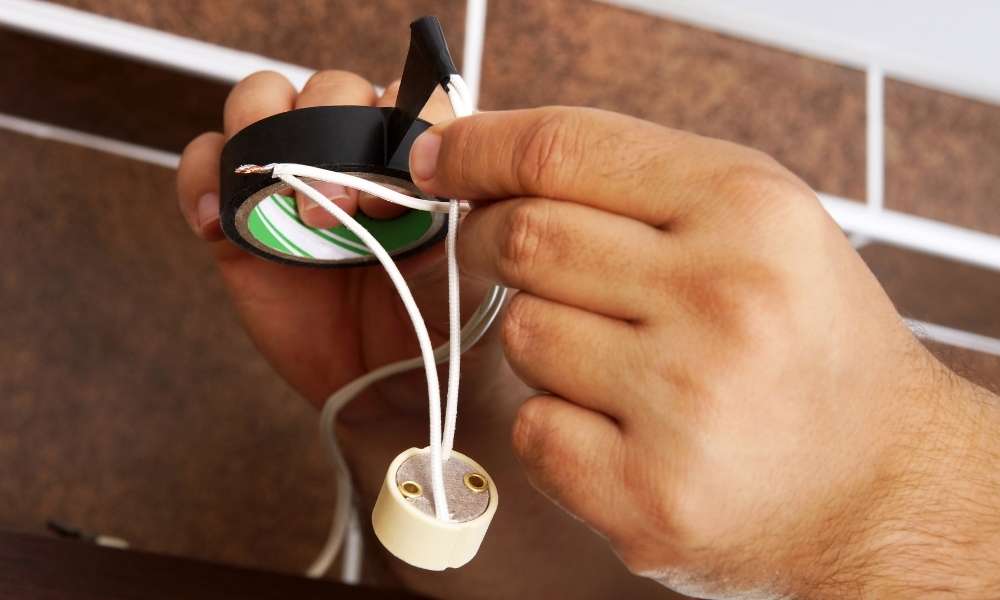
Now cut the wire into lengths and use a wire stripper to expose a 1-inch bare wire at the end. Twist the bare end with the wire of the first light and finish to wire up the first light.
After that use an 18 inches remix cable to act as a jumper to the second light from the first one. Now you need to run the remix cable closer to the third light point through the joist. So you need to create a narrow hole through the joist and make a wire hanger like a snake.
Now use an electrical tape and wrap the cable end with the wire hanger with that electrical tape. pull the hanger from the other side of the hole and your remix cable will go through it easily.
Attach the cable with the third light and again use the remix cable to jump to the fourth light. Once you are done wiring the lights with the remix cable, put the last edge of the remix cable into the junction box of the fourth light.
Install a Dimmer Switch
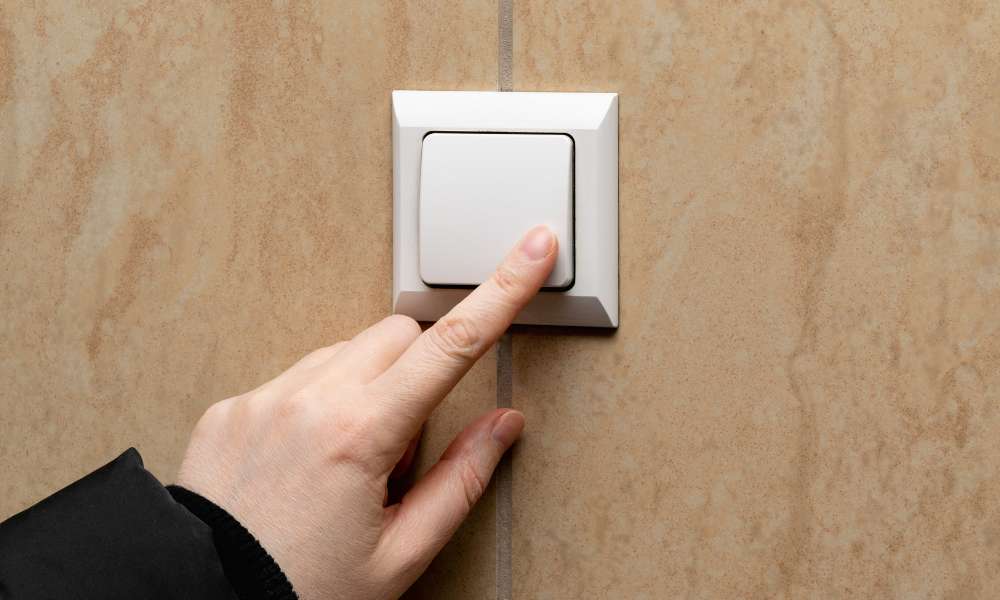
The dimmer switch helps you to enjoy flexible lighting in your kitchen. As you are learning how to update recessed fluorescent lighting in kitchens, you should know how to update the switch as well.
Generally in a kitchen, you require three types of lighting. You need general lighting, accent lighting, and task lighting for doing all the work in the kitchen. But installing all types of light is complicated and if you install too many lights in your kitchen, the outlook will be overwhelming.
Dimmer switches give you the opportunity to get rid of all these stresses as it works like the three functions by turning the light brighter or dimmer depending on your need.
To install the lights containing more wattage and use the brightness or make it dimmer depending on your requirements.
To install a dimmer switch, first of all, you need to unscrew the standard switch. Unscrew the bolts and remove the switch. Cut off the wires to disconnect the standard switch. Now use a wire stripper to expose bare ends and twist the wall wires with the new dimmer switch wires properly.
Wrap the connections with electrical tape to secure safety. Now put the wire inside the wire hole and mount a new dimmer switch bracket. Screw the bolts of the dimmer switch brackets tightly. If the bolts and screws are different from standard screws, drill for the new screws and push them through the mounting bracket.
After fastening the mounting bracket, turn on the power circuit and check the switch by turning the lights on.
Measure the Openings
After testing the switch and the lights, you need to start the covering steps. Use a measuring tape to measure the opening sections.
Measure the length and width of each part properly and write them down. Measure the light’s length and width too. You need to measure the square edges and the opening under the junction box too.
Cut the Uninstalled Drywall From the Patch
After measuring the openings, you need to cut uninstalled drywall from the patch according to the measured length and width that you need.
First of all, cut for the rows and cut the square edges according to the measurement. Once you are done cutting for the joist openings, cut drywall for covering the junction box area according to the measured length and width.
Now the uninstalled drywall piece for installation in the joist openings needs smooth edge finishings. Then cut the circle of the lights by drawing circles according to the measurements.
To draw circles, first of all, mark the points measuring an 8 inches gap from the edge and mark another light point 8 inches away from the first one and make rectangular shapes according to the length and width of the lights.
Now draw ‘X’ inside the rectangular shapes with the length and width. Draw a circle surrounding the “X” in each light point on the uninstalled drywall. Thus you will get the light circles.
Cut the circles with a drywall jaw saw and smooth the finish with a drywall utility knife. Cut the uninstalled drywall piece for the junction box from the patch.
Once all the cutting and sizing are completed, start mounting them one by one.
Mount the Uninstalled Shaped Drywall Pieces
Start mounting uninstalled shaped drywall pieces one by one. As you have measured the length and width before shaping them, the sizes will be accurately fit.
Put them on the openings against the joist and tighten the screws properly to fasten them securely. Hold the structure with one hand against the joist and spin the screws with another hand. Now fasten them with pliers or screwdrivers. Put as many screws as you can fasten on the joist to mount the drywall properly.
Put the drywall piece under the junction box against the joist to cover the area. Screw it up and tighten the screws.
You need to secure all the screws safely and tighten them twice if needed. Make sure that the openings are covered nicely.
To know more about how to update recessed fluorescent lighting in kitchens, keep reading.

Attach Crown Moulding
Crown moldings are used to hide the joints and cracks on the drywall. They are generally used on the edges.
They are beautiful and enhance the beauty of your recessed ceiling and create an aesthetic outlook.
Crown moldings come with different designs and styles. The advantage of crown molding is, that you can shape them in any size that you need. So you can hide all the cracks and create a classy outlook in your kitchen.
Cut crown moldings in proper shapes and you can cut the edges at an accurate angle to fit properly. After cutting, drill the holes and screw them on the cracked areas and on the edges. Keep the layout perfect.
You can hide the small cracks with drywall trims and attach them with screws.
Apply the Drywall Spackle
After hiding the cracks, you need to give your recessed ceiling a beautiful finishing touch so that it looks elegant.
Mix drywall spackle with water using a mixing paddle. Use the spackle that gets set in 20 minutes. So don’t waste time after mixing the spackle with water.
Apply the spackle to the drywall using a putty knife or a spackle blade. Put enough spackle and make it fast as it is going to dry in 20 minutes. Go through all the cracks and the entire drywall keeping putting spackles to give it a smooth finish.
After that wait for a while and when 20 minutes will be over, it will completely dry. Then apply another spackle to give the entire recessed ceiling a smooth coating. Apply the spackle nicely. Mix enough spackle with water as much as you require. Don’t make the consistency too thick. The mixing should be perfect.
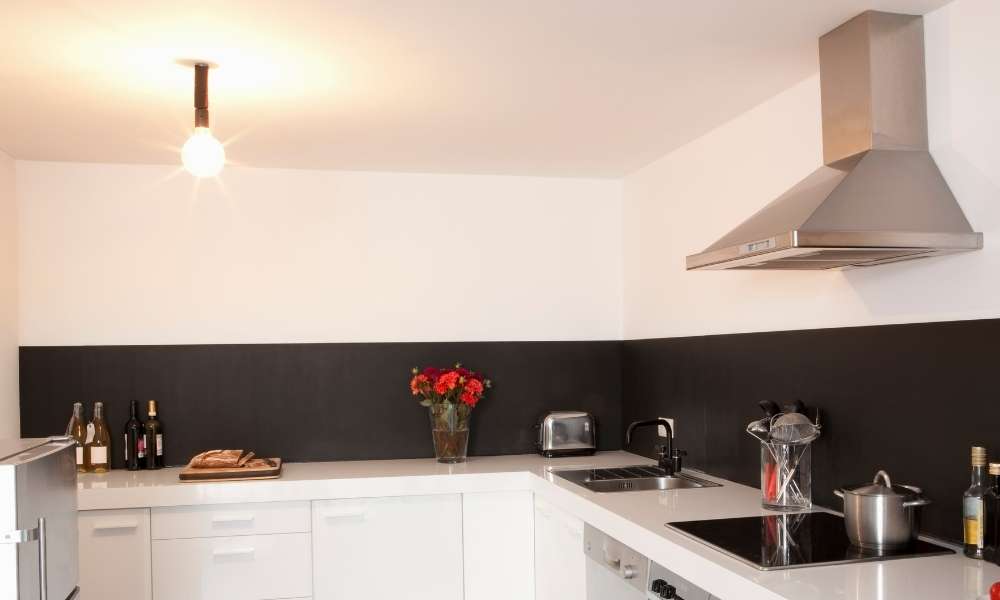
Paint the Ceiling
Once you complete putting the spackle smoothly, paint the entire ceiling area. Match the paint color with the wall color. You can paint the walls too.
Keep the paint color pearl white or cool white. This color will help to reflect the lights and make your kitchen look amazing. The painting should be smooth. Put two coats of the painting all over the ceiling area.
A proper painting will create a peaceful ambiance in your kitchen. You will feel comfortable in such an elegant kitchen.
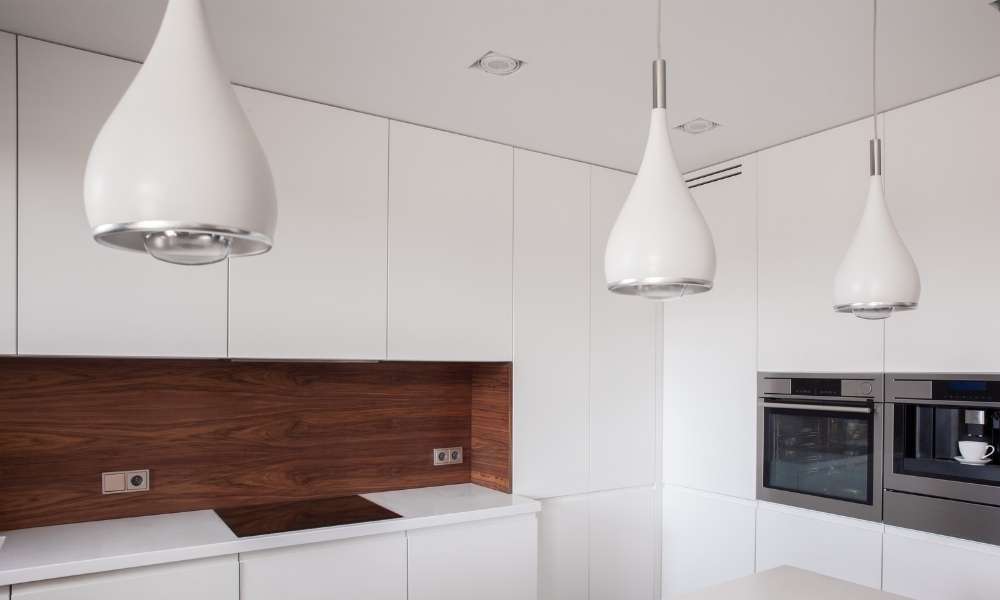
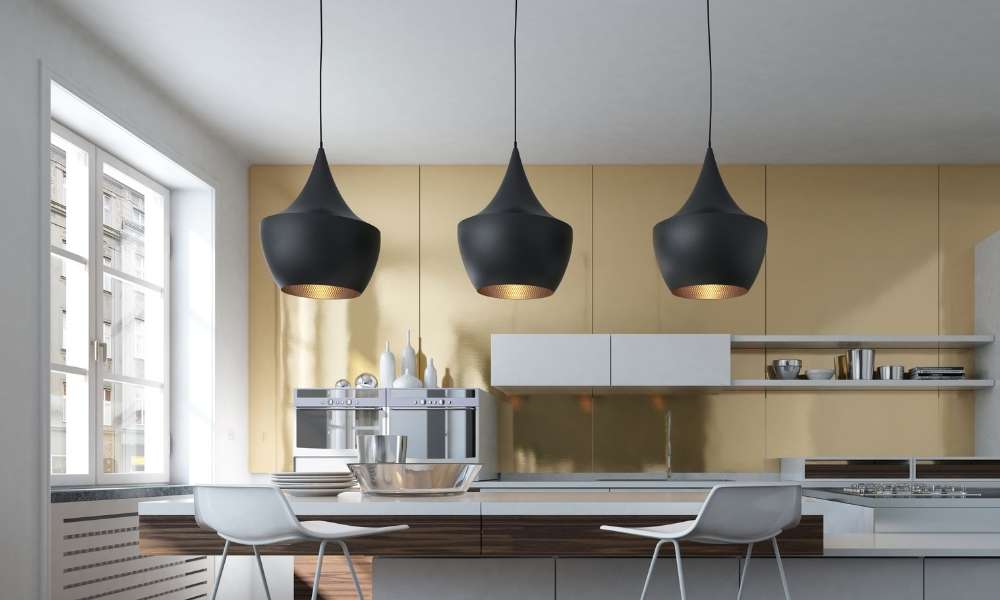
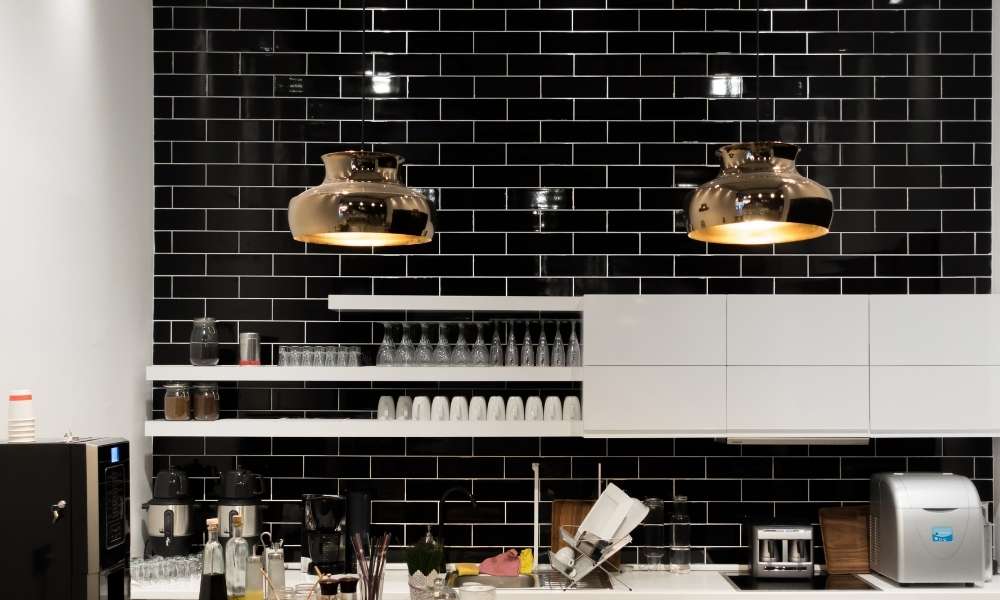
As you will install a dimmer switch, so you don’t need to add more lights to your kitchen. But if you want you can attach a pendant light or any task light to the working area. But don’t attach them to the top of your head. Keep them at an angle so that you can directly focus on the work area.
Conclusion
Fluorescent lighting is not in a demanding position nowadays. By updating recessed fluorescent lighting, you can make your kitchen the most attractive area to work with comfort.
Now you have learned how to update recessed fluorescent lighting in kitchens, you can update your kitchen lighting yourself and the dimmer switch will make your multitasking easy. Hope you have liked this article. Don’t forget to comment below and let us know your opinions. Enjoy!