

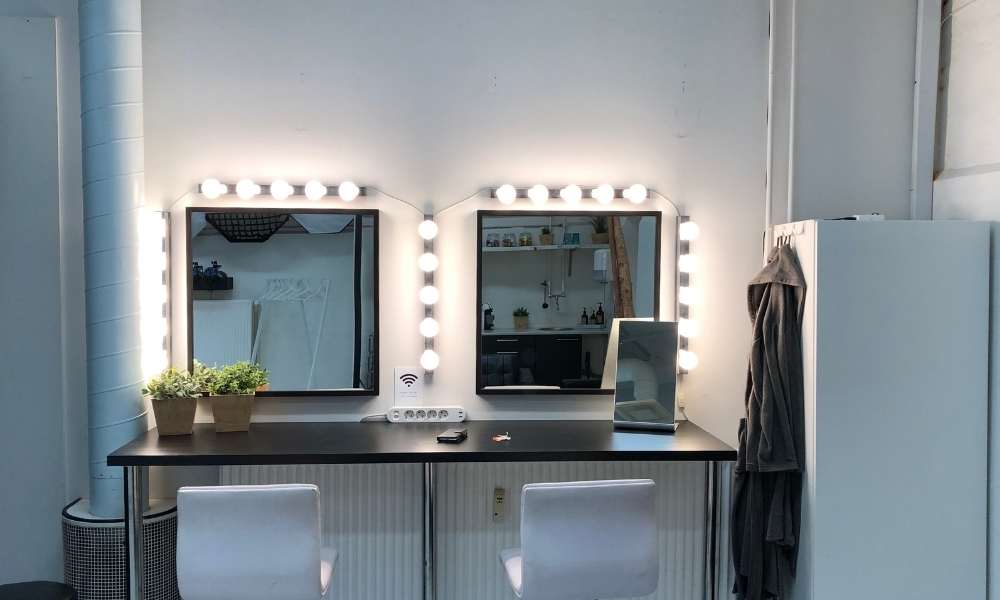
Be it a makeup artist, an aspiring beauty guru, or just choose makeup. But you don’t know how to build a makeup vanity with lights. We have the perfect DIY makeup desk for creating your own at home. This table has a built-in light and surface mirror. It helps you look better when applying makeup. Moreover, it is also available in practical colors that will fit in any groove of your home.
Do you want to build this project? But where to start? First, we will use different tools to create your makeup vanity with the help of light. Gather the right tools so you can get the job done efficiently and with little difficulty. Needed tools such as saws and screwdrivers to make any type of furniture. Make sure you have this tool before starting such a project. Makeup Vanity is a cosmetic organizer that contains all your beauty products from creams to nail polish and cosmetic brushes. Before diving into this project, familiarize yourself with the process of creating a cabinet. Can create a beautiful, functional and stylish space that will envy your friends. Used for vanity makeup, makeup or hair styling, homework and much more. It can double as an extra shelf to store things around the house.
A good makeup vanity can be expensive, but simple wood boards, light fixtures and mirrors are easy to make yourself. The right light goes a long way in showing you your best. If you don’t have a large space to work with, create yourself an attractive vanity that doubles as a storage unit.
Make a Free DIY Vanity:
Hey guys, I just finished a great makeup vanity that I want to share with you. It’s simple and costs me about $ 250 in total, not including the vanity lights and mirrors that I already have or the countertops that I already have. Depending on your location and the amount you want to spend. Feel free to send me your picture if you want to show me your picture. To create a DIY makeup vanity one has to create one with the necessary ingredients at 99 Cent Store, Home Depot or Walmart. If you are on a budget, consider those options. It is amazing who has limited space and cash. They can have almost what they want and need nowadays.
Creating a homemade DIY vanity will always cost less than buying one at the store. To get you started, these guidelines usually include measurements of each piece of wood or metal. Be sure to measure your space first before starting construction. Using limited tools and materials, follow these steps to create a free vanity table and makeup station using the IKEA Malm Dresser. The total cost of furniture and building supplies was below $ 150, half the price of the average IKEA furniture.
Vanity Light Bar Equipment
Buy your vanity light bar equipment and start at the hardware store. Measure the height of your new vanity. Buy one that fits your needs.
Vanity light bars, including lights and adjustable mounts that attach to the mirror frame. Make this part of your build a lot easier. There are many ways to create a makeup vanity, but the fastest way is to purchase equipment. Used to hang light bulbs for extra light to apply makeup, or it is to hold your mirror and apply makeup. Makeup bar lights help you look better when applying make-up.
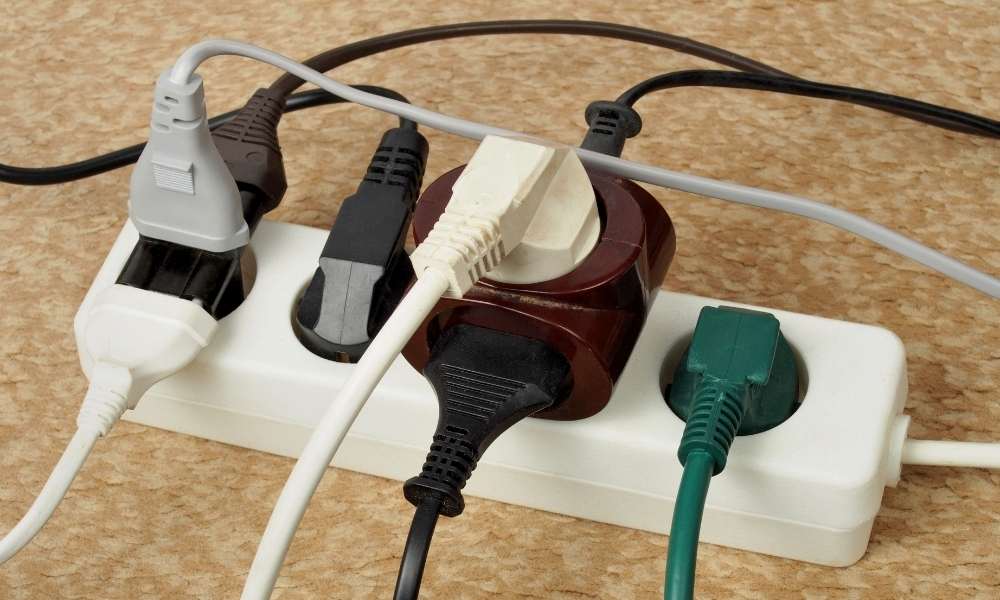
If you do not plan to install the light directly on the wall, then buy such a clip. Attached to the walls. Light fixtures can hold well. Make sure that when you change the light bar, you are using a saw that is suitable for cutting metal. So that you do not harm it. You can buy all the necessary parts for vanity light fixtures from most electrical stores and hardware stores. The back strip of the fixture will require a light bar, some electrical wires and cables, a waterproof junction box or connection box, a pool chain switch, and a 110V 50-watt light bulb. Which fixture did you decide to buy? Depending on this you will need bulbs for the lamp heads attached to the front of the bar.
Materials:

Some cosmetic products need a proper place to store safely, especially when you plan to do makeup on special occasions. To meet this special requirement, you need to create a makeup vanity in your own room with one light after another. Here are some helpful tips that I hope you like about ABC. A makeup futility will help you know what to do. We will show you how to build a makeup vanity with lights. This step-by-step DIY project is about creating a vanity with drawers and lights. If you want to create your own vanity table, we recommend the tools described in this article.
- 2 pieces 32-inch board pieces
- Undercoat / primer
- 28 × 34 inch plywood sheet
- Paint
- Pencil
- Paintbrush
- 18 × 30-inch mirror
- Screwdriver
- 2-inch screw
- 6-piece lamp socket with plug-in cord
- Drill
- 3-inch screw
- Construction adhesive
- Zip fastening
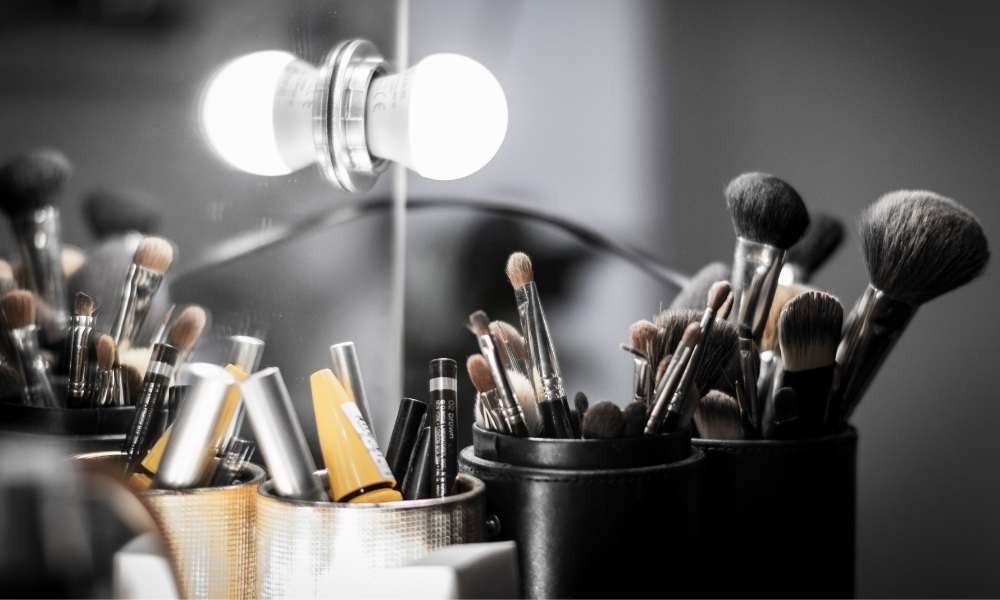
Makeup vanity with 20+ LED light mirrors. Vanity is a good thing for make-up lovers. The function of this illuminated make-up mirror is to apply make-up, remove bacteria and dirt from the skin, especially when you are outdoors, you can use this vanity mirror in the car or wherever you want. All you need is an LED light to make it work. The base of the vanity should be stiff and counter-weighted, especially made of wood. A hole cut in the countertop or a lip hanging at the end. Makeup brushes can rest when not in use. Dark light can make it easier to do makeup in front of a mirror, but bright overhead lighting is ideal for people who do makeup with their eyes closed.
Screw The Light Bars
You can create vanity with lights to use while applying makeup. To do this you need a vanity so that the lights are in the right place in the mirror. The best way to deal with this is to hang the lights from the ceiling first. And then screw them to the futility top once you are sure they are in the right place. A makeup futility is a great addition to any girl’s home. Who likes to use cosmetics. With lighting from Michaels, you can create your ideal vanity. Start by wrapping the inside of the mirror with wrapping paper. To keep the paper intact, grip it using masking tape. Next, screw the light bars onto the mirror. Place the bolts in a hole for results. Turn on the lights and turn on your favorite music.
A makeup vanity is a great addition to any girl’s home. Who likes to use cosmetics. With lighting from Michaels, you can create your ideal vanity. Start by wrapping the inside of the mirror with wrapping paper. To keep the paper intact, grip it using masking tape. Next, screw the light bars onto the mirror. Place the bolts in a hole for results. Turn on the lights and turn on your favorite music. Always remember to be safe when using! Remove all screws holding the mirror frame to the dresser. Be careful not to damage the dresser top.
See More: Best Lights For Makeup Vanity
Electrical wiring is one of the most unpredictable DIYs. We’ve seen that it’s better to leave the electrical wires to the professionals, but if you decide to leave it yourself, you have the same protection for any of your other electrical projects. Caution should be exercised. We recommend using a voltage tester and working in well-lit areas, even double-checking your work with a second tester after you have finished your work.
Cut Your Extension Cords:
Ever wondering how to build a makeup vanity with lights? Well, don’t bother with snaking ropes across the floor anymore. Save time and money by creating your own table with illuminated drawers. In this step-by-step paragraph, you will find out how to cover your new makeup table with elegant contact paper. Not only will this paragraph save you a ton of money on delivery, it is also BYOB.
Installing a makeup vanity can really make a house beautiful. Make sure you choose the best location for your makeup futility by familiarizing yourself with the chord. Understanding how an extension cord works is important for safe use. When you know how to properly connect an extension cord, Your furniture will always work. The general rule is the gauge of the extension cord. It is smaller than the wattage rating of the light fixture you are using. So if you install a vanity light that draws 75 watts, you may want to use 14 or more rated extension cords.
Connect The Extension Cord:
The first step in creating vanity with lights is to attach the extension cord to the futility light. The extension cord is an important part of the setup, as it allows you to bring your vanity light anywhere in the house. First turn off the main power supply of the house and cut the plug of the extension cord. Then, use the crotch to force open the back of your makeup light body.
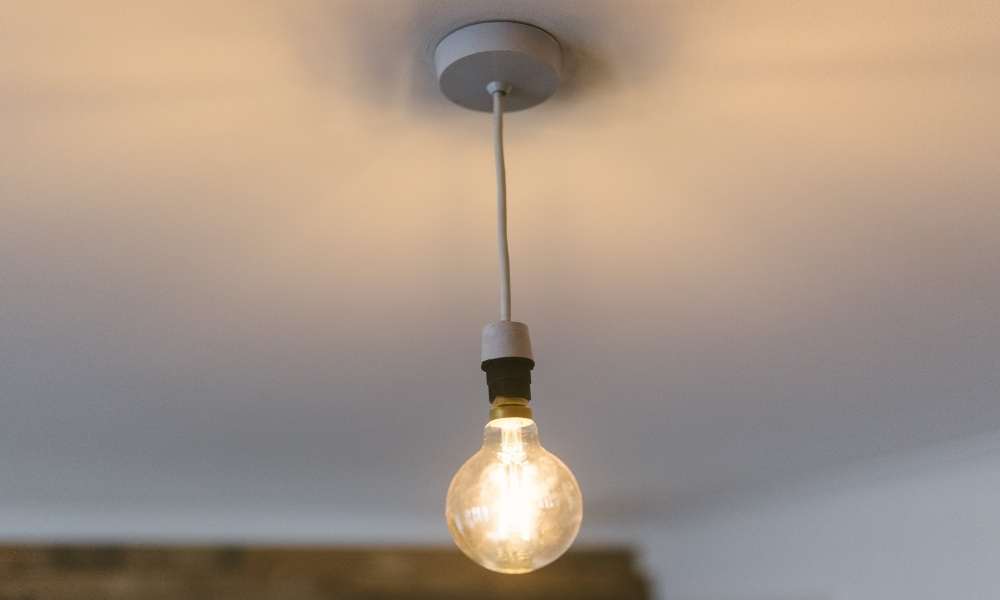
Next, close some of the insulators from the ends of the extender. You can connect it smoothly to the other wires. Most commentators (and indeed, most women) agree that the best lighting is natural window lighting. It sets your mirror above the chest of drawers facing a window and simulates it. So that the connection stays close to the bulb. Build a makeup vanity with lights
Attach The Light Bar Cover:
Attach the light bar cover to the mounting plate and the makeup mirror below it. If your vanity comes with lights, turn them on and screw them in place For a different style, consider adding a clamp-on light bar. Attached directly to the cover. Hang on to your sink for light even from above. The first step is to attach the light bar cover. First, start by aligning the cover with the outer edge of the mirror. The cover is centered and square around the mirror. Next, place 4 black screws in 4 round holes in each corner of the cover. Now use a guide manual to determine how far you will hold all the screws, then insert a pilot hole with each of these.
Take your vanity to the next level with this beautiful light bar. The 3x3x3 arm length gives you freedom. Creative and adds a wide range of dazzling lighting effects. This ultra-modern, slim LED strip light will fit in any case. Plug into any wall outlet via a standard 110v outlet. It’s simple, clean and easy to install. LEDs shine directly on the outside for more brightness. A makeup vanity is the best way to add light and style to your space. Last year I probably made 5 of these and they are really so simple. The inspiration for this piece came from my search for a good in-home makeup station. I want something with lots of light and storage, as well as a mirror on top. Not only is this project great for makeup storage, but it also has a handy place for my blow dryer, hair dryer and curling iron. It adds everything you need to a beautiful place.
Screw in The Light Bulbs:
According to the list of materials and procedures, start by placing your vanity on a flat surface where you will have enough room to work. Using a power drill, screw in the light bulbs so that they hang at the correct level. Then attach each vanity light pull chain to the top of your drawer. Where you can easily reach them. The procedure is completed with a cosmetic mirror set. Build a makeup vanity with lights.
To get started, fasten the frame of the vanity cabinet with screws. Be sure to secure all connectors and joints. When it is complete make sure you have a solid and stable part Once the futility is assembled, install one light bulb on each side. Then, install the mirror and secure at each corner with a small piece of double-sided tape. Finally, you can use your second light bulb as a lamp. Your vanity needs 2 light sources. You need to use 1 light socket for your makeup mirror and another to illuminate the drawers at the bottom. In most homes, upstairs closets do not have adequate lighting or outlets for proper setup. This can make it difficult to apply makeup properly at all times.
Conclusion:
It is important to create a well-lit vanity area. You want to apply your makeup and show off the products you use. You don’t want light fixtures anywhere, as it can create a glimpse that you have to deal with. Makeup vanities come in a range of contemporary designs, but the most common makeup futility is a large stand-alone furniture with mirrors and drawers for storage.
For professional home applications, makeup vanity made from solid wood is best. It is important to choose a makeup futility made of MDF or other hard wood, as it will have better strength and durability than compressed wood. Composite materials such as medium-density fiberboard (MDF). The upper part needs to be bigger to display the brush holder and lights.
Deciding what features you want in your vanity. The best place for your makeup futility is the bathroom. This eliminates the need to use small, cluttered counters in your bedroom and provides ample space for makeup and hair styling. Depending on your needs, choose from vanity designs with one or two drawer bogies.
For a finishing touch, install wall-mounted lights on both sides of the mirror to provide optimal lighting when applying your makeup. This article shows you how to build a makeup futility with lights for a fraction of the cost. A beautiful look and function with the help of mirrors and lights.