
The goal of the photocell is to detect ambient light and turn on the lights during sunset and keep them on until sunrise. It is suitable for remote areas where no electricity is available. Turning off the power, removing the floodlight from its mount, reconnecting the photocell, reconnecting the floodlight to the mount, and restoring power will complete the project. This guide will show you how to add a photocell to an outdoor light in just a few minutes. An old light fixture that I replaced with a motion sensor light lasted about 20 years. I wanted to replace it. Because it was only turned on at night when it was dark enough and stayed up all night. It would be nice if the light could come on in the evening and turn off in the morning.
Adding a photocell to an outdoor light will automatically turn on the lights as they get dark. To turn them off as soon as they light up without the need for an expensive timer. By replacing the standard switch with a photoelectric switch. Add a simple junction box to the existing switch. There are many benefits to lighting your home. It can help prevent accidents and injuries, and give your home an elegant appeal. Add an extra layer of protection against potential intruders. However, yard lighting is not without its concerns.
What is a Photocell?
A photocell is a device that measures the level of light and uses it as a control signal for various processes. A photocell is an electrical device that converts light into electricity. They have no moving parts and are very inexpensive, which makes them ideal for wide automation.
A photocell is a variable resistor whose resistance changes when it comes in contact with illumination. Photocells are effective for turning off the lights in the evening. Off in the morning and are available for DC or AC power. These come in different shapes and sizes but basically work the same way. Turn off your lights at night and in the morning with a photoelectric cell. Have you recently purchased an outdoor lighting fixture and now have one that has a built-in automatic timer? If so, don’t return it yet. Because even new fixtures can be restored with technology.
A photocell is a sensor that detects light. The photoresistor, also known as light-dependent resistance (LDR), measures the resistance between its two legs. It measures the intensity of the amount of light falling on its surface. When it gets dark, the resistance increases and when it becomes light, the resistance decreases.
What are Photocells Used For?
Photocells are used for both commercial and residential purposes. For example, a commercial building may have a photocell installed to automatically turn off security lights after business hours. Photocells are also popular in homes that have outdoor lighting that stays on throughout the evening. Some homeowners prefer the natural motion triggered by a photocell to keep the lights on all night. In this article, I will discuss how to add a photocell to an outdoor light.
Photocells are used in outdoor lighting systems to detect when it is dark enough to turn on the light. Photocells are used in automated lighting control applications to detect illumination levels, such as turning on street lights when it is dark. Used a photocell switch to control outdoor lightings, such as a porch lamp or safety floodlight.
How Does a Photocell Work?
By moving the switch inside your home to the “manual” position, you are turning off all the power of the photocell. Now, when you walk outside and find darkness, it is almost impossible to see that lock. Because when the illumination is not on, you will know that a photocell has broken. The photocell, or light sensor, lets you control when your outdoor light is on and off. The photocell works by detecting light around an outdoor fixture. In this tutorial, we are going to teach you how to add a photocell to an outdoor illumination. This allows energy from the transformer to flow through the control circuit and it switches to low voltage lighting.
In most cases, you will be able to place a photocell unit on top of the fixture’s current illumination switch. A photocell unit is a small box with a switch attached to your outdoor fixtures. The light sensor in the box detects the light in a certain area and it turns itself on or off as soon as it detects the lack. You can pair it with a lamp timer. Allows you to program the lights on and off at specific times throughout the day.
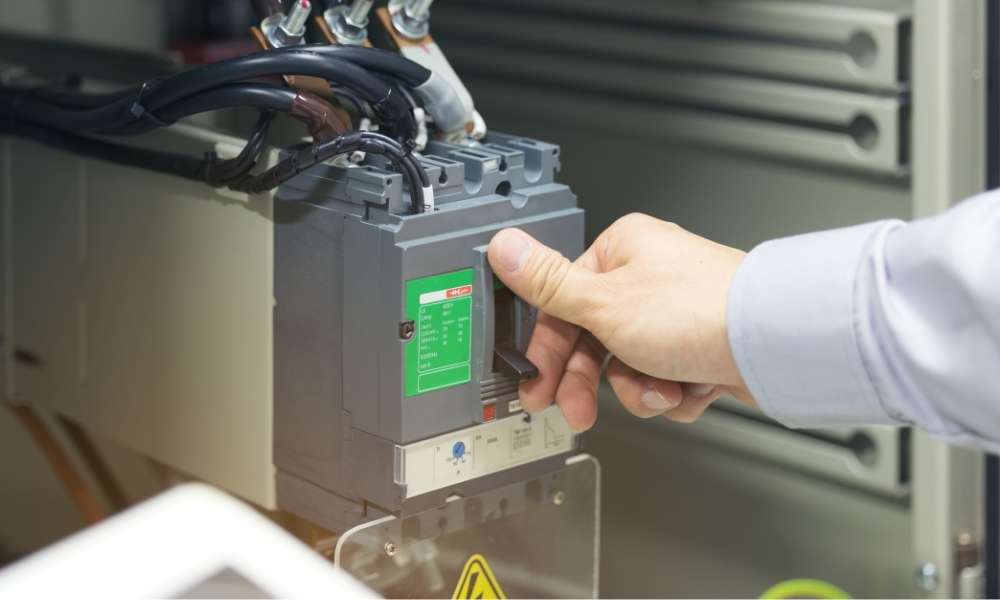
Step 1. Power off the Circuit Breaker
An outdoor light that stays on all night can dramatically increase your utility bill. When the sun goes down, the photocell will engage the circuit but will turn off the electricity when it returns in the morning. The first step in installing a photocell in an outdoor illumination is to turn off the circuit breaker power. It is a good idea to mark the breaker switch with a label. Locate the correct circuit breaker on your home’s electrical panel that controls the lighting fixtures where you want to install Photocell.
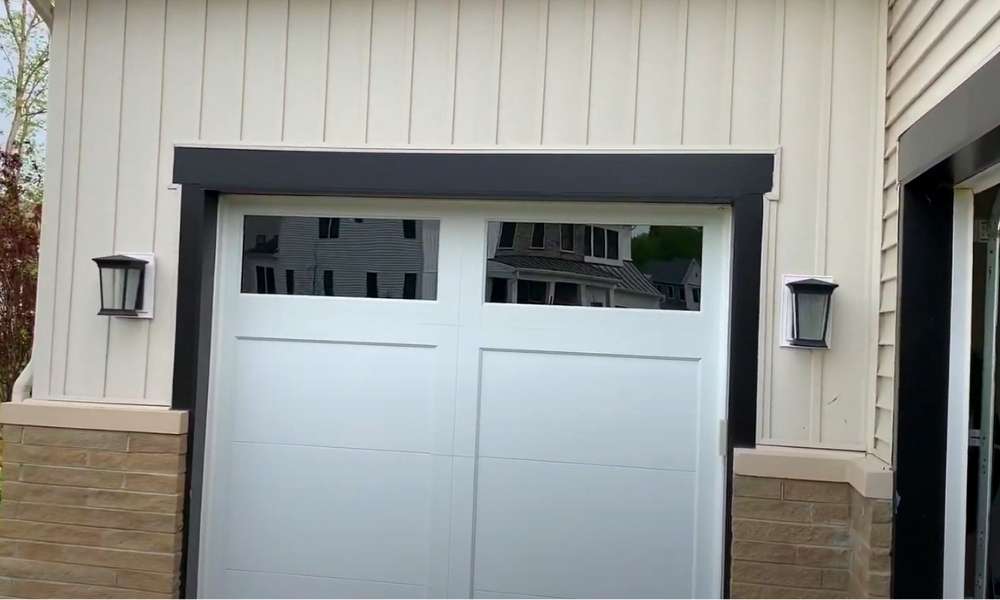
Step 2. Remove the Existing Fixture
Outdoor lighting can provide security or enhance the look of your home. In most cases, homeowners can install outdoor lighting themselves. One of the best ways to improve the overall look and functionality of your outdoor lights is to add a photocell to them. This simple electrical device automatically turns on the lights when you need them most.
Most outdoor lighting fixtures are mounted to the wall or home using a single nut in the center of the fixture. Pull the plastic cover over the exposed wire connection. Use your needle nose pliers to remove the wire nuts. Unwrap any wire around the exposed wire.
Step 3. Identify your Installation
If you plan to replace your fixtures completely, you may need to use wiring nuts and electrical tape when connecting new sensors to your existing lighting.

Here are just two options for installing Photocell. Option 1 works with lights that have an electric box mounted on the rear side and not 90 or parallel degree of adaptation. The second option works best with illumination fixtures that do not have outlet boxes, such as post lights, step lights or wall sconces.
Step 4. Use Pliers for Cutting off the Insulation
Cut off the excess wire. Connect the black and white wires to the power source from the circuit. Separate the reconstructed wire plugs so that their wires are exposed. Use pliers to remove screws in place of the switch housing. Turn on a flashlight before you reach this area. You can see what you are doing. Add each wire by twisting them together with its corresponding color.
Remove enough cover from each connecting point to create a new joint. Use pliers to twist a copper crimp sleeve together at each connection. Pull each connection until it feels tight, then use your other hand to hold any excess wire stuck. To each crimp sleeve before crimping with a pair of flat-nosed pliers. Do not pull cables from their sockets while tightening your connections. Remove some of the insulation from one end of the cable. That runs from your newly installed photocell to the top of your light fixture. Install a screw terminal connector for use with ground wires.
Step 5. Strip the Cable
Carefully strip the outer layer of insulation from the wire.. Below this is a separate layer of insulation around each wire (these are insulated from each other). It is white, brown, red, green or blue. It is important that you only remove the outer rubber layer and do not damage the inner insulation. This is best done with a sharp knife or a Stanley knife. Cut into rounds until your knife bites into the rubber, then continue but do not press too hard or hard.
Step 6. Twist-On Connectors
Never get stuck in the dark again with a simple twist-on connector. This section will show you how to add a photocell to an outdoor light. The strategy is that twist-on connectors are medium-power. Connectors are used to connect wires to devices such as outlets and switches. Designed to provide fast, easy, and secure electrical connections using a “twist-on” action. By twisting one of the two conductors with a compatible connector, a reliable connection whenever you screw on a light bulb.
Step 7. Mount the Junction Box
Mount the junction box or duct to the wall where you will install your light switch. For an exterior wall, a stud in the middle of two windows or doors is the best place. Remove any insulation from the wall, leaving enough room for you to mount the junction boxes. Still leave your own space to install your cables.
Drill a hole with a saw in the back of the junction box, making sure. You do not drill any wires in the process. Use your multi-tester to make sure no power readings are coming from this point on the wall. In this process, you need to drill holes and use screws. If you want to work your light switch while standing on the ground
Step 8. Insert the Photocell to Conduit
Once you have the junction box for your photocell, insert the photocell into the junction box. To do this, you need to loosen the screws that hold the old switch before loosening. The screws on the backplate for the photocell. Before you try to remove any material from the junction box.
Make sure you turn off the power to the light fixture. Some older homes use an enclosed electric box with an open duct. It is basically a pipe that connects all the components to each other. If it is not a junction box, insert both pieces of drain and wire through the opening to connect one to the other.
Step 9. Connect the Other End of the Photocell
Wear your safety goggles and then feed the edges through the box. You will have a hanging photocell wire, attach the black lead of the photocell to the copper lead of the outdoor illumination. Connect the red lead of the photocell to the black wire from your outdoor lighting. Wrap the leads together, cap them with a twist-on wire cap. Return them to the junction box. Turn on your outdoor lighting and adjust it so you can turn it on whenever you want. Keep the sensor side of your cell facing outwards so that it can detect darkness.
Step 10. Mount the Fixture to the Existing Junction Box
Attach the new photocell to the existing junction box. Connect the wires from the photocell to the 10 gauge black wire and the 10 gauge white wire. Secure each connection with a wire nut. Hold in place by a large round nut which is screwed to the outside of the electrical box. Attach the mounting bracket to the side of the electrical box before mounting your light fixtures as you normally would. Instead of hardware for your new outdoor light fixtures, connect the wires to the photoelectric control.

Step 11. Test Your Installation
Turn on the power again and check your installation by walking in the light range. The photocell should turn on the light immediately and turn it off again as soon as you get out of the way. It often takes a few trips before the photocell and illumination are turned on. Once the lights are off, disable the illumination switch so that your outdoor lights do not turn on. You can do this by turning off the breaker attached to them or by removing the fuse in that circuit. To turn on the lights again the light sensor must detect the darkness, so that their motion is activated.
Step 12. Need to Be Aware of
Outdoor lighting is a great deterrent when trying to keep thieves away. However, there is not the slightest meaning in running the illumination all the time. This is where a photocell comes into play. Be very careful when removing sensors. Be aware of which wires are neutral and which are live. If in doubt, turn off the circuit breaker in your outdoor lighting so that none of the wires are live. If you do not feel comfortable working on your home’s electrical system, contact a qualified electrician.
Advantages of Using Photocell
The photocell sensor is a useful device. Used to control light and see how to add a photocell to an outdoor illumination. These sensors can detect natural light. So you can find them in many outdoor applications like street lights etc. In addition, if you want to turn off the light at a certain time, to maintain the time function.
Using the light-activated switch in outdoor lighting circuits is known as photocell or photo switch. This material is commonly found in street lighting, floodlights and safety lighting. The purpose of the device is to eliminate the difficulty of turning the lights on and off manually. These are a great way to save money on your electricity bills. Because they control themselves and you don’t have to worry about turning them on or off.
Conclusion
Close the light fixture and use a plastic screwdriver to loosen the plastic cap holding the matte glass. Remove the glass, beware of broken glass. Connect your photocell to the wire in your outdoor lighting using cable nuts. Make sure you have your black wires and your white wires connected together. Seal the connection with electrical tape, but do not cover the top of the photocell. Screw a nice new plastic cap. Screw it on your connection. Screw the glass back into place. Check your photocell while waiting for it to get dark and see when your light turns on automatically.
If your lighting is for any other voltage (220V, 12V, etc.), you may need a different resistor. If your illumination is already on a timer or motion sensor, connecting a photocell may not work well. Some fixtures have electronic ballast installed. If you have any doubts about your existing circuit, ask an expert to help you install the lighting control circuit. Now you know how to add a photocell to an outdoor light that is as clear as water.