
Table lamps are versatile lighting fixtures that decorate the environment of any area. Over time, however, their sockets may additionally wear out or malfunction, rendering the lamp vain. Replace A Table Lamp Socket may appear intimidating, but it’s a straightforward project that every body can accomplish with a bit guidance. In this text, we’ll walk you through the manner, ensuring your lamp shines brightly once again.
1. Understanding the Basics of Table Lamp Sockets
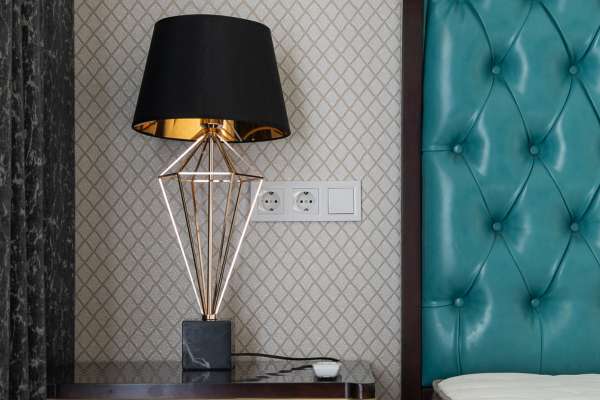
Table lamp sockets are the heart of your lamp, connecting the bulb to the electric wiring. These components come in diverse designs, which include general, 3-manner, and touch-touchy sockets, every serving a unique cause. A defective socket can bring about flickering, a non-useful lamp, or maybe a safety chance. Recognizing the signs of wear and tear—such as loose connections or burnt odors—is essential to keeping a practical and safe lamp.
2. Tools You’ll Need for the Job
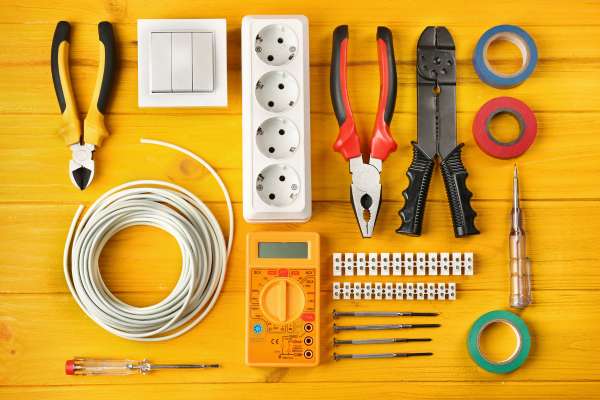
Before diving into the repair technique, gather the vital equipment to make certain a clean operation. Here’s a list of essentials:
- Screwdrivers: Both flathead and Phillips for disassembling components.
- Wire Cutters and Strippers: For coping with the electric wiring.
- Replacement Socket: Match the specifications of your old socket.
- Electrical Tape: To steady and insulate connections.
- Multimeter: Optional however beneficial for checking electrical continuity.
Safety is paramount, so include shielding gloves and goggles to defend your self from capacity hazards.
3. Preparing Your Lamp for Socket Replacement
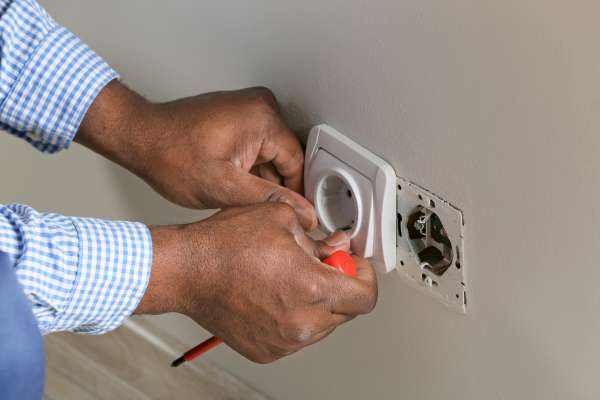
Preparation is fundamental to a successful socket replacement. Begin with the aid of unplugging the lamp to eliminate any threat of electrical surprise. Next, get rid of the lampshade and bulb to reveal the socket. Disassemble the lamp cautiously, noting the arrangement of its additives for reassembly later. As you figure, inspect the lamp for other issues, consisting of frayed wiring or structural damage, that would require interest.
4. Choosing the Right Replacement Socket
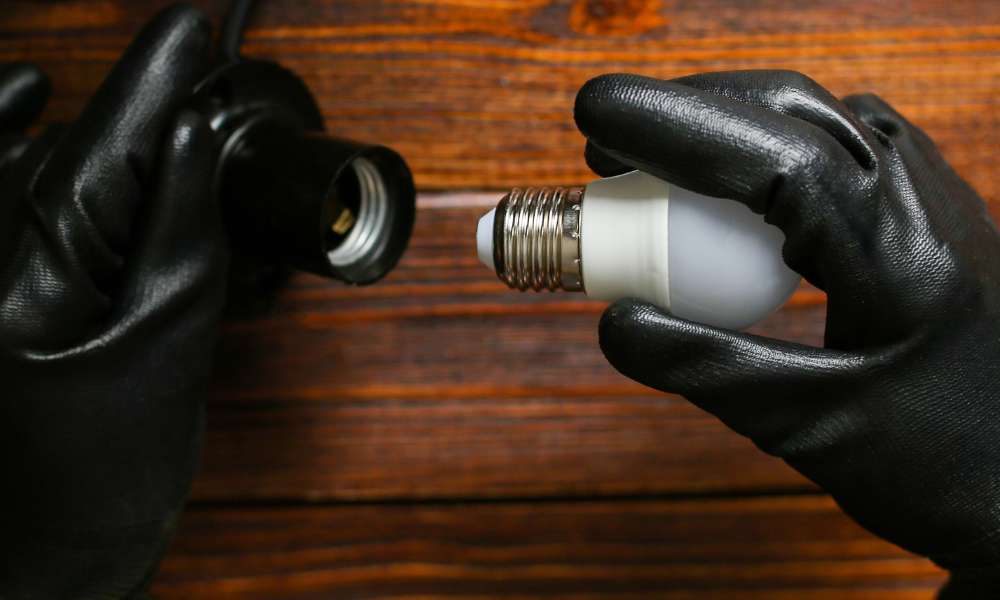
Not all sockets are created equal. When selecting a replacement, consider the lamp’s design, voltage requirements, and bulb type compatibility. For instance, three-way sockets accommodate bulbs with multiple brightness levels, while standard sockets suit basic lighting needs. Ensure the replacement socket matches the size and threading of the original to avoid compatibility issues.
5. Step-by-Step Guide to Removing the Old Socket
- Detach the Socket Cover: Gently twist or pry off the socket cover to access the internal wiring.
- Loosen the Socket Base: Unscrew the base from the lamp body.
- Disconnect Wires: Use wire cutters to separate the wires attached to the old socket. Note the color-coded connections for proper reinstallation.
- Dispose of the Old Socket: Safely discard the faulty socket to prevent reuse.
6. Installing the New Socket
With the old socket removed, it’s time to install the replacement:
- Connect the Wires: Attach the lamp’s wires to the corresponding terminals on the new socket. Typically, the black wire connects to the brass screw, and the white wire to the silver screw.
- Secure the Connections: Tighten the screws firmly and wrap them with electrical tape for insulation.
- Reassemble the Socket: Screw the socket base back into place and replace the cover. Ensure everything is snug and secure.
7. Testing Your Lamp After Replacement

Before reassembling the entire lamp, test the new socket to ensure functionality. Insert a bulb, plug in the lamp, and turn it on. If it works without issues, you’ve successfully replaced the socket. If not, double-check the wiring and connections. Use a multimeter to confirm electrical continuity if needed.
8. Enhancing Your Table Lamp’s Longevity
To keep your lamp in top condition, follow these maintenance tips:
- Use bulbs within the recommended wattage to prevent overheating.
- Regularly clean the socket and bulb contacts to avoid corrosion.
- Inspect the wiring periodically for signs of wear or damage.
9. Creative Ways to Upgrade Your Lamp During the Process

Replacing the socket gives an wonderful possibility to provide your lamp a makeover. Consider adding a elegant new lampshade, repainting the base, or embellishing it with ornamental accents. Small modifications can rework a practical lamp into a declaration piece that complements your decor.
FAQs About Replace A Table Lamp Socket
Can I Replace a Socket Without Electrical Experience?
Absolutely. Replacing a table lamp socket is a beginner-friendly task that requires basic tools and a step-by-step approach. Following safety precautions and detailed instructions ensures a successful outcome.
How Long Does a Replacement Usually Take?
The entire process typically takes 30 minutes to an hour, depending on your familiarity with the task and the lamp’s complexity.
Final Tips for Success
- Double-check all connections before testing the lamp.
- Work in a well-lit area to ensure precision.
- Keep children and pets away from your workspace to avoid distractions.
Conclusion
Replace A Table Lamp Socket is a rewarding DIY assignment that restores your lamp’s functionality on the identical time as improving your restore abilities. With the proper gadget, a piece endurance, and cautious interest to detail, you may enlarge the lifestyles of your favorite lamp and store money on professional protection. Let your creativity shine by personalizing your lamp all through the manner, making it a centerpiece in your home.