

Outdoor light bulbs are exposed to all elements, including changing temperatures, wind, rain and other debris. For example, an outdoor illumination bulb can burn much faster than a light bulb used indoors. In this episode, we will show you how to change outdoor light bulb. Safety is most important when changing bulbs. An outdoor light bulb is easy to replace and only requires a few tools. If your outdoor light fixture has a glass bulb cover, you will need to remove it before replacing the bulb. Some covers can be unscrewed by hand; Others require a small amount of force to remove. Place a soft cloth over the glass cover and unscrew to reduce the risk of breakage.
In some cases, you may need to reveal another aspect of light bulb housing to gain access to your home’s primary lighting fixtures. For example, in many recessed lighting units, you must first remove a center tab with a flathead screwdriver by twisting it counterclockwise. If you are unsure about your identity and the ability to safely replace an outdoor illumination bulb, please call a professional or please do not attempt to do this.
Necessary Equipments
- Power drill
- Screwdriver
- Outdoor lighting fixtures with mounting hardware
- Snip the wire
- Cable connector
- Electrical tape
- Call gun
- Silicone-based cologne
- A light bulb
Step 1. Power off the Lights From its Fixtures
To change the bulb, use a ladder long enough to reach the fixture safely. Do not touch the bulb during installation or after use. The heat can burn the fingers. Turn off the power of the exterior light fixture on a switch in your home. Wrap the bulb with one or two layers of masking tape without the screw base until it is completely covered. Remove the light bulb and dispose of it properly.
Security first! Once you get it to the ground, check your bulbs to see if you have any AC power off. If it is not turned off, at this point, do not touch or remove the new tuber due to electrical injury. You can use tape or mitten to remove and replace your bulbs.
Step 2. Remove the Glass Fixture
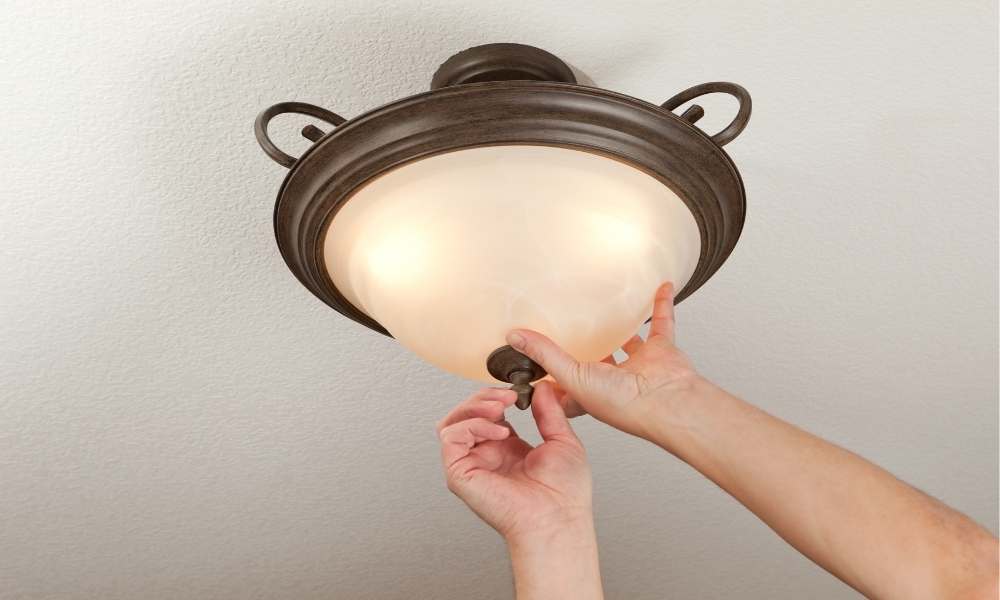
Before you start replacing bulbs and glass, you need to remove the fixtures from the installed area. Start by turning off the power to the main circuit breaker. Locate the fixture and remove the glass by turning it counterclockwise. Remove the light bulb inside and unplug the wires from the illumination socket. Hold the light glass cover firmly and turn it counterclockwise until it is completely removed.
This article will teach you how to change outdoor light bulbs. You will learn the size of the illumination bulb. As well as how to properly remove the glass fixture from its installed position. New bulbs in the fixture, and replacing fixtures in a wall or ceiling.
Step 3. Remove the Light Bulb
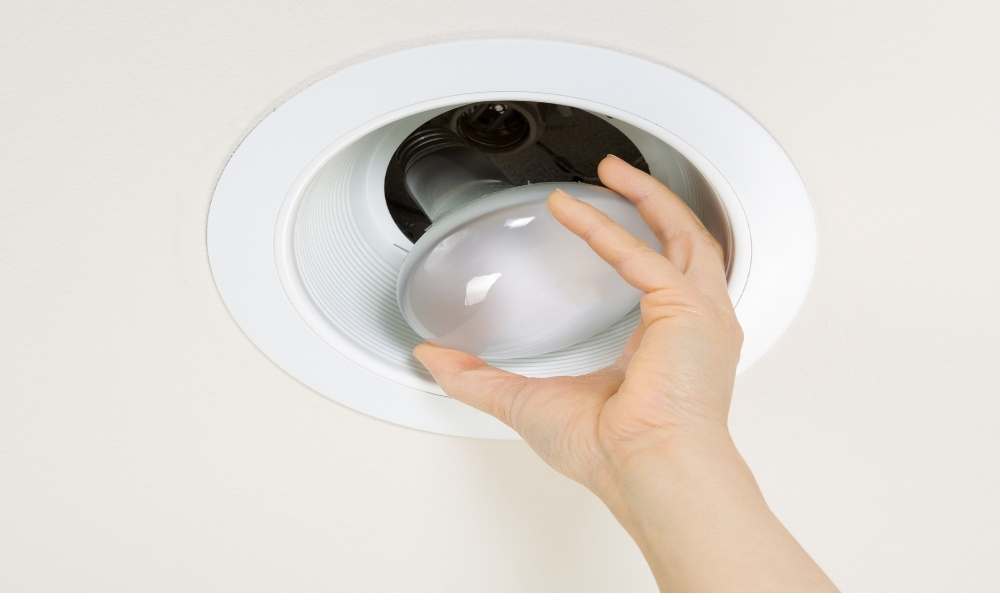
Remove the light bulb from the fixture. Depending on the style, a little energy may be needed to remove the shadows and bulbs from the fixtures. To replace an outdoor light bulb, start by closing the power supply circuit in the illumination fixture. Next, remove the shadow of the light fixture and turn the bulb clockwise to remove it from its socket. After removing the old bulb, simply screw a new one. How to choose a power-efficient replacement bulb.
The light bulb you need to replace is a PAR38 LED floodlight with a warm white (3000K) CRI 80+ color temperature. You should also consider switching to smart bulbs like the Philips, with the added benefit. You won’t have to stand under the stairs ten times a year indefinitely.
Step 4. Install a new Light Fixture
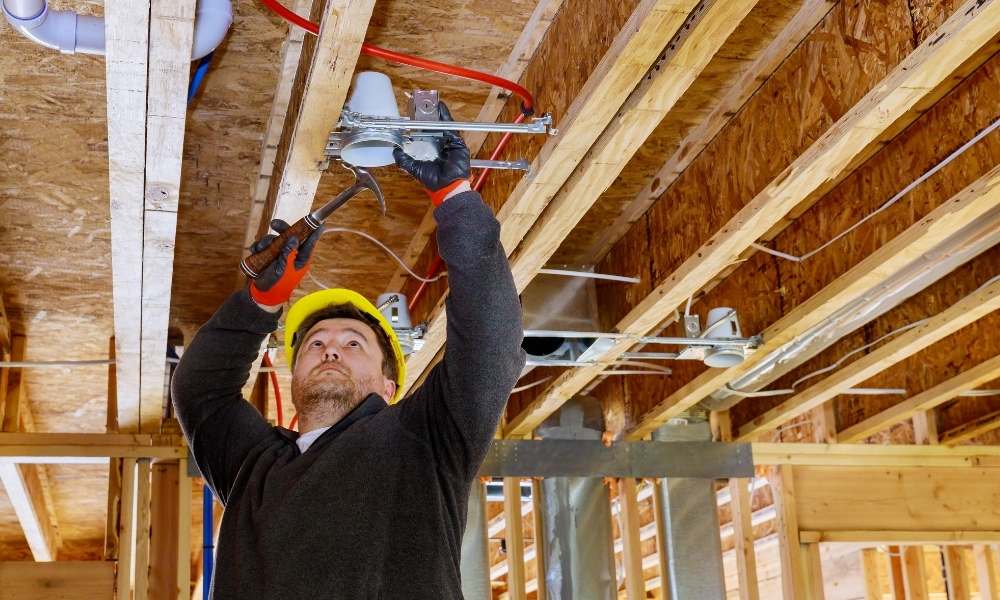
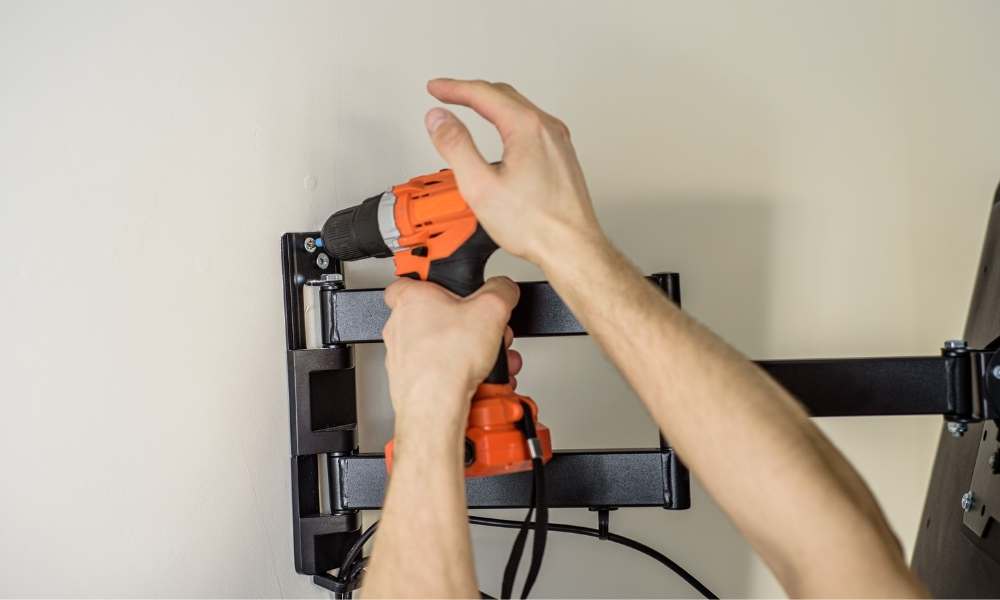
Turn off the power before you start. Remove the light bulb. Use a screwdriver to remove and discard old fixture hardware. Remove the fixture and remove the wires – be sure to keep them intact and do not cut any wires. On the mounting bracket, unscrew any screws using a screwdriver, place your new fixture and secure. Use wire nuts to reconnect wires to your new fixtures and use electrical tape to increase safety.
A standard light fixture or lamp cord consists of three wires: a heating wire. That carries electricity from the power source to the fixture, a neutral wire that carries the electricity back to the power source, and a ground wire. The ground is responsible for any electrical response if your wiring is not done properly. Secure your new fixture to your old fixture with the screw removed earlier.
Step 5. Wrap the Ground Wire

Make sure the breaker is off and the power is disconnected. Connected to a blank ground wire, you will need to reconnect it. Cut the old wires. Use a hanging chain or wire to support the new fixture when you connect the cable. Wrap the ground wire twice around the green ground bolt and fasten securely with a nut. The only surefire way to make it less dangerous is to replace an outdoor switch with a ground fault circuit interrupter (GFCI). Now wrap each of the other two wires around the white and black screws once in the order shown.
Step 6. Twist Together
Remove the bulb from your fixture by hand or use a plier. Since light bulbs are installed in places that are not easily accessible. it is important to use a safe ladder and wear safety goggles. Turn the illumination bulb socket to the left (counterclockwise). Turn the new light bulb clockwise on the socket. Make sure you twist the bulb until you feel it tight and secure. Fixtures often stay out for long periods of time, so bulbs can collect dust and moisture. Clean the entire insulator with a soft cloth.
Step 7. Screw a Mount Attached to a Fixture
To properly place a light bulb extension pole, tighten the clamp in the ceiling junction box. Its open mounting screw, loosen and remove the electrical cover of the illumination fixture. Remove the nuts that secure the illumination fixture, and then draw a wire. Secure a bundle of wires. Remove one end of a wire nut to separate a wire bundle. Find the mounting screw attached to the fixture where it is attached to your illumination fixture host. Use a pair of pliers to loosen the mountain screw. The wire then loops around this screw. You are ready to install your new light fixtures. This is when installing your new fixtures.
Conclusion
Knowledge is the light that illuminates the dark spots in your home improvement project. Once you equip yourself with some experience and knowledge, changing outdoor illumination bulbs suddenly becomes easy. The next time you need to change a bulb in your yard, you’ll be able to do it quickly and painlessly. When you need to change your outdoor porch lighting, find your circuit breaker box and turn off the power. Loosen the screw in the center of the fixture holding the glass illumination cover. Remove the center screw and remove the glass. Hold the glass while taking out the old bulb. Place a new bulb to protect a soft item, then install on a illumination fixture. Hang the glass cover and tighten the screw in the middle.
Turn on the power in the circuit box. Each outdoor lighting unit is different. But they all have the same basic function: to provide illumination in dark areas. Most units are controlled by an internal switch and have an internal fuse that requires access to the illumination tool. Some older units also have a glass cover. While outdoor lighting is undoubtedly amazing and beautiful, it is difficult to change illumination bulbs between them. Sometimes you need someone to do it for you, other times you need the right tools like a ladder. This article was intended to help readers understand how to change outdoor light bulb.