
If your old recessed light housing is no longer functioning and needs to be removed, there are a few steps you can take. The first is to identify the location of the housing. This can usually be done by looking at the ceiling or wall where the light is located. Once you have identified the housing, use a screwdriver to pry it off. You may need to use a flat head screwdriver for this because some recesses in the housing are designed to hold screws. There is a Remove old Recessed illumination housing.
There are a few different ways to remove old recessed light housing. The most common way is to use a wire saw. However, if the housing is very brittle or if it is difficult to reach with the saw, you can try using a power drill. If you decide to use a power drill, be sure to wear protective gear, including goggles and a welding mask.
Step 01: What Is Recessed Lighting?
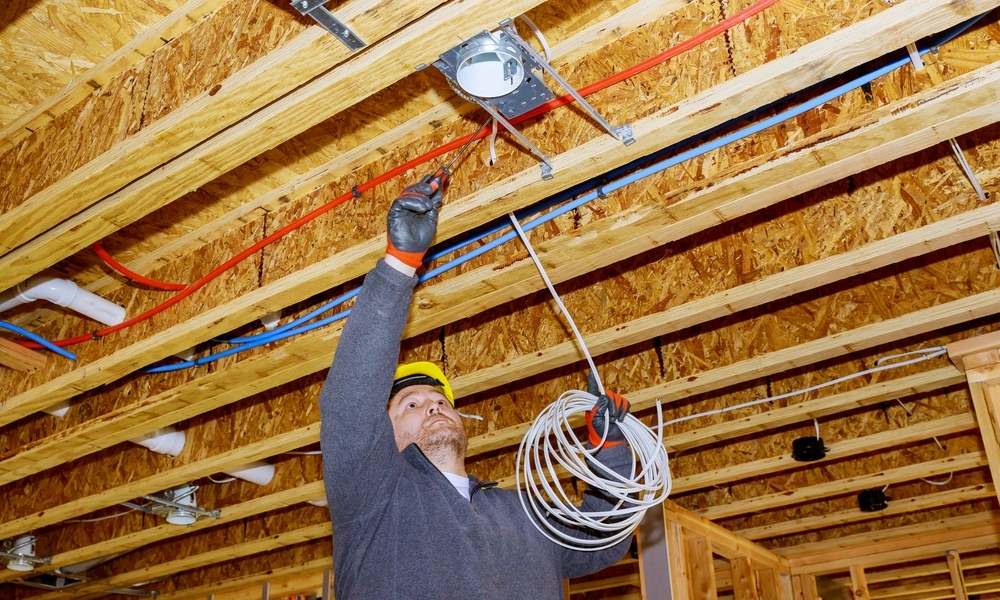
Recessed lighting is a type of light fixture that is installed on the ceiling. It is often used in kitchens, bathrooms, and other areas of the home. There are two types of recessed lighting: standard and low-voltage. Standard recessed lighting fixtures use a standard 120-volt outlet, while low-voltage fixtures use a transformer to reduce the voltage.
There are two main types of recessed illumination housings: remodel and new construction. Remodel housings are used to replace an existing illumination fixture, while new construction housings are used to install a new light fixture. Most recessed illumination housings have a trim ring that can be painted or stained to match the ceiling. Removing old recessed illumination housing can be difficult if you don’t know what you’re doing.
Step 02: Replace The Old With New
Replacing the old recessed light housin is a great way to improve the look of your home. Not only will it make your home look more modern, but it can also be a cost-effective way to change the appearance of a room without needing to paint or redo the flooring.

Removing the old housing is a relatively easy process that can be done in just a few minutes. All you need is a screwdriver and a ladder. Use the screwdriver to remove the screws that hold the housing in place. Then, carefully pull out the housing and set it aside.
Take the new housing and insert it into the opening. Make sure that it is sitting flush against the ceiling and that all of the screws are tight. Finally, reattach the cover and replace any insulation that was removed during this process.
Step 03: How Much Does It Cost
Removing old recessed light housing can be a simple task, or it can be a daunting one, depending on the type of houses you have. If your recessed illumination has metal housing, then the process is fairly simple. All you need is a screwdriver to remove the screws that hold the houses in place. However, if your recessed illumination has plastic houses, then things can get a bit more complicated. In most cases, the plastic housing is held in place by spring clips that need to be released before the housing can be removed.
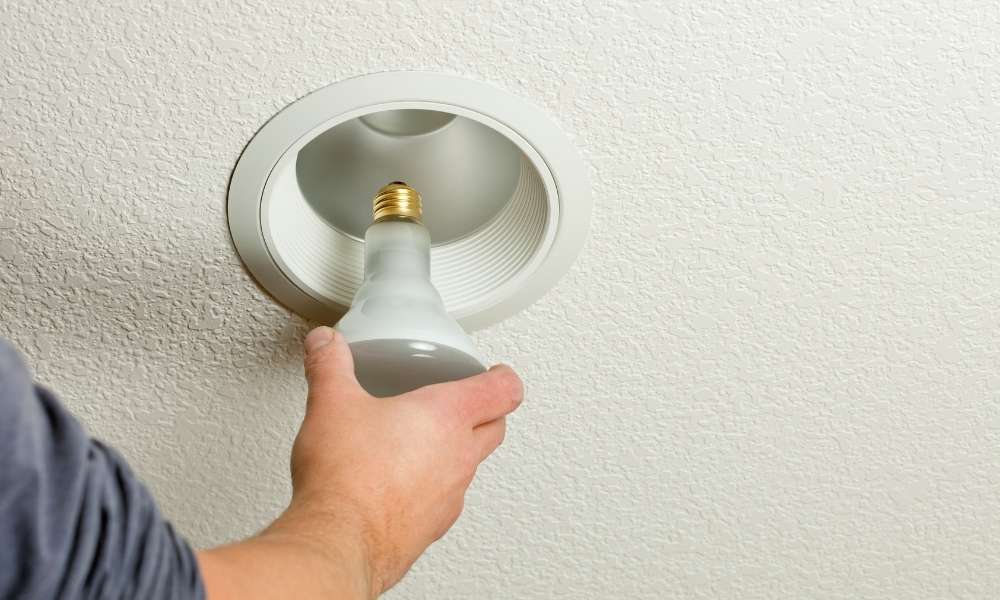
Once the houses is removed, you will need to take out the old light bulb and replace it with a new one. Be sure to check the size and shape of the new bulb before buying it, as not all bulbs are compatible with all housings.
Step 04: Other Recommended Maintenance

There are a few other maintenance tasks that should be completed on a yearly basis to ensure the safety and functionality of your home. One such task is removing the old recessed illumination housing. This can be dangerous if not done properly, so be sure to follow the manufacturer’s instructions closely.
Another task that should be completed yearly is checking the smoke detectors and changing the batteries, if necessary. It’s also a good idea to clear any debris from around them so they can function properly in case of an emergency. It’s important to check all of your windows and doors to make sure they are sealed tightly and there is no water infiltration. If you find any issues, be sure to address them as soon as possible to prevent further damage.
Step 05: When Do I Call On A Professional
When it comes to home improvement projects, some are DIY and some should be left to the professionals. If you’re not sure whether a project is something you can do on your own, it’s best to consult with a professional.
One such project that may seem simple but can actually be dangerous if done incorrectly is removing an old recessed illumination housing. Unless you have experience working with electricity, it’s best to leave this job to a professional electrician. They will know how to safely remove the houses and dispose of it properly.
Step 06: Turn Off the Breaker

Removing the old recessed illumination housing is a simple process, but it is important to turn off the breaker first. If you are not comfortable working with electricity, please consult a professional. The first step is to locate the breaker box and turn off the breaker for the light fixture. Once the breaker is off, remove the cover plate and unscrew the nuts that hold the illumination in place.
Gently pull on the light fixture to remove it from the ceiling. Be careful not to damage the wiring or insulation. Once the illumination is removed, disconnect the wires and label them accordingly. Screw in a new recessed illumination houses and reconnect the wires. Replace the cover plate and turn on the breaker.
Step 07: Recessed Light Housing is a Simple Process
Removing a recessed light housing is a simple process, but it can be a little tricky if you’ve never done it before. The key is to turn the light counterclockwise to remove the houses.

Remove the screws that hold the housing in place. There may be one or two screws on the top and bottom of the houses. Once the screws are removed, gently pull on the houses to remove it from the ceiling. Be careful not to damage the wiring or light fixture when recessed illumination housing the houses. If you’re not sure how to proceed, it’s best to call a professional electrician.
Step 08: Go to the Inside Ceiling
Removing an old recessed Inside Ceiling light is a fairly simple process that can be completed in about 10 minutes. The first step is to remove the trim around the illumination. This can be done by inserting a screwdriver into the slots on the trim and prying it off. Once the trim is removed, you can unscrew the illumination housing from the ceiling.

Be careful not to drop the screws, as they will be difficult to find once they fall into the hole in the ceiling. Once the housing is removed, you can replace the bulb and reinstall the houses.
Step 09: Squeeze the Side Spring Clips

Removing the old remove a recessed light housing is a simple process that can be completed in minutes. The first step is to remove the trim ring that surrounds the illumination. This can be done by inserting a flat head screwdriver into the slot on the trim ring and prying it off. Once the trim ring is removed, locate the two side spring clips and squeeze them together to release them from the houses. The housing can then be removed by pulling it down and out of the ceiling.
Step 10: Turn Off the Light
When you are finished with your old recessed light, the housing is the last thing to go. The houses is the metal frame that the illumination bulb screws into. To remove it, there are a few simple steps to follow.

Use a screwdriver to unscrew the illumination bulb and then set it aside. There should be two screws on the top of the housing. Unscrew them and then set the houses aside. There may also be a screw at the bottom of the houses. If so, unscrew it and set it aside as well. Now that the houses is removed, you can install your new recessed illumination. Follow the instructions that come with your new light kit to complete the installation process.
Step 11: Removing a Recessed Light Housing for a Long Time
It can be difficult to remove a recessed illumination housing if it has been in place for a long time. The screws that hold the houses in place may be rusted, and the caulking around the opening may have deteriorated. In order to remove the old houses, you will need a screwdriver and a chisel.
Use the screwdriver to remove the screws that hold the houses in place. Then, use the chisel to pry open the caulking around the opening. Be careful not to damage the wires or light socket. Once the caulking is removed, you should be able to pull out the old housing.
Step 12: Slightingly Pull Down the Light

Removing a recessed illumination housing is a relatively simple task, but it should be done with caution. The first step is to turn off the power to the illumination by flipping the switch in the circuit breaker box. If there are any bulbs in the illumination, remove them before continuing. Once the power is off, twist the houses of the illumination counterclockwise to remove it from the ceiling. Be careful not to drop it as you remove it.
Once the housing is removed, take a look at the wires coming out of it. There should be two black wires and two white wires. Untwist each wire from its connector and set the houses aside. It’s important to note which wire goes where, as they will need to be reconnected in the same order when installing the new houses.
Conclusion
Removing an old recessed illumination housing is a fairly simple process that can be completed in a matter of minutes. With the right tools and a little bit of know-how, you can have that houses removed and replaced in no time.