
Have you ever been ready to change a lightbulb, only to find yourself staring at a ceiling light cover that just won’t budge? Trust me, I’ve been there! It’s one of those small, Everyday frustrations that can throw you off. So, how to remove ceiling light cover no screws? In this article, I’ll walk you through a simple, Step-by-step process to tackle this challenge with ease. Whether you’re dealing with a flush-mount light or just want to clean your fixture, you’ll find all the tips and tricks you need right here. Let’s get started!
Why You Might Need to Remove
Have you ever changed a bulb only to be thwarted by the light cover, which simply won’t come off? You’re not alone. Sometimes, you want to change the light cover for cleaning, replacing lights, or enhancing the look of your light. I hate learning how to remove without screws, it makes things so much easier.
Most covers will be taken off to replace a light bulb. Dust, over time can accumulate, cleaning it keeps your home fresh looking. You may also need to take the cover off if you are changing out your fixtures or repairing the light.
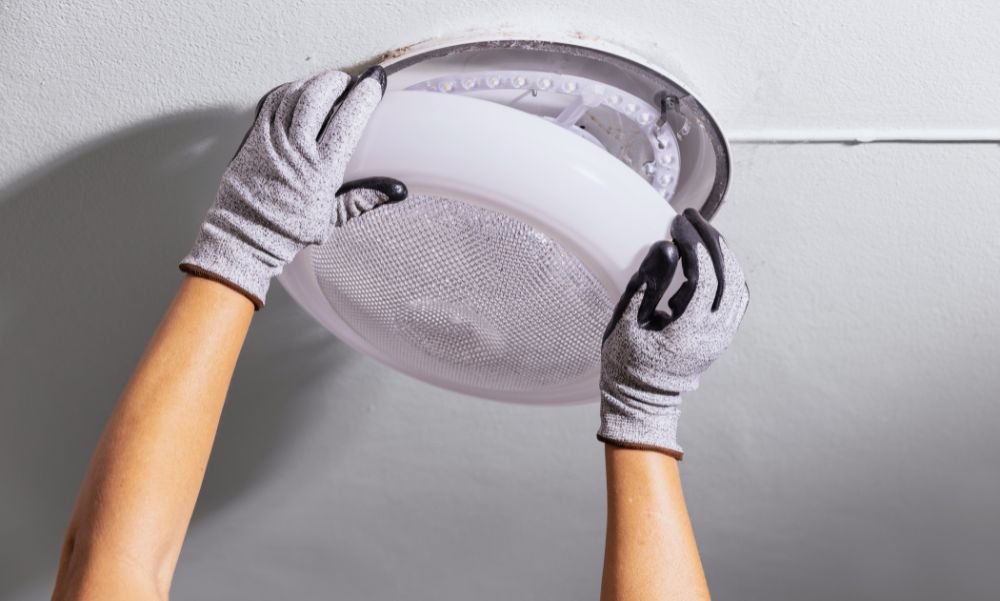
To use this method, you need a flush-mount light, which is the most typical type of ceiling light. They are flat against the ceiling and can be somewhat tricky to get off. It’s a piece of cake once you know the steps.
Step 1: Turn Off the Power (Safety First!)
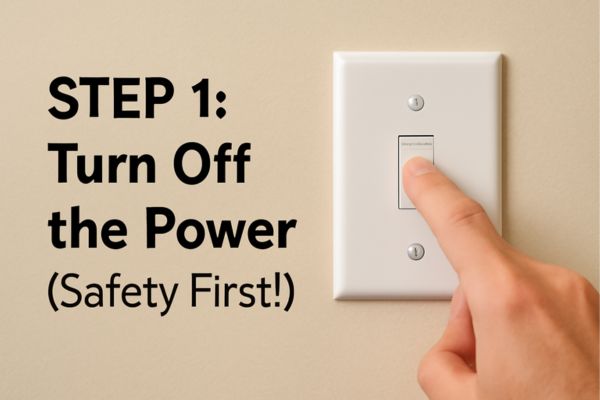
Always begin by turning off the power to the light. This step is necessary to prevent an electrical disaster. Turn off the switch or throw the breaker to be doubly safe. It only takes a second and lets you work in a safe environment.
Step 2: Inspect the Light Cover for Hidden Clips or Latches
Look closely at the ceiling light cover. Many covers are held by clips or latches that are not immediately obvious. Check the edges of the cover to see if anything needs to be released. These clips are usually the key to removing the cover.
Step 3: Gently Twist or Pull the Cover
If no clips or latches are visible, try twisting or gently pulling the cover. Some covers are designed to come off with a slight twist or pull. Make sure to be gentle, as too much force can cause damage.
Step 4: Use a Flathead Screwdriver if Necessary
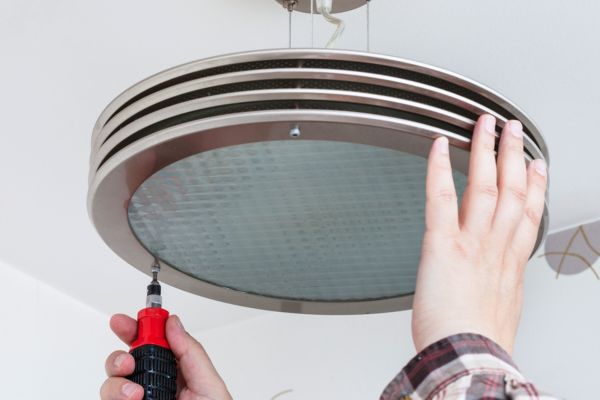
If the cover still doesn’t budge, a flathead screwdriver can help. Insert it gently between the cover and the fixture. Twist carefully to pry the cover loose. Don’t use too much force to avoid damaging the cover.
Step 5: Check for Magnets or Snap-in Features
Some modern ceiling light covers are magnetic. If the cover feels stuck, it might have a magnet holding it in place. A gentle pull or a small flat tool can help release the cover without damaging it.
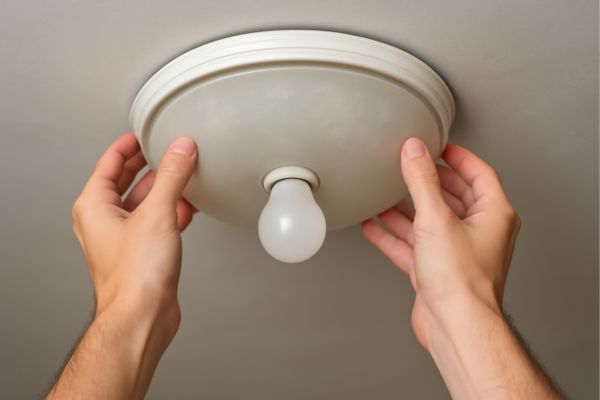
Step 6: Remove the Light Bulb (If Needed)
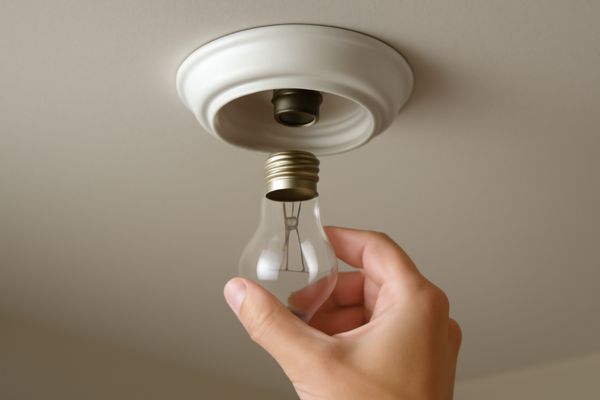
With the cover removed (if needed, you might have to remove the bulb). Carefully unscrew the bulb and set it aside if you are replacing the bulb or performing additional adjustments. This is to prepare the fixture for repairs or transmogrifying it.
Troubleshooting: What to Do if the Ceiling Light Cover Won’t Come Off
If your light cover won’t come off, it could be due to a few reasons. The cover might be stuck, the technique used may not be correct, or the cover could have worn over time. No need to worry—there are simple fixes.
Possible Causes:
- Stuck Covers: Dirt or dust can cause the cover to stick to the fixture.
- Improper Technique: You may not be twisting or pulling in the right way.
- Wear and Tear: Older fixtures may make it harder to remove the cover.
Expert Advice:
Be patient when trying to remove a stuck cover. Apply gentle pressure in the right direction. Don’t use too much force, as this could break the cover or damage the fixture.
Pro Tip:
If the cover is still stuck, spray a little lubricant around the edges. This will loosen any buildup or grime. Wait a few minutes and then try again with gentle pressure.
Different Types of Ceiling Light Covers: Which Method Works Best?
Removing a ceiling light cover with clips depends on the type of cover and material. Let’s look at the most common types and the best way to remove them.
Flush-Mount Lights:
Flush Mount Lights that can sit close against the ceiling. Usually, neither has screws. Instead, they employ clips or twist-lock systems to remain standing. Seek clips or latches on the sides. If you don’t see any, try gently twisting the cover counterclockwise to remove it.
Short answer: For flush-mount lights, check for clips or twist to remove the cover.
Glass, Plastic, or Acrylic Covers:
Glass covers are heavy and fragile, so handle them carefully. Plastic covers are lighter and often come off with a twist or pull. Acrylic covers may use magnets or snap-in features, making them easy to remove with a gentle pull.
Short answer: Glass needs care, while plastic and acrylic covers are easier to remove and often use snaps or magnets.
Expert Insight:
The material affects how easily the cover comes off.. Glass requires extra caution to avoid breakage. Plastic and acrylic are more flexible and easier to remove. Acrylic covers often have magnets or snaps for quick removal
When to Call a Professional: Knowing Your Limits

Sometimes, removing it can be too difficult or risky. If the fixture is damaged or there are electrical issues, it’s time to stop. Trying to fix it yourself can make things worse.
Safety Check:
If the fixture is broken or if you see exposed wires, don’t continue. If you’re not sure about working with electrical parts, it’s safer to call a professional.
Expert Recommendation:
If you’re unsure about the removal process or encounter problems, contact a licensed electrician or handyman. They have the right skills to handle the job safely.
Common Mistakes to Avoid When Removing

Removing a ceiling light cover may seem easy, but it’s easy to make mistakes. Let’s look at the common ones and how to avoid them.
Forcing the Cover:
Patience is important. If the cover won’t come off, don’t force it. Forcing it can break the cover or damage the fixture. Apply gentle pressure instead.
Using Improper Tools:
Using a flathead screwdriver can help, but be careful. Don’t use too much force. A gentle twist is all you need to loosen the cover without causing harm.
Ignoring Safety Protocols:
The most important step is turning off the power. Never attempt to remove a light cover with the power on. This can lead to dangerous electrical accidents.
Learn more about ceiling light fixture installations and tips
Conclusion
Removing a ceiling light cover without screws is easier than it seems. First, always turn off the power for safety. Then, check for clips or latches holding the cover in place. If there are none, gently twist or pull the cover. If it’s stuck, use a flathead screwdriver carefully.
With practice, you’ll master the technique. Don’t rush or force anything. Safety is key, and with a little patience, you’ll easily remove the cover next time.
FAQs
Why won’t my ceiling light cover come off?
The cover may be stuck due to dirt or grime, or it may be held by clips, latches, or magnets. Check for these and apply gentle force to release them.
Is it safe to remove a ceiling light cover without turning off the power?
No, always turn off the power before attempting to remove the cover. This ensures your safety while handling the light fixture.
What tools do I need to remove a ceiling light cover?
A flathead screwdriver is often helpful for loosening a stuck cover. For most covers, you may only need your hands to twist or pull the cover gently.