

Many of us haven’t seen the “how to change a light bulb” trick? Well, we’re not going to crack any jokes here. We are going to help you. And yes, it is possible to replace a light bulb with a high ceiling chandelier. If you have trouble replacing light bulbs in your high ceiling chandelier, you should read this post. Here’s how to change light bulb in high ceiling chandelier.
Ceiling lights are very common at home or anywhere else. They are installed and read lightweight. Lighting is an important issue for the house nowadays. Using it you can change the look of your home without changing the wall paint or the ceiling. You can easily change the bulbs and change their availability within 3 or 5 minutes. All light bulbs can be easily replaced by removing their cap and hanging them over them.
After installing you can adjust their height according to your needs. Soon, you’ll find the hidden screws there. A lot of times, people think they were able to do it themselves. But they were wrong. Because whenever they tried to do it, the whole thing was damaged beyond the required level.
There are many situations when you need to replace a light bulb in your home. Sometimes the process is simple, but there are cases when you have to struggle due to a high ceiling chandelier. Changing the bulb in your chandelier is not an easy task. To keep yourself in hand-foot contraction to reach your fixtures, especially if you replace the bulb at dinner.
Why Would You Need to Change ?
Installing a dim switch can save energy and reduce electricity bills. You may want to change your light bulb to add a touch of romance or brighten or dim the room. Whatever your reason, replacing a light bulb with a high ceiling fixture is best done by hiring the right contractor. However, if you find that you need to replace the light bulb yourself, here’s how to do it safely and easily. When you carry a high ceiling chandelier for the rest of your life, you get used to the dim light at first. It has its advantages and disadvantages. One of the negative features is.
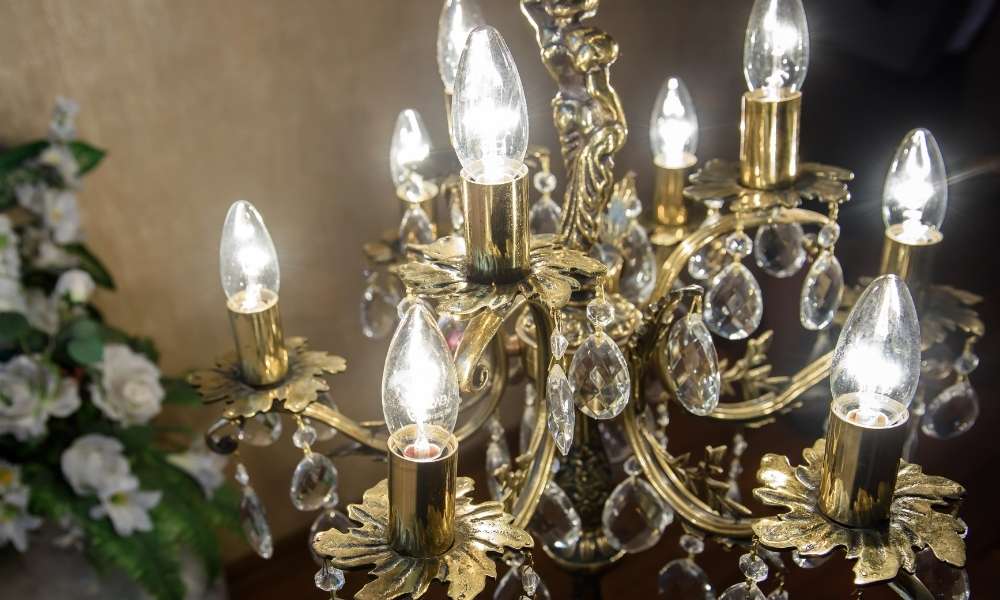
We are renovating our house. The first thing my wife and I wanted to change was the chandelier in the dining room. So the contractor sent an electrician to remove everything from the ceiling so that there would be light on the mount. The electrician said that if we got a fixture with some weight in it, we would have no problem hanging it. Therefore, we decided on this gorgeous 15-light chandelier. When it comes time to replace the light bulbs in our new 15-light chandelier, I find it to be a little challenging.
Allow the Bulb to Cool
If you work in an area with high ceilings, and your chandelier has exposed bulbs, you need to have some kind of access to the bulbs to replace them. You may have a small ladder that allows you to reach the bulbs and change your house quickly. You can pull the chain or turn a switch to lower the fixture so you can get closer. If you have one of these, allow the fixture to cool for at least 60 minutes before proceeding. Alternatively, you can use gloves or a rag to remove the bulb until its base is warm enough to touch. Once the bulbs have been replaced, they need to be turned on again. So that they can cool down and be reset to their proper level.
Use the Correct Bulb Type
To make sure your new chandelier light bulbs last as long as possible, you need to make sure they are the right type. LED light bulbs are superior to incandescent bulbs in many ways: they use about 80% less energy, they generate much less heat, they are available in different sizes and styles. They are four times more durable than their incandescent counterparts.
For the use of an ideal incandescent 100-watt light bulb, the appropriate ceiling height is 12 feet, as long as the room has proper ventilation. For halogen or fluorescent bulbs, you can use high watts in high ceilings. If a light fixture needs to be replaced and the new fixture. It has a small socket or low wattage or lumen rating, it may not be possible to install a chandelier.
Looking for a replacement bulb that fails in your ceiling fan, chandelier or sconce. You will want to match the specification of the old bulb. By reading what is printed next to an old bulb or by viewing it online. For example, if you have a 60-watt incandescent bulb, you may want to replace it with another 60-watt incandescent bulb. If your light fixtures support compact fluorescent bulbs (CFLs), they can also support LEDs. In that case, you’ll just want to find a bulb that has the equivalent light output and color temperature.
Read More: How to Clean Chandeliers on High Ceiling
Telescoping Bulb Grabber
Hello, I was wondering if you brought a new or sold telescoping bulb grabber. I need to replace the light bulb in a high ceiling chandelier. The two poles of this type are attached by a rope. So the length can be used as a handle for bulb grabber in a smaller one.
Telescoping Bulb Grabber High ceiling fixtures make it easy to replace light bulbs in chandeliers. It comes with an easy-grip handle, rigid aluminum shaft and foam pads for attached grip. Great tool for getting to difficult areas.
A telescoping bulb grabber allows you to convert a light bulb into a high ceiling chandelier without the need to use a ladder. Start by turning off the power control breaker in the fixture. Wait 15 minutes for the bulb to cool, turn off the power and apply eye protection. Remove and remove the cover from the light fixture. Remove defective bulbs and screws from their sockets. Screw on the new bulb.
Change A Light Bulb Using A Ladder
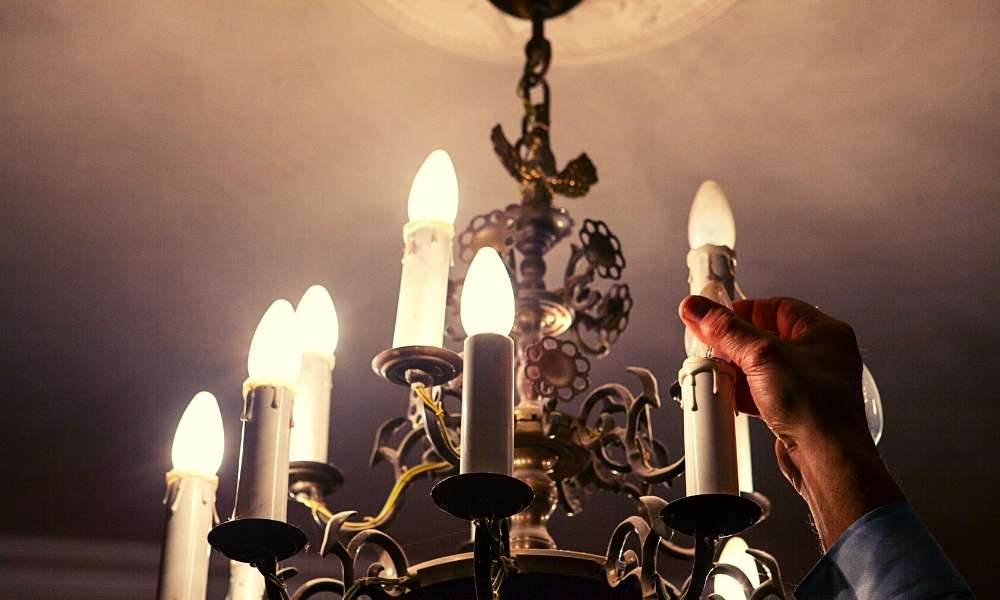
Replacing a lightbulb is a daunting task especially when it is located in a high ceiling chandelier or fixture. Safety and proper equipment are important when working with heights. This article will explain how to replace a light bulb in a high ceiling fixture using a ladder. Then you have to take some precautions and keep learning how to change light bulb in high ceiling chandelier.
Installing A Motorized Lift
How to install a motorized lift for chandelier maintenance. This step-by-step installation guide details the process of installing a motorized chandelier light lift. Includes the necessary tools, assembly instructions, part list, and installation tips.
If your home has a high ceiling, maintenance and cleaning. We can solve this problem by providing you with a motorized lift that will enable you to change the light bulb. Clean your chandelier or even replace it – all at the touch of a button. Now you can easily take care of your crystal chandelier in a hard-to-reach location.
Many people find that maintaining complex chandeliers is a messy and difficult task. Hiring someone to work for you can also be quite expensive. Mounting a motorized lift in the fixture can greatly reduce the cost of such maintenance. Finally come to pay for yourself!.
Safety Precautions
When handling something as delicate as a crystal chandelier, it is important to keep your stairs safe and wear appropriate safety gear. Some of your safety gear includes non-slip sole shoes or boots, and a sturdy step ladder. That is properly protected, eye protection in the form of goggles or glasses. A pair of thick leather gloves to protect your hands.
Turn off the power to the circuit and cover with electrical tape. Use a stiff ladder and place it on a non-skid floor. Replace bulbs with recessed lighting, step ladder may be required. Be careful when changing halogen bulbs; Turn off the power for 30 minutes before cooling the bulb with an oven mat or towel.
If the fixture is supplied by a ceiling-mounted junction box, make sure you use proper support to hold the weight of the light fixture. Avoid using staplers if possible. If you must use one, face the ladder and always keep three points of contact with it. Protect the hanging cords from light fixtures. So that they do not come in contact with anything hot when you change the bulb.
Invest in GFCI
You have a high ceiling, and you need to replace the chandelier bulbs. A ladder will not cut it; You need something better to replace the light bulb in the high ceiling. You can climb the stairs slowly and carefully. But what if the ladder slips? You need a better way to avoid accidents when changing chandelier light bulbs on high ceilings. You need GFCI. Also called a ground fault interrupter or circuit interrupter, this device is designed in such away. It shuts off power to a base when it starts conducting electricity in an abnormal way. Keep reading to learn how it works and how to change light bulb in high ceiling chandelier.
Use Protective Gloves
You should use gloves when replacing light bulbs. The same is true for chandeliers. The metal parts of the chandelier can get very hot even when the lights are on for a short time. If you need to change a bulb in the middle of the day, run through it and turn it off before you start changing it.
Fortunately, this part is fairly simple. You do not need any special skills or training. If you have not worked with electricity before, contact a qualified electrician. First, turn off the power to the main fuse box or circuit breaker box and remove the light bulb from the socket. For safety, it is best to wear protective gloves and eye protection when replacing light bulbs.
Never Exceed Wattage
Make sure the new light bulb does not exceed the maximum wattage for your fixtures. For example, a ceiling fan may come with a light fixture that recommends a 15-watt bulb. Installing a 60-watt bulb will overload the wall switch and can damage the motor of your ceiling fan. The watt range is usually printed on a small decal located at the bottom of your fan’s light kit. However, some of these labels may fall off over time or become too dirty to read. If this happens, consult the documentation that came with your ceiling fan, or contact the manufacturer directly. If you are struggling to figure out how to change light bulb in high ceiling chandelier.
Disposing of Light Bulbs
You can dispose of all the traditional light bulbs as well as fluorescent CFL and LED bulbs in your trash can. Proper packaging is required to ensure that the bulbs inside the garbage cans do not break. You must use a durable cardboard box, foam or paper to protect the bulb during transport. Contact your local public works department for additional requirements for glass recycling and hazardous waste disposal in your area.
However, not all types of bulbs can be placed indoors. Compact fluorescent bulbs (CFLs) and high-intensity discharge bulbs (HIDs) contain mercury. It makes them more harmful to the environment, but less harmful to humans than broken glass bulbs, which can cause injury. The EPA has some good tips for preventing mercury exposure during disposal, including sealing broken bulbs in two plastic bags before throwing them in the trash. The best practices in the industry recommend. You use a box or other container to prevent breakage and damage. Label the container as “broken bulb” as well as what kind of bulb it contained.
Conclusion
Due to the space between the bottom of the lamp and the bushing, common light bulb replacement equipment such as pliers. Different people have different ways of replacing light bulbs in chandeliers. But most of them usually involve heavy-duty ladders, dropping boxes and other objects that you do not want within reach of a burning lamp. You can learn how to change light bulb in high ceiling chandelier.
First you have to turn off the electrical power to the circuit breaker. Then, you need to inspect your light fixture so that no electrical energy is running through it. Next, mount a step ladder in front of where your light fixtures are. Then, you need to remove any glass cover or shields attached to the light fixtures. Next, remove the screw from the wall plate with a suitable tool and remove them as well.