
Ceiling lights are more than just a functional necessity—they set the tone for a room, enhancing ambiance and style. Whether you’re upgrading to a modern fixture or replacing a worn-out light, learning how to change ceiling lights can be an empowering and rewarding task. With the right guidance, even beginners can tackle this project confidently.
1. Understanding the Basics of Ceiling Lights
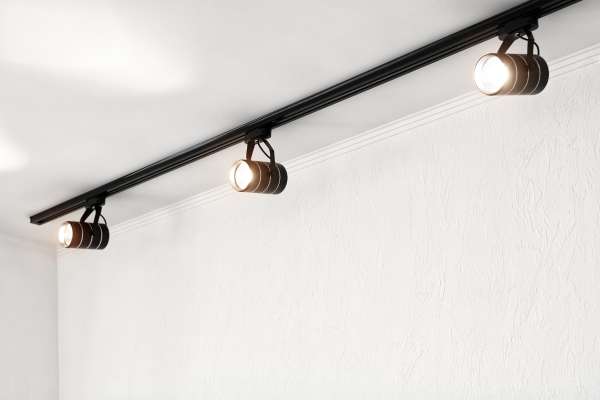
Ceiling lights come in many forms, from simple flush mounts to ornate chandeliers. Each type serves a distinct purpose, whether it’s brightening a workspace or adding elegance to a dining area. Understanding the anatomy of a ceiling light—like the base, wiring, and cover—is key. Knowing these components ensures you’ll navigate the process smoothly, avoiding common pitfalls.
2. Safety First: Preparing for the Job
Before touching a single tool, prioritize safety. Electricity isn’t forgiving, so begin by turning off power at the circuit breaker. Use a voltage tester to confirm the wires are no longer live—this double-check can be life-saving. Clear the area beneath the light, removing furniture or obstacles to create a safe workspace. Wearing insulated gloves and ensuring proper lighting during the process can further minimize risks.
3. Choosing the Right Replacement Light
Selecting the perfect light fixture goes beyond aesthetics. Consider the room’s purpose and size—an oversized chandelier might overwhelm a small bedroom, while a dim flush light may not suffice for a busy kitchen. Look for energy-efficient options, like LED lights, which save money and last longer. Matching the fixture’s mounting style to your ceiling type ensures a seamless installation.
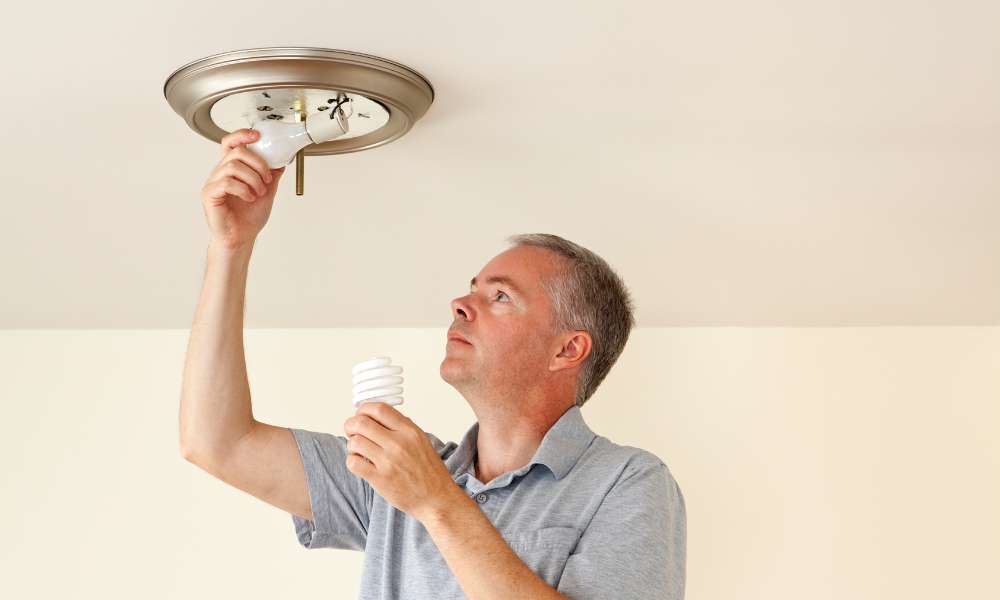
4. Removing the Old Ceiling Light
Start by carefully unscrewing the fixture’s cover and detaching the bulb. Next, locate the screws holding the base in place. Support the fixture with one hand while removing the screws to prevent accidental dropping. Once the fixture is free, gently pull it down to expose the wires. Unscrew or unclip the wire connectors, noting the color and position of each wire for easier reassembly.
5. Understanding Wiring for Beginners
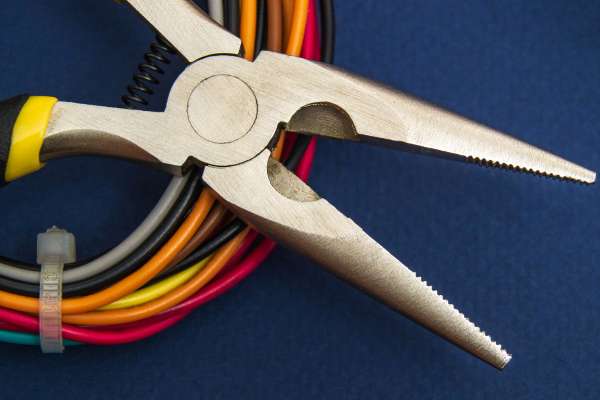
The wiring might seem daunting, but it’s a straightforward process once you understand the basics. Most fixtures use a standard color code: black or red for the hot wire, white for the neutral wire, and green or bare copper for the ground. If the wires in your ceiling don’t match this scheme, refer to the fixture’s manual or consult a professional. Properly identifying and connecting wires is crucial for safety and functionality.
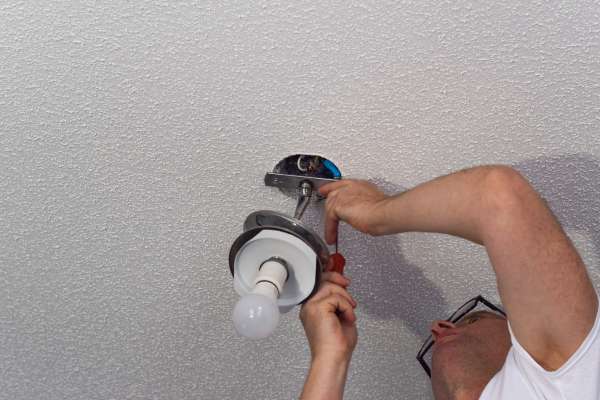
6. Installing the New Ceiling Light
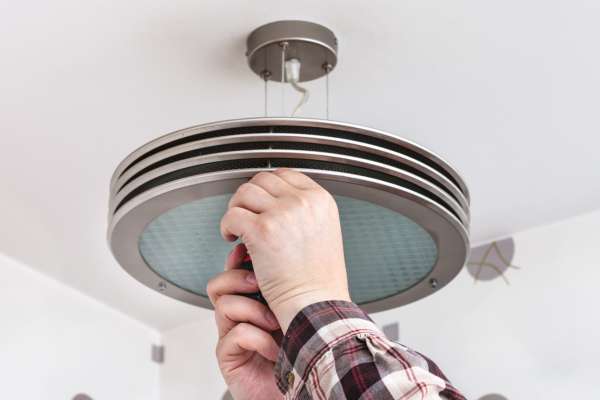
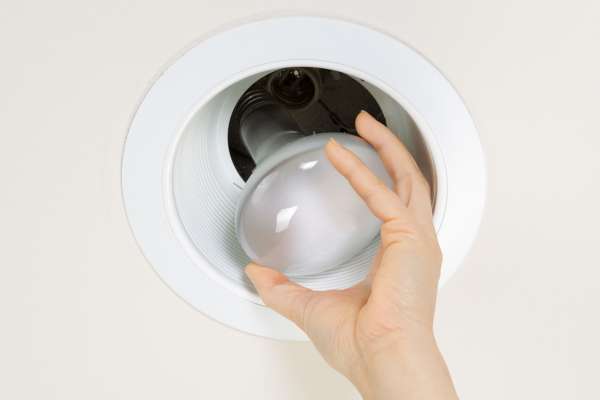
Align the new fixture’s base with the mounting bracket and secure it with screws. Connect the wires, twisting the corresponding colors together and securing them with wire connectors. Make sure the connections are tight to avoid loose wires, which can cause flickering or hazards. Carefully tuck the wires into the electrical box before attaching the fixture’s cover. Finally, install the Ceiling Light the bulb, and any additional components.
7. Testing and Adjusting Your New Ceiling Light
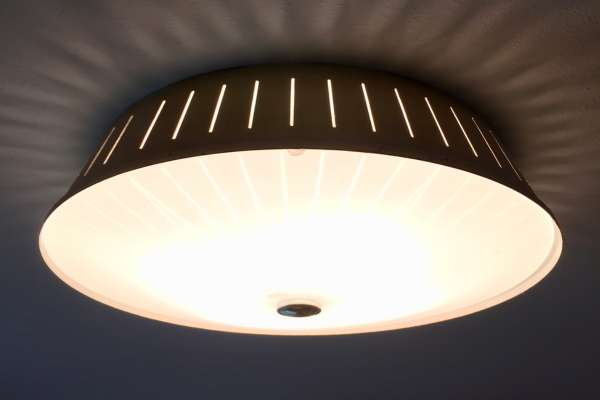
Once everything is in place, restore power at the breaker and test your new light. Flip the switch to ensure it works as expected. If the fixture doesn’t light up, recheck your wiring connections. Adjust the fixture’s alignment if it appears crooked or wobbly. A steady, properly aligned ceiling light not only looks better but also operates more efficiently.
8. Troubleshooting Common Issues
If your light doesn’t turn on, don’t panic. Check that the bulb is securely screwed in and functioning. Loose connections within the wiring or fixture are common culprits for flickering lights. Additionally, ensure the breaker hasn’t tripped. If the issue persists, it might indicate a more complex electrical problem requiring professional attention.
9. Upgrading to Energy-Efficient Lighting

Switching to energy-efficient lighting is an excellent investment. LED ceiling lights, for instance, consume less electricity and have a longer lifespan than traditional bulbs. Smart fixtures allow for dimming and color adjustments, enhancing your home’s functionality and energy savings. When selecting energy-efficient options, consider the brightness and warmth that best suits your space.
10. Final Touches and Maintenance Tips
Maintaining your ceiling lights ensures they remain in pristine condition. Regularly dust the fixture and clean the bulbs with a dry cloth to prevent grime buildup. When replacing bulbs, opt for the correct wattage to avoid damaging the fixture. Additionally, periodically check the wiring and mounting screws for signs of wear or looseness.
Frequently Asked Questions About Changing Ceiling Lights
How Long Does It Take to Change a Ceiling Light?
The time required varies depending on your experience and the complexity of the fixture. Simple swaps may take 30 minutes, while intricate installations could require an hour or more. Change Ceiling Lights.
Can I Change a Ceiling Light Without Professional Help?
Yes, most ceiling lights can be replaced without hiring a professional, especially if you follow safety guidelines. However, for unfamiliar wiring or complex installations, seeking expert assistance is recommended.
Conclusion
Change Ceiling Lights is a manageable and rewarding task that enhances your home’s aesthetics and functionality. With careful preparation, the right tools, and a step-by-step approach, even beginners can achieve a professional-looking result. Embrace this opportunity to brighten your space and gain confidence in your DIY abilities.