
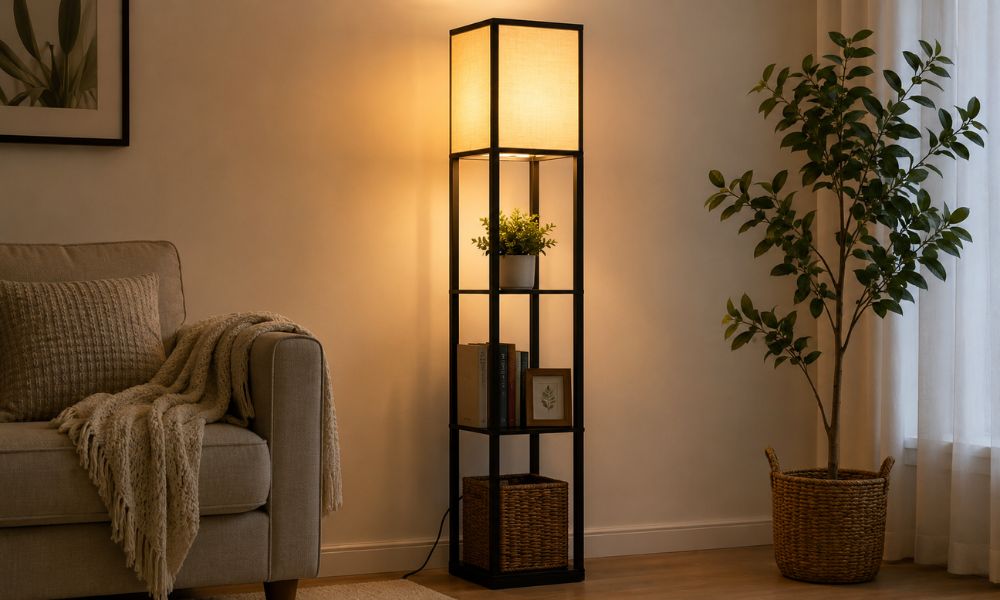
Learning how to build Threshold floor lamp with shelves is easier than most people think. These stylish lamps are popular because they combine soft lighting with useful storage space, making them perfect for bedrooms, living rooms, apartments, and dorm rooms. A shelf floor lamp can hold books, plants, picture frames, and small décor items while also brightening the room.
The first time I assembled one, I expected it to be difficult, but the process was actually simple with the right steps. With a little patience and basic tools, you can build a sturdy and modern Threshold shelf lamp that looks both functional and decorative in almost any space.
Why People Love Threshold Floor Lamps With Shelves
Shelf floor lamps are popular because they combine multiple functions in one piece of furniture. Instead of using a separate lamp and side table, the shelves provide useful storage while the light brightens the room.
Some common benefits include:
- Saves space in small rooms
- Adds decorative storage
- Creates soft ambient lighting
- Looks modern and clean
- Easy to move around
These lamps work especially well in apartments where every inch of space matters.
Things You Need Before Assembly
Before starting, make sure all the parts are included inside the box. Most Threshold shelf lamps come with:
- Wooden or MDF shelves
- Metal support poles
- Lamp socket section
- Fabric lamp shade
- Screws and bolts
- Allen wrench or small tools
- Instruction manual
You may also want:
- Phillips screwdriver
- Soft cloth
- Small container for screws
I always place all the pieces on the floor first because it helps avoid confusion later.
Choose The Right Spot Before Building
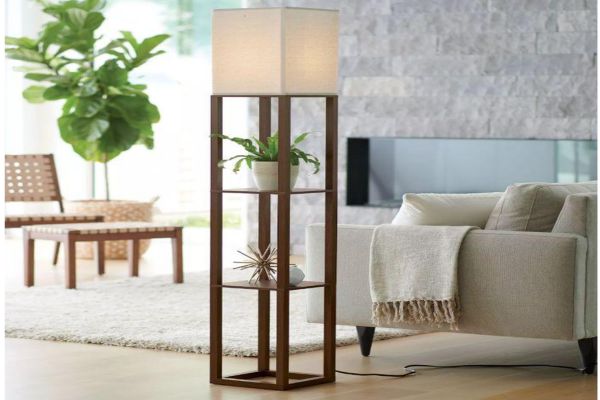
Before assembling the lamp, decide where it will go. Shelf lamps can become awkward to move once fully built.
The best locations include:
- Beside a sofa
- Near a reading chair
- In bedroom corners
- Next to a desk
- Small apartment corners
Avoid placing the lamp near water, heaters, or tight walkways.
Step 1: Unbox All Parts Carefully
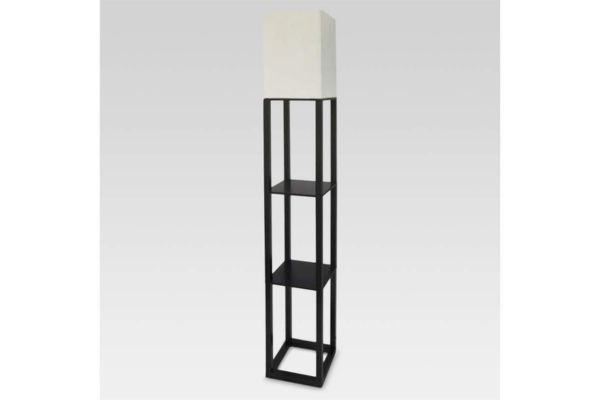
Start by opening the box slowly and removing all packaging materials. Lay every piece on a clean floor or carpet.
Many people accidentally throw away screws because they are hidden inside cardboard packaging. Check every corner carefully before tossing the box.
Inspect the shelves for scratches or cracks. Also check the lamp cord for damage before plugging anything in.
Step 2: Build The Bottom Base
The base is the most important part because it supports the entire structure.
Most Threshold shelf lamps use a square or rectangular bottom platform. Attach the vertical support poles to the base using the included screws.
Tighten the screws evenly but avoid over-tightening because MDF wood can crack under too much pressure.
Once the base feels stable, gently shake it to confirm everything is secure.
Step 3: Attach The Lower Shelf
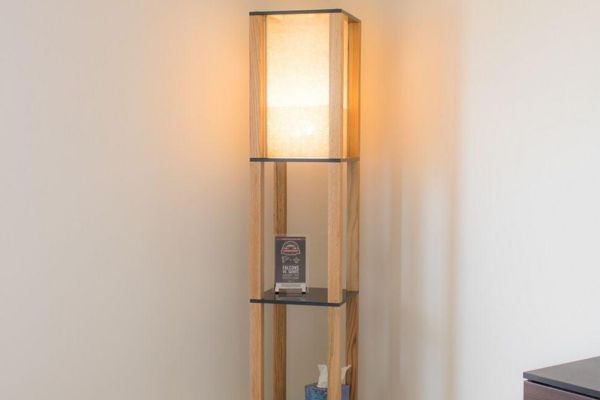
After the base is complete, install the first shelf above it.
Slide the shelf into the designated grooves or brackets depending on the lamp design. Align the holes carefully before inserting screws.
This step often takes the most patience because crooked alignment can make the entire lamp lean slightly.
I learned that loosely tightening the screws first makes alignment much easier later.
Step 4: Install The Middle Shelves
Continue adding each shelf one at a time.
Most Threshold floor lamps include two or three shelves. Repeat the same process:
- Align shelf holes
- Insert screws
- Tighten evenly
- Check stability
Do not fully tighten everything until all shelves are attached. This gives flexibility for adjustments.
As the lamp gets taller, keep checking that the frame stays straight.
Step 5: Connect The Top Lamp Section

Once the shelves are secure, attach the upper lighting section.
The lamp socket usually screws directly into the top support pole. Carefully guide the electrical cord through the frame if required.
Never force the cord into tight spaces because pinched wires can become dangerous later.
After attaching the socket, make sure the switch works smoothly.
Step 6: Install The Lamp Shade
Most Threshold lamps include a fabric or linen shade. Attach the shade by placing it over the socket and securing it with the threaded ring. Tighten gently to avoid damaging the shade material.
The shade should sit evenly without tilting. A properly aligned shade makes the lamp look much more professional once completed. If you are still deciding between different lighting options, this guide on floor lamp vs table lamp can help you choose the best style for your space.
Step 7: Insert The Light Bulb
Choose the correct bulb type recommended in the instruction manual.
LED bulbs are usually the best option because they:
- Use less electricity
- Stay cooler
- Last longer
- Produce soft lighting
Warm white LED bulbs often look best in shelf floor lamps because they create a cozy atmosphere.
Avoid using bulbs with wattage higher than the recommended limit.
Step 8: Plug In And Test The Lamp

After assembly is complete, plug the lamp into a nearby outlet and test it.
Check for:
- Stable lighting
- No flickering
- Secure shelves
- Straight frame
- Stable base
If the lamp wobbles slightly, loosen and re-tighten the shelf screws evenly.
Most small stability problems happen because one shelf was installed slightly crooked.
Decorating The Shelves
Once the lamp is built, the fun part begins.
The shelves can hold:
- Small plants
- Books
- Candles
- Picture frames
- Smart speakers
- Decorative baskets
Avoid placing very heavy items on upper shelves because it can affect balance.
I noticed that keeping lighter décor on the top shelf makes the lamp feel much safer overall.
Common Assembly Mistakes To Avoid
Skipping The Manual
Many people try to build the lamp from memory or guesswork. Even simple shelf lamps can have unique assembly steps.
Always follow the instruction order carefully.
Tightening Screws Too Early
Fully tightening screws too soon can make alignment difficult later.
It is usually better to loosely connect everything first.
Using The Wrong Bulb
High-heat bulbs can damage shades or shelves over time.
LED bulbs are much safer and more energy efficient.
Placing The Lamp On Uneven Floors
Carpet edges or uneven flooring can make shelf lamps wobble.
Always place the lamp on a stable flat surface.
How Long Does Assembly Usually Take?
Most people can build a Threshold shelf floor lamp within 30 to 60 minutes.
Assembly time depends on:
- Experience level
- Number of shelves
- Tool availability
- Lamp design complexity
The first assembly usually takes longer, but future builds become much easier.
Are Threshold Shelf Lamps Durable?
For the price, Threshold lamps are usually quite durable when assembled correctly.
The lifespan depends on:
- Proper screw tightening
- Avoiding overload on shelves
- Keeping away from moisture
- Using safe bulbs
Many people use these lamps for years without problems.
Best Rooms For Shelf Floor Lamps
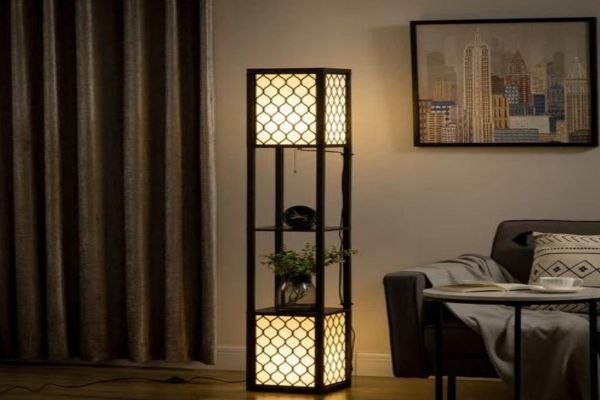
Bedroom
Shelf lamps work great beside beds because they combine storage and lighting in one piece.
Living Room
They create cozy corner lighting while holding décor items.
Dorm Rooms
Students love them because they save space and add functionality.
Apartments
Small apartments benefit the most from multi-purpose furniture like shelf lamps.
Final Thoughts
Learning how to build Threshold floor lamp with shelves is much easier than most people expect. With careful assembly and patience, the lamp can become one of the most useful pieces in a room.
The combination of lighting and storage makes these lamps practical for almost any home. After building one properly, it becomes clear why shelf floor lamps remain so popular for modern living spaces.