
My bedroom used to feel plain. Too bright with the lights on, too gloomy with them off. One evening, I added a single LED strip behind my bed. The glow it gave off was soft, warm, and calming. That one change made the whole room feel new. Since then, I’ve learned How To Set Up Led Strip Lights In Room in room with care and style. It’s simple but makes a big difference. In this article, I’ll share my best tips, mistakes to avoid, and lighting ideas that work. Let’s turn your bedroom into a space that glows with comfort.
Why LED Strip Lights Are Perfect for Bedrooms
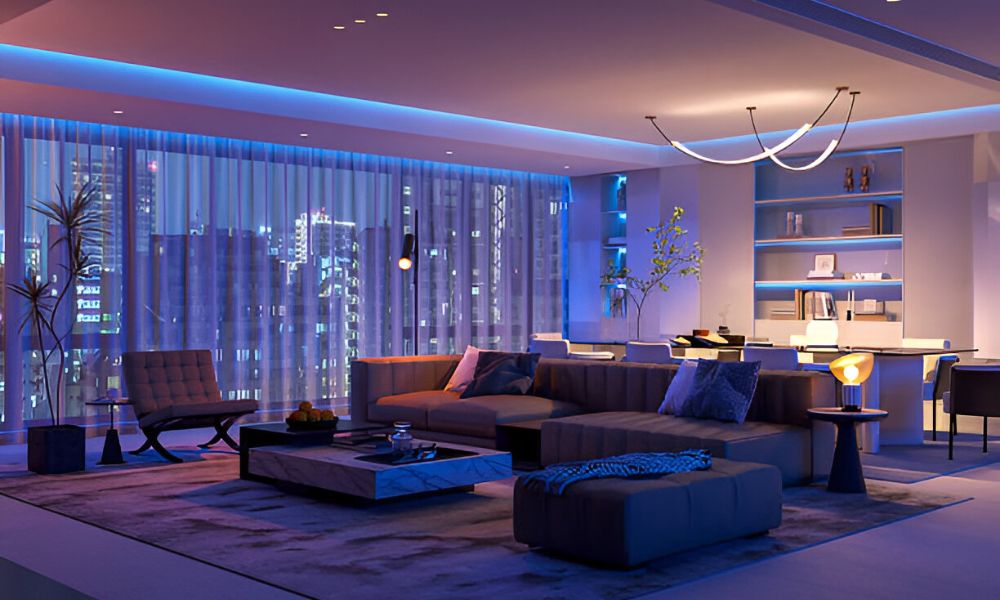
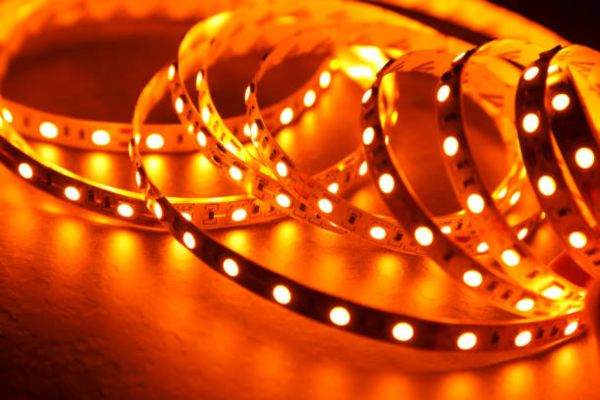
It make bedrooms feel calm. They add a soft glow that’s easy on the eyes. No sharp beams. Just smooth light across walls, ceilings, or behind the bed.
They help set the mood. Want a warm tone before sleep? Done. Want cool colors to read or work? Easy. A small strip of light can change the whole vibe.
They also save energy. LED lights use less power than regular bulbs. You can keep them on longer without running up the bill.
Many people choose them for that mix of comfort, style, and savings. No wires to hide. No hard tools. Just peel, stick, and plug in.
The best LED strip lights for bedroom designs offer more than light. They include dimmers, color control, and smart features. Some work with remotes. Others sync with your phone. The setup is simple, but the results feel luxurious.
Choosing the Right LED Strip Lights
Not all LED strips are the same. Some glow bright. Others stay soft. Some change colors. Others stay warm white.
Start by checking the color options. Do you want one color or many? RGB strips let you pick from the full rainbow. For a peaceful look, warm white works best.
Next, look at brightness. Too much can feel harsh. Not enough can leave your room dim. A strip with 300 LEDs per roll gives smooth, even light.
Control matters too. Many strips come with remotes. Some use phone apps. A few connect to smart speakers. Choose what fits your style.
Think about where the strip will go. Near water? Get a waterproof one. Most bedrooms don’t need this, but it’s good near windows or humid spots.
Tools and Materials You’ll Need
You don’t need fancy tools to set up LED lights. Just a few basics from around the house.
Start with a good LED strip kit. Most come with lights, a remote, and a power cord. Make sure the plug fits your wall outlet.
Grab a pair of scissors. You’ll use these to trim the strip at the marked spots. Don’t cut anywhere else.
Use alcohol wipes to clean your wall or furniture. Dust and oil can make the tape come loose.
Add mounting clips for extra hold. These work well around corners or near edges. They’re small but strong.
Have a power source ready. A regular outlet is fine. A smart plug is even better. It lets you control the lights with your phone or voice.
Plan Your Layout Before You Start
A good plan makes all the difference. Take a few minutes to map your space. It helps avoid waste and crooked lines.
Look at where you want the lights to glow. Try behind the bed, under shelves, along the ceiling, or beneath the desk. These spots give soft light without glare.
Use a tape measure to check the length you’ll need. Write it down. Add a little extra to be safe.
You can also sketch the layout or mark it with painter’s tape. It helps you see how the lights will run across walls and corners.
Planning first keeps things smooth. It saves time, avoids mistakes, and makes your setup look clean and balanced.
Surface Preparation: The Secret to Long-Lasting Stick
Before sticking anything, clean the surface well. Dust and oil stop the tape from holding. Even a clean-looking wall can cause problems.
Use alcohol wipes or a soft cloth with rubbing alcohol. Wipe the full path where the strip will go. Pay extra attention to corners and edges.
Let it dry for a minute. The surface should feel smooth and dry to the touch.
Don’t skip this step. I’ve seen strips fall off by day two because the wall wasn’t clean. A few extra seconds here means lights that stay up for months.
Step-by-Step: How to Set Up
Installing is simple. Just follow these steps:
- Peel the adhesive backing
Start at one end of the strip. Gently pull the paper off the tape. Go slow to keep it smooth. - Stick to a clean surface
Press the strip down as you go. Use firm pressure. Keep the line straight and even. - Cut only at marked points
Look for tiny scissor icons on the strip. Use sharp scissors to cut. Never cut between those marks. - Connect to controller or adapter
Match the arrows on the strip and connector. Push them together gently. You’ll hear a small click. - Plug in and test
Use a nearby outlet. Turn the lights on. Check that the colors and brightness work as expected. - Secure with clips (if needed)
For long runs or corners, add mounting clips. These stop the strip from peeling over time.
Creative Placement Ideas for a Cozy Room Vibe
Great lighting is all about where you place it. A simple shift can change how a room feels.
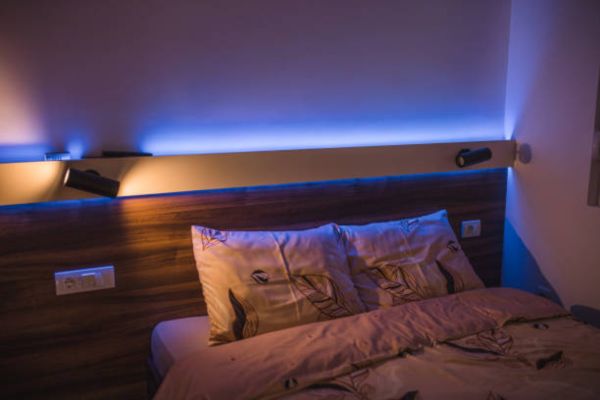
Try adding lights behind your headboard. This adds a soft backlight that feels peaceful before sleep. It also looks great in photos.
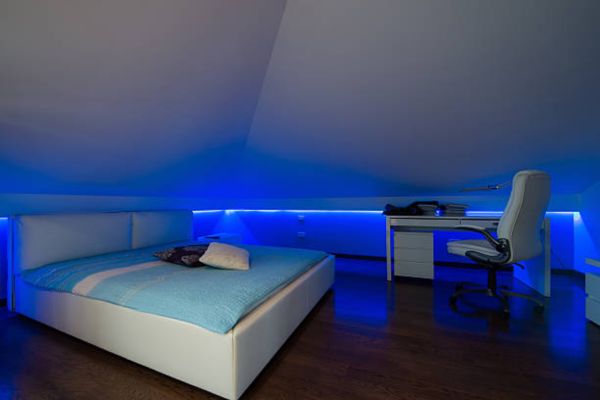
Place strips under the bed frame. The glow makes the bed look like it’s floating. It’s a small touch with big impact.
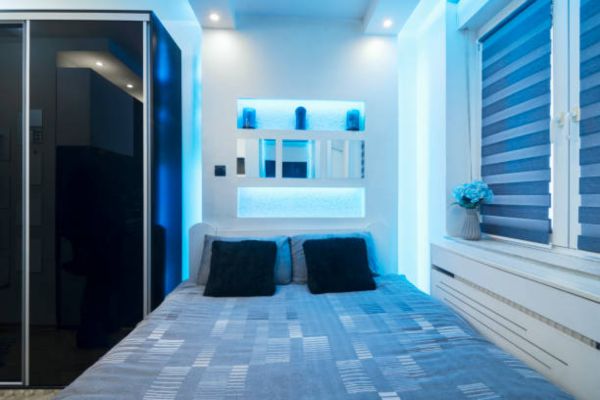
Line the ceiling edges to open up the space. The light draws the eye upward. Your room will feel bigger and brighter.
Add glow around mirrors, shelves, or your desk. This gives depth and focus to simple spots. It also helps you see without needing harsh lights.
Troubleshooting Tips (So You Don’t Panic)
Sometimes, things don’t work right on the first try. That’s okay. Most LED strip issues are easy to fix.
Lights not turning on
Check the power plug. Make sure it’s fully in the outlet. Try a different socket if needed. Then check that the strip is firmly connected to the adapter.
Only part of the strip lights up
This often means a loose connection or a bad cut. Unplug the strip. Then check the spot where it stops glowing. Reconnect or replace that section.
Remote not working
First, replace the battery. Point the remote directly at the receiver. Some remotes need a clear path to work well.
Adhesive coming off
Clean the area again with alcohol. Add fresh double-sided tape or use mounting clips. Press the strip firmly and let it sit before turning it on.
FAQs
Can I cut LED strips to size?
Yes, but only at the marked cut points. You’ll see tiny scissor icons along the strip. Cutting outside those spots can break the light.
Are they safe to use overnight?
Yes. LED lights use low power and produce little heat. Still, it’s a good idea to use a timer or smart plug just in case.
Will they damage the wall paint?
Most strips use strong adhesive. If the wall is clean and dry, it sticks well. To avoid peeling paint, remove slowly and gently.
Final Tips for a Bedroom That Glows With Personality
Less is more. Don’t make the room too bright. A soft glow is easier on the eyes and better for rest.
Mix light sources. Use lamps, strips, or small bulbs together. It gives depth and makes the space feel layered.
Hide the wires. Tuck them behind shelves or use cord covers. Clean lines make the whole room look better.
In the end, your room should feel like you. Calm or bold. Warm or cool. Light plays a big part in setting the tone.
Conclusion
Learning how to set up LED strip lights in room doesn’t take much. A clean surface, a good plan, and the right lights are all you need. Follow a few steps, and your space will shine. Start small. Try one corner or shelf. Then add more as your ideas grow.
.