
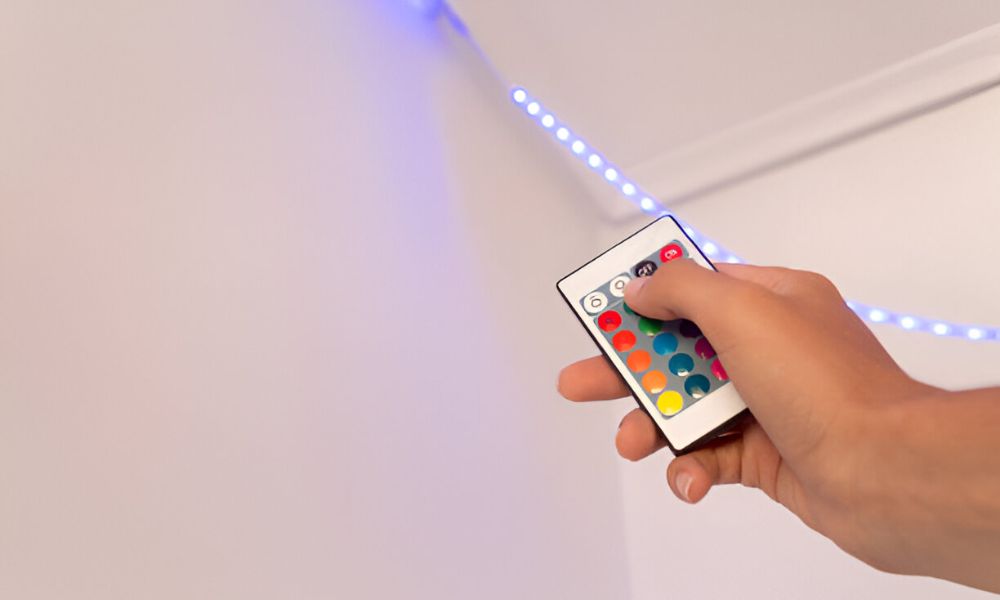
I was lying in bed, ready to relax, remote in hand. I pressed the button, expecting a soft glow. Nothing. The LED strip lights didn’t respond. I tried again. Still stuck. That moment reminded me of how often this simple issue confuses people. But the fix is easier than you think. Learning how to reset led strip lights remote saved me time, money, and stress. Even the best LED strip lights for bedroom can stop working. In this guide, I’ll show you how to reset it step by step—fast, easy, and with no guesswork. Let’s get your lights glowing again.
What Causes LED Strip Remotes to Stop Working?
They are fun until the remote goes silent. You press a button, and nothing changes. The lights stay stuck. The colors won’t shift.
One big reason is a lost signal. The remote and controller can fall out of sync. They stop working as a pair. This is common with infrared setups.
Power surges are another cause. Sudden jolts can confuse the controller’s memory. Even a small power change can break the link.
Batteries also matter. Weak ones can light up the remote but fail to send a clear signal. Loose batteries may cut off the connection entirely.
Even the best LED strip lights for bedroom use can stop working for these reasons. It’s not a defect. It’s just a small hiccup that needs the right fix.
How to Reset LED Strip Lights Remote: Step-by-Step Guide
Resetting the remote takes only a few minutes. No tools needed. Just follow these simple steps.
Step 1: Unplug the Power Source
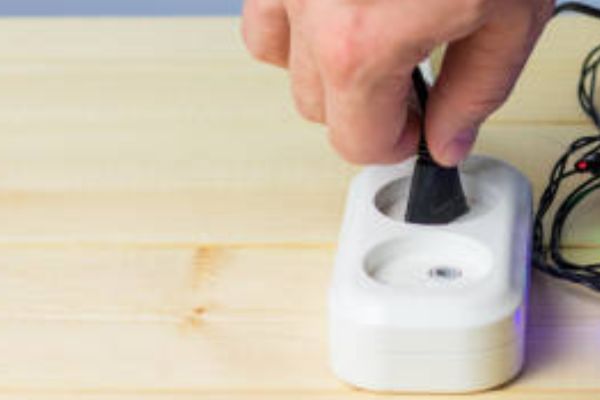
Start by turning off your LED light. Then unplug the power adapter from the wall. Wait for 30 seconds. This clears out any stored charge.
Step 2: Remove the Remote Batteries
Open the battery cover on. Take the batteries out. Set them aside. This cuts off any leftover power inside.
Step 3: Plug the Power Back In
Now plug the adapter back into the wall. The lights may flash or turn on. That’s okay. Leave them on.
Step 4: Use the Reset Button or Key Combo
Look at your remote. Hold down the Power button and another main button like Mode or Fade. Press both at the same time. Keep holding for 5 to 10 seconds.
Some setups have a reset pinhole on the small box near the strip. Use a paperclip to press and hold for 5 seconds. The lights should blink or flash.
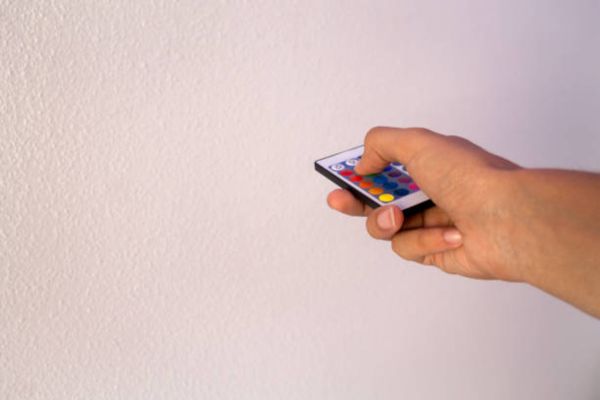
Step 5: Insert Batteries and Test
Put the batteries back in the remote. Close the cover. Point it at the sensor and press a button. Try changing colors or brightness. The lights should respond.
What to Do If Reset Doesn’t Work

Sometimes the reset doesn’t go as planned. That’s okay. There are a few simple things to try before giving up.
First, check the batteries again. In my experience, this solves the problem most of the time. Even new batteries can be weak. I always keep a fresh set close by.
Next, look at the sensor. Make sure it’s not blocked. I once had a blanket cover mine by accident. The remote couldn’t send the signal through.
Also, try standing closer. I recommend pointing straight at the sensor box. Don’t wave it around. Aim steady and hold the button for a second or two.
Still no luck? It might be the remote itself. I once replaced mine with a universal LED remote I found online. It worked right out of the box. No setup. Just instant results.
My Top Tips for Smooth LED Strip Remote Use

After setting up many LED strips around the house, I’ve picked up a few tricks. These small steps save time and prevent stress.
Most of them look the same. I once mixed up my bedroom and TV backlight remotes for days. A small sticker or marker helps a lot.
Keep backups nearby. I always buy an extra remote or two. They’re cheap and easy to store. If one stops working, I don’t lose light control.
Check battery strength often. A weak battery gives strange results. The light might flicker or freeze. I change mine every few months, even before problems start.
Keep the sensor clear. Place the sensor in plain sight. No covers, no corners. I use a bit of Velcro to keep it steady and easy to find.
When to Replace Your Remote or Lights

Sometimes, a reset just won’t work. The remote might stop sending signals at all. Or the lights stay stuck, no matter what button you press.
That’s a sign it may be time to replace the remote. I’ve had remotes fail after a year of heavy use. The buttons wore out, and nothing helped. In that case, I switched to a universal LED. It cost little and worked right away.
Other times, the strip itself goes bad. You may see dark spots, flickering, or full sections that won’t light up. These signs point to a worn-out strip, not just issue.
I always suggest trying low-cost fixes first. Swap batteries, try a universal remote, check the wiring. Only replace the full setup if nothing works.
Why Resetting Is Better Than Replacing Right Away
Buying new lights sounds easy, but it’s not always smart. A quick reset often solves the problem. No tools, no extra cost.
In my experience, most remotes stop working due to a small issue—like battery contact or signal loss. Resetting helps fix that fast. It keeps your lights running longer.
Replacing a full setup can be wasteful. Good LED strips are built to last. Even top-rated bedroom LED strips can act up now and then. That doesn’t mean they’re done.
Final Thoughts
Don’t give up on your lights just yet. Try the reset. It’s simple and works more often than you’d think. I’ve helped friends, family, and even neighbours bring their lights back to life. Every time, the look of surprise—and relief—is the same. Most had no idea how easy the fix was. Your bedroom deserves that cosy glow again. Once the lights respond, the space feels warm, calm, and alive.
FAQs
Can you reset any LED strip light remote?
Yes, most remotes can be reset. The steps may change a bit depending on the brand. Basic models use button combos, while some have reset holes. A quick reset brings many back to life without replacing anything.
Why do LED lights get stuck on one color?
This often happens due to a signal problem. The remote and controller lose sync. A weak battery or a blocked sensor can also cause it. A simple reset usually solves the issue.