
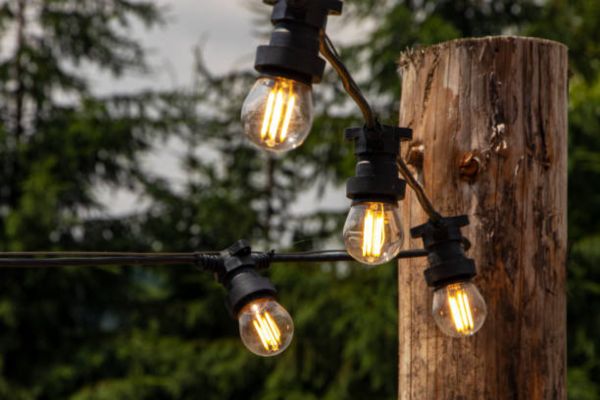
Last summer, right before friends came over, half my patio went dark. That sinking feeling hit fast. A string of lights not working can kill the mood in seconds. That night pushed me to learn how to replace bulbs in outdoor string lights the right way.
I found that most problems come from one weak bulb or loose socket. A quick string light bulb replacement often solves it. I have also learned how to fix LED string lights and how to repair string lights without stress. Let me show you the simple steps that bring your patio back to life.
When Should You Replace a String Light Bulb?
A weak bulb often gives clear signs before it fails. Flickering light is one of the first clues. Burn marks near the base also signal heat stress. Cracked glass means the bulb is no longer safe.
One dark section on a patio line often points to a single bad bulb. Many people assume the whole strand is dead. In reality, a simple string light bulb replacement can restore power. This is common in a string of lights not working along one stretch.
I once had half my deck glow dim while the other half stayed bright. That uneven look told me one bulb broke the circuit. A single bulb failure affects a small zone. A full string failure often links to power, fuse, or wiring.
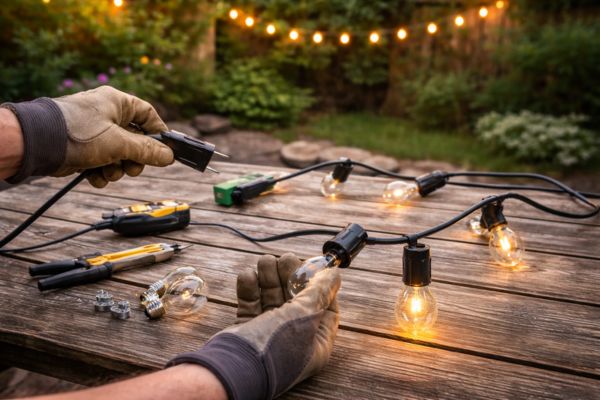
Tools and Supplies You’ll Need
The right tools make the job calm and smooth. Keep replacement bulbs that match the voltage and base type. Wear gloves to protect your hands. A clean cloth helps remove dust and grime.
A multimeter helps in deeper checks. It can test current flow across a socket. LED sets may also need spare fuses. Many USA plug models include small fuse slots inside the plug head.
Matching wattage and voltage protects the whole strand. A wrong bulb can cause heat build up. Correct specs keep brightness even and safe. This small detail prevents repeat failure.
How to Replace Bulbs in Outdoor String Lights (Step-by-Step)
Step 1 – Unplug and Inspect the Entire String
Start with safety. Always unplug before touching any bulb. Scan the full line for water spots or cracked wires. Look for loose sockets or bent contacts.
Moisture is a common cause of failure. Rain can seep into small gaps. A quick inspection saves time later. A clean start leads to a smooth fix.
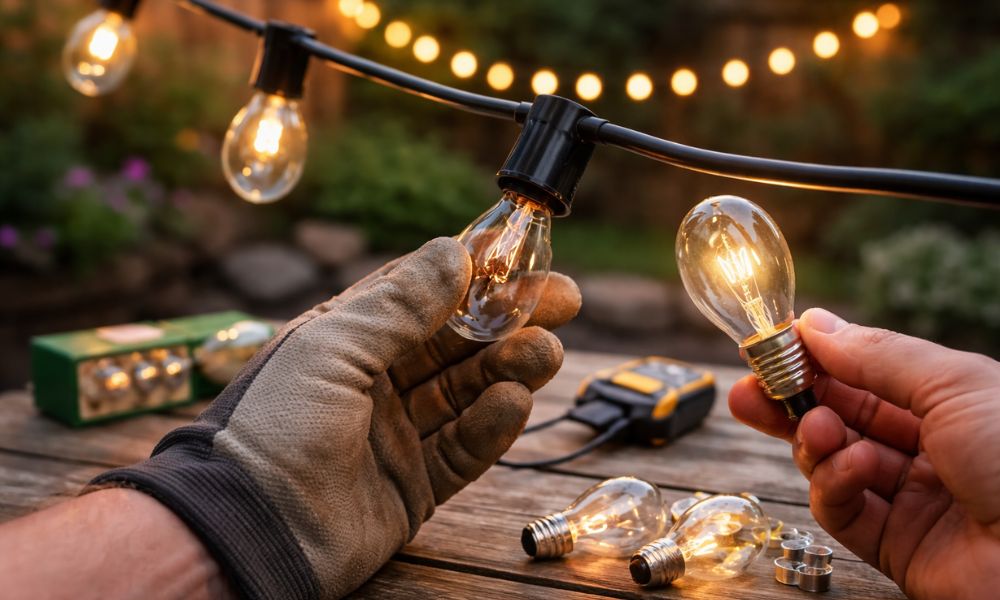
Step 2 – Remove the Faulty Bulb
Some bulbs twist out. Others pull straight from the socket. Check the base style before applying force. Gentle pressure works best.
Stuck bulbs need patience. I wiggle them slightly while holding the socket firm. This prevents strain on the wire. Slow movement reduces glass break risk.
Step 3 – Clean the Socket
Dirt and rust block good contact. Use a dry cloth to wipe inside the socket. Remove any green or dark residue. Clean metal allows steady current flow.
Check the small metal tabs inside. They must stand upright. Moisture can push them down over time. Good contact ensures even light.
Step 4 – Install the New Bulb
Align the base with the socket grooves. Insert it straight and firm. Avoid twisting too tight. Over force can crack the base.
The bulb should sit snug and upright. A secure fit keeps power stable. Even brightness across the line shows correct placement. Small care brings lasting results.
Step 5 – Test Before Rehanging
Plug the strand back in for a brief test. Watch for steady glow across all bulbs. Uneven light suggests another weak point. Turn power off before further checks.
Testing early prevents repeat work. Confirm full function before hanging again. This final check completes how to replace bulbs in outdoor string lights with confidence.
How to Fix LED String Lights
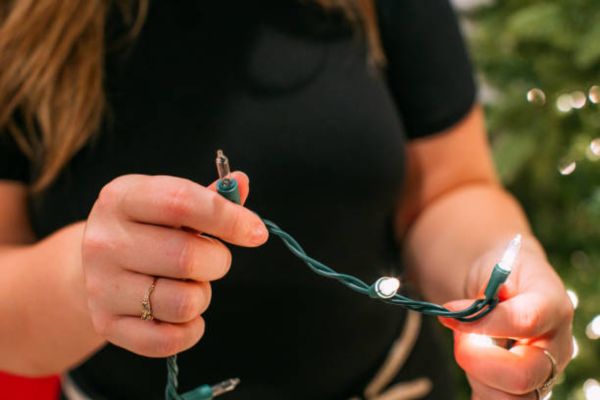
LED strands often run in series. One bad point can affect a full section. This design saves energy but requires careful checks. Many people search how to fix LED string lights for this reason.
Start with the fuse inside the plug. USA outdoor models often hide a small glass fuse there. Replace it with the same rating. This simple step solves many dark strand issues.
Broken wires can hide near sockets. Gently flex the line while powered off. A sudden flicker during testing shows a weak spot. Severe damage may require full strand replacement.
Learning how to fix string lights or how to repair string lights builds confidence. Most problems have simple roots. Careful inspection often wins over full replacement.
Why Is My String of Lights Not Working?
A blown fuse is a top cause. Loose bulbs can also break the circuit. Outdoor outlets with GFCI protection may trip without notice. Water and wear increase risk.
I once thought my lights had failed for good. The real issue sat at the outlet. A tripped GFCI switch needed one press. That small reset restored the whole patio glow.
Internal wiring failure is less common but serious. Cracked insulation or heavy corrosion points to age. In such cases, replacement makes more sense than repair. Safety always comes first.
Choosing the Right Replacement Bulbs
Incandescent bulbs create warm light but use more power. LED bulbs use less energy and last longer. Many LED bulbs run 15,000 to 25,000 hours based on data from the U.S. Department of Energy. Longer life reduces cost over time.
Most outdoor strands in the USA use 120V systems. Check base type such as E12 or E26 before buying. A wrong fit can damage the socket. Always confirm outdoor rating and UL listing.
Weatherproof bulbs resist rain and dust. Outdoor approval adds peace of mind. Matching specs keeps brightness balanced. Smart choices extend the life of the entire strand.
Safety Tips for Outdoor String Light Repairs
Never work on a live strand. Always unplug before touching bulbs or wires. Dry conditions reduce shock risk. Wet surfaces increase danger.
Use a stable ladder on level ground. Keep tools within reach to avoid stretching. Outdoor rated replacements handle heat and moisture better. Safe habits protect both home and hands.
How to Make Outdoor String Lights Last Longer
Store strands in a dry place during winter. Wrap them loosely to avoid wire stress. Tight coils can weaken internal lines. Gentle storage protects future use.
Shield plug connections from rain. Small covers block water entry. Inspect the strand once a year. Early checks prevent larger damage.
A simple routine keeps patio lights bright season after season. Care adds years to their life. Small effort now saves cost later.
When to Replace the Entire String Instead of One Bulb
Repeated failures across many bulbs suggest deeper wear. Multiple corroded sockets reduce safety. Cracked wire insulation exposes metal. These signs point to aging equipment.
Compare repair cost with new strand price. Modern LED sets use less power and last longer. In some cases, full replacement brings better value. Smart judgment balances safety and savings.
FAQs
Can bulbs in outdoor string lights be replaced?
Most decorative patio strands allow individual bulb swaps. Always match voltage and base type for safe use.
Why does one burned bulb darken the whole line?
Many strands use series wiring. One failed bulb can interrupt the circuit.
What helps restore LED string lights that stay dark?
Check the plug fuse, inspect loose bulbs, and test the outlet before deeper repair.
Are all LED string light bulbs replaceable?
Some models allow swaps. Sealed mini LED strands may not support bulb changes.
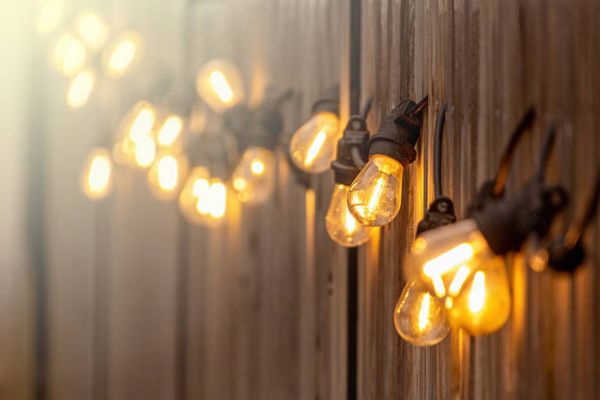
Final Thoughts
Outdoor lighting sets the mood like soft music in the background. One dark bulb feels small yet changes the whole scene. Simple care keeps that glow alive.
Learning this process builds quiet confidence. Regular checks prevent stress before gatherings. A little attention goes a long way.
Understanding how to replace bulbs in outdoor string lights turns a common problem into an easy fix. Bright patios bring warm memories. Safe repair keeps those moments shining.