
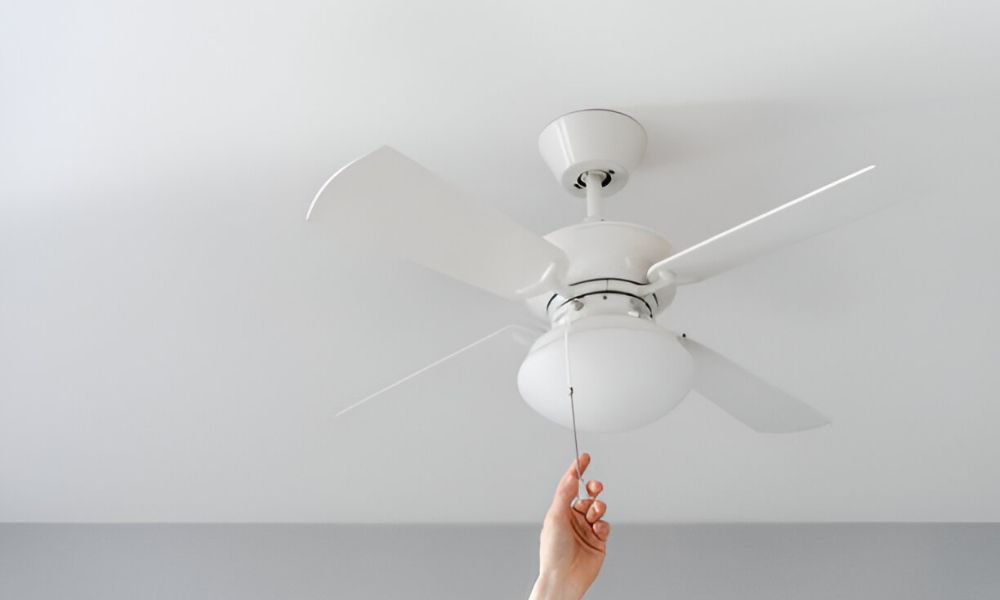
Have you ever had to remove A light cover on A ceiling fan? The first time I did, I wasn’t sure where to start. But after a few tries, I figured out the easiest way to do it. Knowing how to remove the light cover on ceiling fan Is important. It helps with tasks like changing A bulb or cleaning the fan. Learning this simple skill can save you time And keep your fan in good shape. In this guide, I’ll show you how to remove the light cover And change the bulb. I’ll also share tips For keeping your ceiling fan clean. Let’s dive in!
Tools You’ll Need
The first time I removed a light cover from my ceiling fan, I realised I needed more than just my hands. To make the job easier, you’ll need a few simple tools.
Basic Tools:
You’ll need a screwdriver, a ladder, And some gloves. A screwdriver is perfect For loosening screws. A ladder helps you reach the fan, Especially if it’s high up. Gloves are great for extra protection, Especially if you’re working with glass or sharp edges.
Tip:
Check your fan before starting. Some need extra tools, like a special wrench or a pull chain. Make sure you have everything ready to go. This way, You won’t be scrambling halfway through.
01. Turn Off the Power

First, turn off the power. This is the most important step for your safety. Either turn off the switch or cut the power at the circuit breaker.
Why It’s Important:
Turning off the power prevents the risk of an electric shock while you work on the fan.
02. Get the Right Angle and Tools
Place your ladder under the fan. Make sure it is steady before climbing. Grab a screwdriver to remove the cover.
Tip:
Some fans need adjusting before removing. Make sure your ladder is tall enough for a good angle.
03. Remove the Light Cover
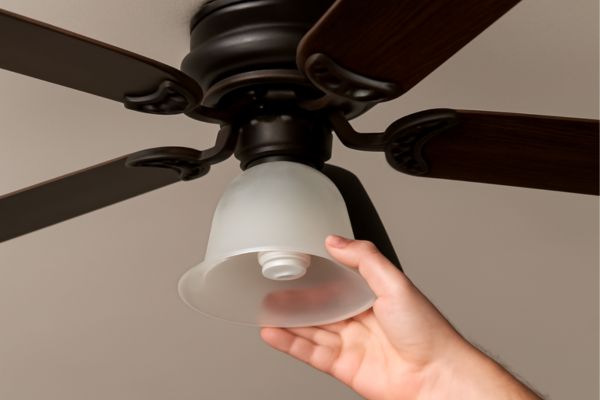
Loosen the screws or twist the cover off, depending on your fan’s design. Gently remove it, being careful not to break it. If you’re looking to remove a plastic ceiling light cover, follow these same steps for easy and safe removal
How to Do It:
For glass covers, handle them gently to avoid breaking. Plastic covers are usually easier to remove, but still need careful handling.
04. Inspect for Any Issues
Once the cover is off, check the bulb and fan for problems. Look for broken parts or signs that something needs fixing.
Tip:
Common issues include stuck covers or damaged bulbs. It’s a good idea to address these now.
05. Clean the Light Cover (Optional)

Now is a great time to clean the cover. Dust and dirt can reduce the light output and make your fan look dirty.
Why Clean It:
Cleaning the cover improves light quality and helps keep the fan in good working condition.
How to Change the Light Bulb in a Ceiling Fan

Step-by-Step Instructions:
The bulb is ready to be changed. Gently twist the old bulb counterclockwise to remove it. If it’s stuck, carefully use a cloth to grip it for better traction.
Tip:
For ceiling fans, LED bulbs are the best choice. They last longer, Use less energy, And don’t get as hot as other bulbs like CFLs. Choose a bulb with the right wattage to match your fan’s light fixture.
Types of Ceiling Fan Light Covers and When to Use Each
Glass Covers
Pros: It looks great and is easy to clean. They add A touch of elegance to any room.
When to Use: They’re perfect for living rooms and bedrooms where style matters.
Plastic Covers
Pros: They are durable and less likely to break. They’re also lightweight And affordable.
When to Use: Ideal for areas with kids or heavy foot traffic, Such as kitchens or playrooms.
Frosted Glass vs. Clear Glass
Differences: Frosted glass softens the light, Creating a warm, Diffused glow. Clear glass gives off a brighter, sharper light.
When to Use: Choose frosted glass for a cosy ambience And clear glass for rooms that need bright, focused light.
Troubleshooting: What to Do If You Can’t Remove the Cover

Common Problems:
Sometimes, doesn’t come off easily. You may face issues like sticky covers, Stripped screws, Or tight spaces that make it hard to reach the fan.
How to Fix:
For sticky covers, try gently loosening the edges with A flathead screwdriver. If the screws are stripped, use a rubber band for better grip or switch to A screw extractor tool. For tight spaces, carefully adjust the fan or use A longer ladder to reach better.
Additional Tips for Maintaining Your Ceiling Fan Light Cover

Regular Cleaning:
Clean them regularly. Dust and dirt can build up, Reducing the light output and making your fan look dirty. Use a soft cloth or duster to wipe the cover and fan blades every few weeks.
Maintaining Proper Functioning:
For smooth operation, check the fan periodically. Tighten any loose screws and lubricate the motor if needed. A well-maintained fan lasts longer and runs more efficiently, saving you on energy costs.
Conclusion
First, turn off the power for safety. Then, get the right tools and ladder to remove the cover. If needed, replace the light bulb, clean the cover, And inspect for any issues. Finally, Maintain your fan by cleaning it regularly And tightening any loose parts.
Now that you know how to do it, why not take the next step? Go ahead and replace that light bulb or clean it. Need help with ceiling fan repairs? Let us know how it goes!