
The first time I added LED strip lights, I messed it up. The lights peeled off by morning, and the glow pointed in the wrong direction. It looked more like a science fair than a kitchen upgrade. After fixing it, I realized it was easy—I just needed a better plan. I’ve since installed lights in bedrooms, cabinets, and even stairs. In this guide, I’ll show you how to put up LED strip lights the right way. No guesswork. Just clear steps and smart tips from real experience. Let’s make your space glow—bright, clean, and effortless.
Why LED Strip Lights Are a Game-Changer
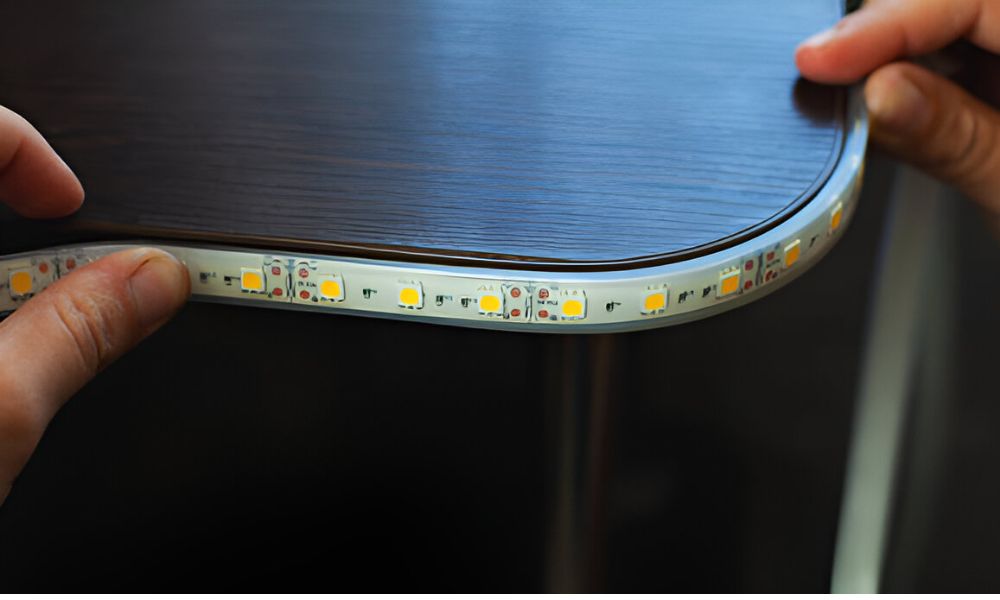
There’s something magical about soft light under a shelf or cabinet. It makes the space feel calm, clean, and a little fancy. It bring that magic into any room without much effort.
They’re not just pretty. They help with tasks too. Need to chop veggies at night? That glow makes everything easier to see. Want to relax in bed? A soft strip light sets the mood without being harsh.
They also save power. LED lights use less energy and last a long time. The best LED strip lights for bedroom also work great in kitchens, closets, and hallways. Simple to install. Even better to enjoy.
Tools and Materials You’ll Need
Before starting, gather all the necessary materials. A few tools make the job smooth and safe. Most of these are readily available at home or any hardware store.
What You’ll Need:
- LED strip lights
- Power adapter (usually included)
- Tape measure
- Scissors
- Rubbing alcohol and cloth
- Double-sided tape or mounting clips
- Extension cord (optional)
Wipe surfaces clean before sticking. This helps the lights stay in place longer. Keep cords tidy to avoid trips or tangles. With the right tools, setup is simple and safe.
How to Put Up LED Strip Lights (Step-by-Step Guide)
01. Measure Your Space
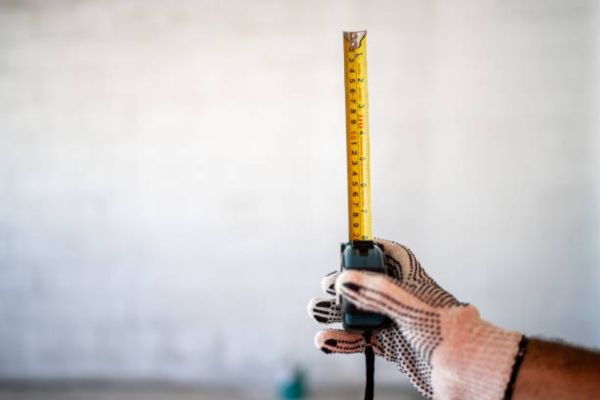
Start with a tape measure. Measure the area where the lights will go. This tells you how much strip you need. It also helps avoid gaps or waste.
Write down the length. Double-check before cutting. This step makes the rest easier.
02. Clean the Surface
Grab a soft cloth and a little rubbing alcohol. Wipe the spot where the strip will stick. Even clean-looking areas have dust or grease.
A smooth, dry surface helps the tape grip well. It keeps the lights from falling later.
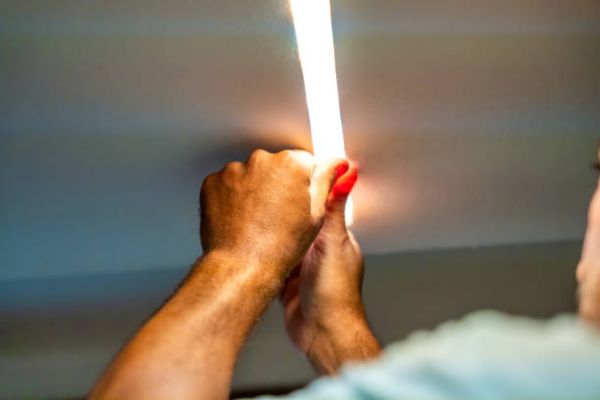
03. Test the Strip Before Sticking
Before you peel the tape, plug the strip into the adapter. Then plug it into a wall outlet. You should see the lights turn on right away.
Testing now saves time. It shows you the color, brightness, and that everything works.
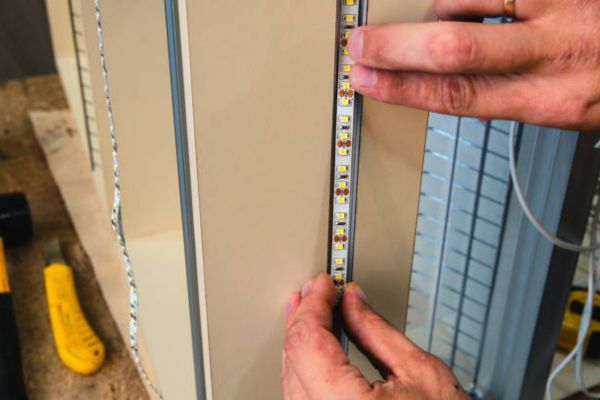
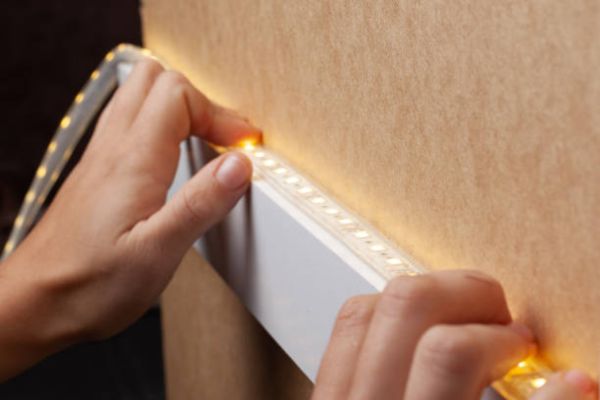
04. Peel and Stick
Peel off the backing from the strip’s adhesive. Stick the strip under a cabinet or along the wall. Press it down every few inches.
Place the strip near the front edge for better light spread. Keep the line smooth and steady.
05. Connect to Power
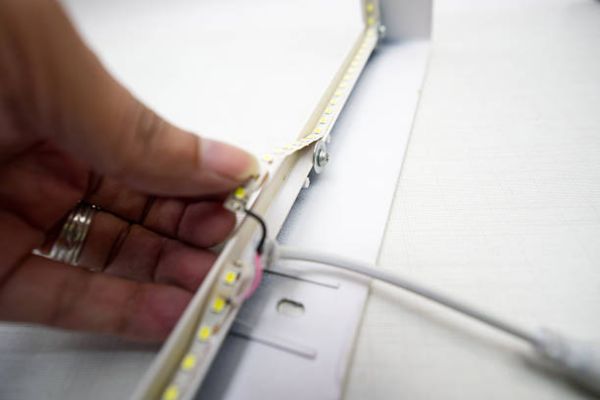
Use the adapter that came with your lights. Plug it into the end of the strip and then into the wall. Most adapters are simple and safe.
To keep things tidy, use clips or hooks. Run cords behind the cabinet or along the wall.
Pro Tips for a Perfect Install
Use a smart plug or timer.
This adds control and saves power. Set the lights to turn on and off without touching a switch.
Avoid sharp bends.
LED strips don’t bend well. Curves are okay. Tight corners can break the strip.
Add a diffuser.
A plastic cover softens the glow. It also hides the strip for a cleaner look.
The best LED strip lights for bedroom also look great in kitchens, living rooms, and even work desks. One strip can upgrade the whole mood.
Where Else Can You Use LED Strip Lights?
It aren’t just for one room. Once you try them, you’ll start seeing spots all over your home where they’d fit just right.
Try placing them behind your TV for a soft backlight that’s easy on the eyes. It makes movie nights feel like a theater.
Add a glow around mirrors to make getting ready feel brighter and more fun. It also adds a touch of style.
Use strips under shelves to highlight decor or brighten work areas. A simple glow can make books or plants stand out.
Even inside drawers or closets, these lights help you see without turning on a big light. No more digging around in the dark.
Mistakes to Avoid
Even simple jobs can go wrong without a little planning. These are common slip-ups that can make your LED strip light project harder than it needs to be.
Not measuring first
Guesswork leads to wasted strips or awkward gaps. Always measure before cutting or peeling.
Skipping the clean step
Dust and grease stop the tape from sticking. A quick wipe makes a big difference.
Cutting in the wrong place
Only cut where the line or scissors icon shows. The wrong cut can stop the strip from working.
Forgetting about power source location
No nearby outlet? You’ll end up with visible cords or a strip that won’t reach. Plan ahead for power.
Avoiding these small mistakes helps your lights stay bright, clean, and secure.
How to Choose the Best LED Strip Lights for Bedroom
Not all LED are the same. To find the right one, check a few key things before you buy.
Look for the right brightness—not too harsh, not too dim. For cozy spaces, go with warm light. Want a cooler, modern look? Try daylight tones. Make sure the length fits your space, and check that it can be trimmed.
Remote control or smart features are a big plus. You can dim the lights or change the color with a tap or voice command.
Final Thoughts
You’ve got this. Putting up LED strip lights may seem tricky at first, but once you start, it’s simple and fun. Trust your eye. Try new spots. Add a soft glow where it feels right. There’s no single way to do it—just the one that fits your home. Take your time and enjoy the process. Watch your space light up, little by little. The result is more than just light—it’s mood, style, and comfort all in one. Now go ahead. Make your home shine.