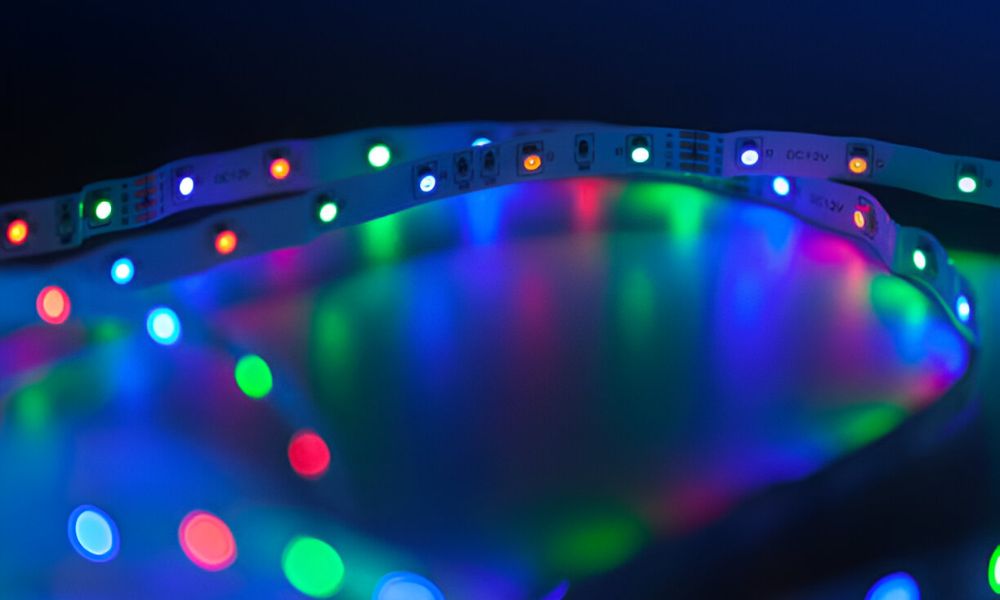
My bedroom felt plain. It was clean and quiet but lacked warmth. One evening, I added LED strip lights to see what they could do. The colours were bold, but the mood was wrong. They flashed too fast and looked harsh. That’s when I learned how to program LED strip lights the right way. It made a big difference. Now my room glows softly and calmly, just as I like it. In this guide, I’ll show you how to do the same. You’ll learn what to buy, how to set it up, and how to create the perfect feel.
Why LED Strip Lights Make Your Bedroom Feel Like Magic
There’s something special about soft light in the right place. LED strip lights can make your bedroom feel warm, calm, and full of charm. A soft glow under the bed or behind the headboard changes everything. It’s like giving your room a quiet voice.
They’re also easy to use. Most kits come ready to plug in and stick up. The best LED strip lights for bedroom setups even include smart features. You get remote control, app access, and timers to match your routine.
Worried it’s too techy? Don’t be. You don’t need a tech background to make it work.
What You Need Before You Start Programming?
Before you dive in, gather a few things. You don’t need much, but the right tools make it smooth.
Here’s what you’ll need:
- An LED strip light kit
- A power adapter
- A controller or app
- A clean surface for sticking
Now, let’s talk about picking the right strip. Look for RGBIC lights if you want colours to move or shift across the strip. RGB is fine for single-colour fades. Some of the best LED strip lights for bedroom use apps like Govee or Philips Hue.
How to Program LED Strip Lights: Step-by-Step Guide
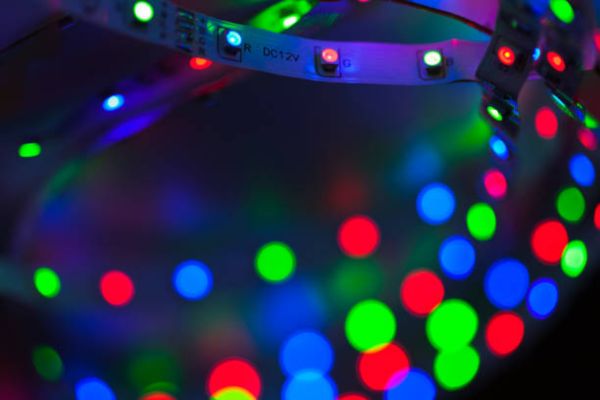
Once your lights are up, it’s time to make them shine your way. Follow these steps to get the glow you want.
01. Set up the LED strip and power it on
Stick the strip where you want it. Plug it in. Check that it turns on. You should see all colors light up.
02. Download the app or use the remote
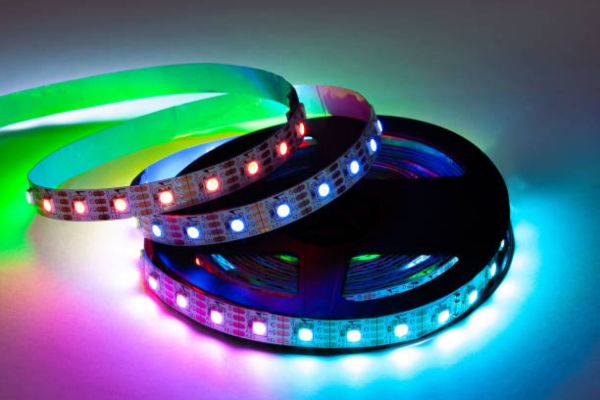
Most newer kits use apps. Look for the name in your instruction book. I use Govee—it’s easy and free. Older kits have a remote that works too.
03. Pair with your phone (Bluetooth or Wi-Fi)
Open the app. Turn on your Bluetooth or Wi-Fi. Tap “Add Device.” Mine showed up in seconds. Once it’s paired, you’re ready to go.
04. Choose a preset scene
Start simple. Try “Sunset,” “Ocean,” or “Rainbow.” Tap and see how it feels. I liked the fade mode best—it felt calm.
05. Create a custom lighting effect
Now it gets fun. Pick colors you love. Set how fast they change. Try fade for sleep or jump for parties. I made one I call “Soft Morning”—it helps me wake up slow.
06. Set a timer or schedule
Want lights to turn on at night? Or fade off at bedtime? Use the app’s timer tool. I set mine to glow warm yellow at 9 PM. It’s like a sunset in my room.
07. Save your setup
Name your scene and save it. Now it’s one tap away. I switch mine from “Relax” to “Read” every night.
Pro Tips to Make It Look Amazing
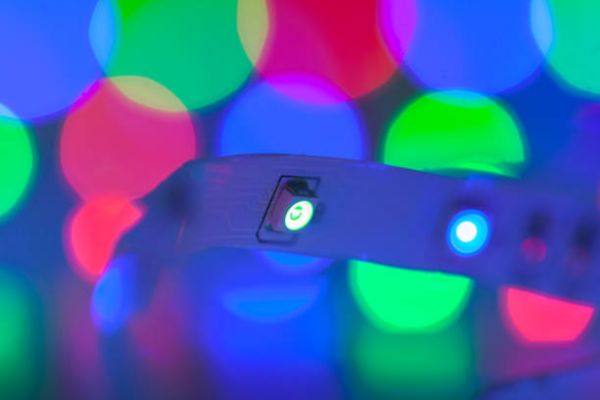
Little changes can make a big difference. These tips helped me go from bright and basic to soft and stylish.
Hide the lights behind your headboard, under your bed, or along shelves. This gives a soft glow instead of harsh dots. It feels more natural and looks much better.
Use warm tones at night. Try amber or soft pink to relax. In the morning, switch to cool white or sky blue. It helps your body wake up without a shock.
Set scenes for each mood. I have one for reading, one for bedtime, and one called “Just Chill.” One tap and the room changes.
Common Mistakes to Avoid
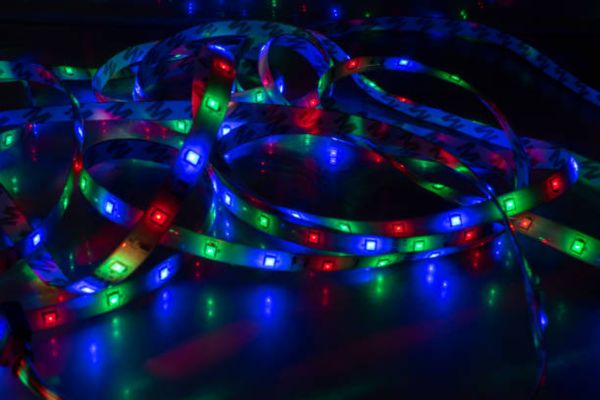
I made some mistakes early on—so you don’t have to.
Don’t place the strip in direct view. It might look cool at first, but those little dots can feel harsh. Tuck them behind a surface for a soft, smooth glow.
Clean the area before you stick. Dust makes the strip peel off later. A quick wipe with rubbing alcohol solves that.
Check your power source. Some kits need a certain voltage. Using the wrong one can cause flickering—or no light at all.
Always test before sticking. I learned this the hard way. Now I tape the strip in place first to see how it looks. Then I peel and press.
Extra Features Worth Trying
Once your lights are set, try the fun stuff. Some extras are just cool to have.
Music sync is great for relaxing or parties. The lights move with the beat. I play soft jazz at night and watch the colors dance slow and smooth.
Voice control makes it even easier. Ask Alexa or Google to turn the lights on, change color, or dim them. No need to touch a thing.
Group control lets you link more than one strip. I synced my headboard, shelves, and desk. Now they work together like one big light show.
FAQs
Do I need Wi-Fi to program my lights?
Not always. Some kits use Bluetooth. Others need Wi-Fi for voice control or smart home features. Check the box or app info to be sure.
How long do programmed settings stay saved?
Most lights keep your settings even after they’re turned off. Once saved, your custom scenes stay ready to use anytime.
Can I sync multiple strips?
Yes! Many apps let you group lights together. I linked my bed and shelf lights—they now work in perfect sync.
Final Thoughts
You don’t need to be an expert. You just need a little time and a spark of curiosity.
Learning how to program LED strip lights is easier than it sounds—and a lot more fun. You pick the colors. Set the mood. You bring your space to life.
So give it a try today. Add a glow that feels like you. Your bedroom is more than a place to sleep. It’s your space to relax, reset, and feel good.

