
I remember walking into our old kitchen one night. The overhead light flickered. One corner looked bright. The stove stayed in shadow. I had to squint just to see the butter melt. That’s when it hit me. The layout wasn’t the issue—it was the lighting. Everything felt dull and uneven. I wanted a space that worked. After some trial, some error, and a few trips up the ladder, I learned How To Position Recessed Lighting In Kitchen spaces the right way. The result? Brighter counters. Warm, even light. And no more shadows where I needed to cook. Let me show you how to get the same result—step by step. We’ll keep it simple and do it together.
Why Recessed Lighting Makes a Difference in the Kitchen
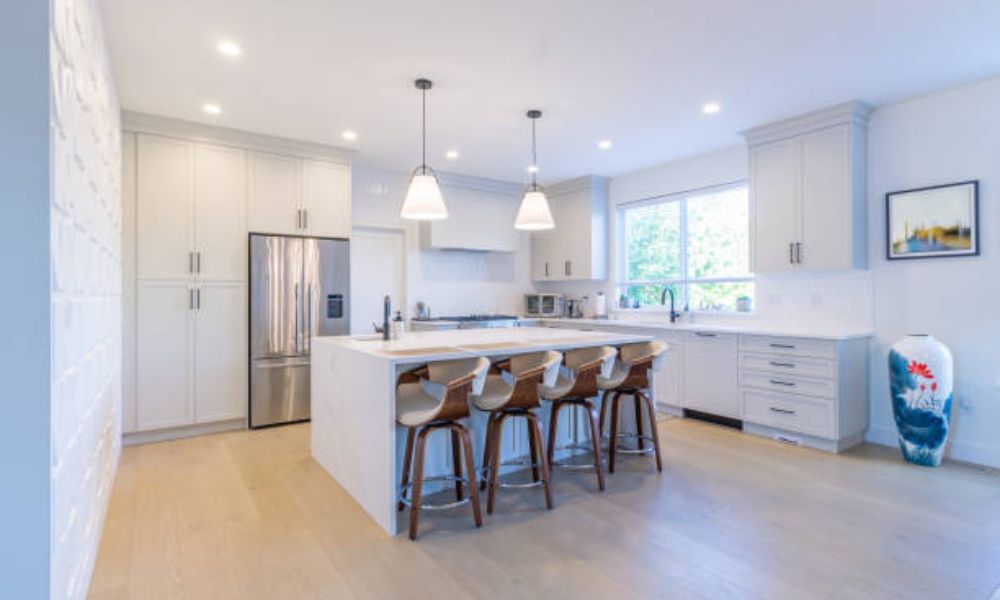
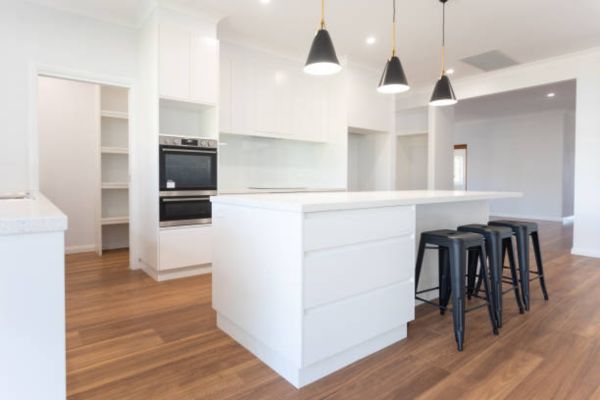
Recessed lighting, also called can lighting or downlights, sits flush with your ceiling. That means no hanging fixtures, no shadows from bulky lamps, and no cluttered look. It’s sleek. It’s clean. Most importantly, it puts light where you need it—on your food, your hands, and your counters.
In kitchens, light isn’t just about style. It’s about safety and clear vision. You need to see what you’re chopping and keep the light even across your space. Recessed lighting makes that easy—when it’s placed right. And if you’re updating other areas, check out the best recessed lighting for bathroom to keep things bright and beautiful throughout your home.
Step-by-Step Guide: How to Position Recessed Lighting in Kitchen
Let’s break this into easy steps. No technical jargon, just what works.
Step 1: Understand the Purpose of Each Light

Before you start placing lights, think about your kitchen in zones. Each zone has its own job, and it needs its own lighting.
- Prep zone: Usually your countertop or island.
- Cook zone: Stove, oven, and nearby counters.
- Wash zone: Sink and dish area.
- Walkways: The space between counters or near entryways.
Think of your lights like little helpers. Each one should focus on what matters in its zone.
Step 2: Start with the Perimeter
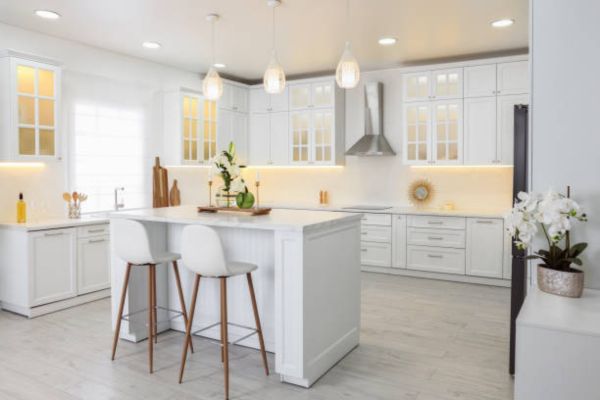
Begin by placing lights around the outer edge of your ceiling. These are your base lights. They help wash the walls with light and reduce shadows.
Rule of thumb: Place them about 12-24 inches from the wall. I usually stick to 18 inches—it’s just right for most kitchens.
These lights aren’t doing the heavy lifting for tasks, but they balance the room. They make everything look softer and more inviting.
Step 3: Add Task Lighting Over Counters
Now come the workers. Task lights.
You’ll want a light over:
- Each major countertop
- The sink
- The stove (unless you have a hood light)
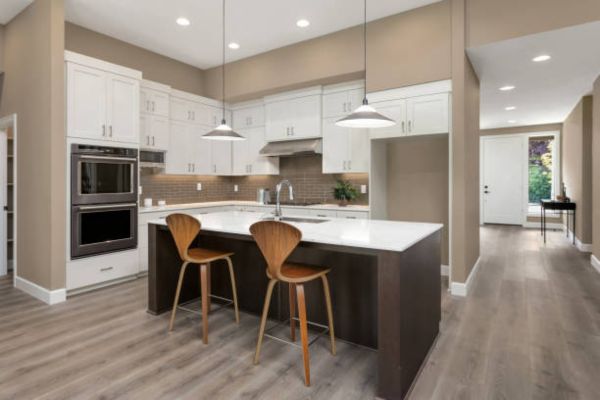
- Your kitchen island
Space these about 24 to 36 inches apart, and avoid putting them too close to the wall. That causes shadows from your upper cabinets.
Pro tip: Line them up right over the edge of the countertop—not directly in the middle of the walkway. You want the beam to hit your workspace, not your head.
Step 4: Mind the Beam Angle
Here’s something I learned the hard way. Recessed lights come with different beam spreads—usually 30 to 60 degrees. A narrow beam creates a spotlight. A wider one gives a soft flood of light.
In kitchens, wide beams (like 60 degrees) are your friend. They reduce harsh shadows and spread light across your counters. Just make sure not to overlap beams too much, or you’ll get hot spots. Check your light specs before buying. It’s written right on the box.
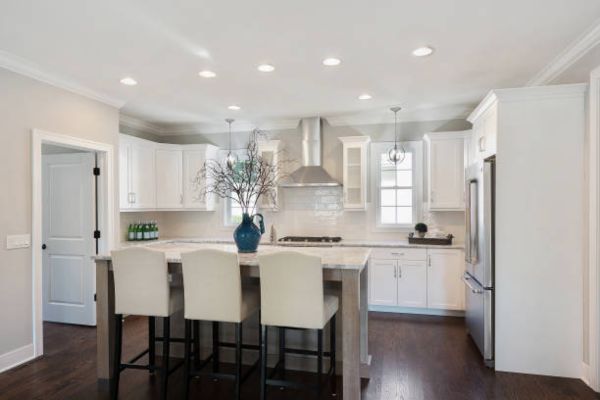
Step 5: Keep Fixtures in a Grid
Your layout should feel balanced. Not random. Imagine a grid across your ceiling. Place lights evenly inside that grid. Symmetry keeps the space feeling clean and polished.
For small kitchens, two rows of lights might be enough. In larger rooms, go for three or more rows. Just make sure the spacing is equal—about 36 to 48 inches between lights in each direction.
Step 6: Dim It Down
Not every moment in the kitchen is about bright light. Sometimes you want to sip tea with a soft glow. That’s why I always install dimmers with my recessed lights.
One dimmer for general lighting. One for task lights over counters or the island. It gives you flexibility. Bright for cooking. Warm and low for late-night snacks.
Step 7: Highlight What Matters
Do you have open shelves? A backsplash you love? A piece of art? Use a recessed light to show it off.
Accent lighting adds depth. It makes your kitchen feel designed, not just lit.
Angle a light so it shines down gently. Keep it subtle. You don’t want it to look like a spotlight. Just a soft kiss of light on something beautiful.
Common Mistakes to Avoid
I’ve made a few of these myself, so here’s a quick list to help you steer clear.
- Too few lights: Your kitchen shouldn’t feel like a cave.
- Too many lights: You don’t want it to feel like a stadium either.
- No zones: Every area should have a reason for its lighting.
- Overlapping beams: This causes glare and harsh spots.
- Shadows from cabinets: Always test where light falls before finalizing placement.
My Favorite Trick: The Paper Plate Test
This sounds silly, but it works.
I tape white paper plates to the ceiling where I plan to put each light. Then I stand in the kitchen, walk around, crouch by the counter, and imagine where the light will fall.
It helps me catch odd angles before I drill a single hole.
A Quick Word on Kitchen Layout Types
Your kitchen’s shape affects light placement. Here’s what works best for each layout:
- Galley kitchen: Two rows of lights, straight down each side.
- L-shaped kitchen: Follow the counter in an L, then fill in the middle with a few evenly spaced lights.
- U-shaped kitchen: Perimeter lights and a center row down the middle.
- Open kitchen with island: Focus on the island with task lighting, and then use a grid pattern for the rest.
Bonus Tips for a Beautifully Lit Kitchen
- Use warm white bulbs (2700K to 3000K). Cooler light feels sterile.
- Stick to LED. They last forever and save energy.
- Choose trim with a soft white or matte finish. Glossy trims reflect too much light.
Lighting Made My Rice Better—Really
Okay, this might sound odd. But once I had proper lighting over my stove and counter, I could see my rice better as it cooked.
Before, I’d check it in the shadowy corner and always wonder—was it fluffy? Was it done? But now? I can see the steam rise. I can spot the perfect texture. Fluff it just in time. Even my kids noticed. “The rice tastes better,” they said.
I smiled. It wasn’t the recipe. It was the lighting.
Final Thoughts
Recessed lighting in the kitchen isn’t just about looks. It’s about function, safety, and joy. It’s the difference between fumbling and flowing through your space. Take your time. Use paper plates. Map your zones. Stick to the grid. And don’t forget the dimmer.
You don’t need to be an electrician to light your kitchen like a designer. You just need to plan a little, measure a little, and trust your instincts. Once your lights are in, you’ll wonder how you ever cooked in the dark.