
I used to cook in a kitchen that always felt too dark. The ceiling light cast long shadows across the counter, making simple tasks harder than they should be. One evening, I added LED strip lights under my cabinets. The change was instant—bright counters, easier cooking, and a warm glow that made the whole room feel new. Over time, I’ve learned simple tricks to get the best results. Today I’ll show you step by step how to install under cabinet lighting LED strip so your kitchen feels brighter, safer, and more inviting every day.
Why LED Strip Lights Are Perfect for Under Cabinets
It give bright, steady light across the whole counter. They use little power, so they save on bills. The slim design makes them easy to hide, yet they deliver a strong glow. Setup is quick, so even beginners can handle it.
Other lights do not work as well. Puck lights shine in small circles and leave shadows between spots. Large fixtures take more effort to mount and often look bulky under narrow cabinets. LED strips spread smooth light that feels clean and modern.
They are also great outside the kitchen. Many people pick the best LED strip lights for bedroom spaces to create a soft, warm mood. The same features—flexibility, low cost, and simple control—make them perfect in bedrooms, living rooms, or study areas.
Tools and Materials You’ll Need
You don’t need fancy tools for this project. Most kits come ready to use, and the rest are things you likely have at home. Here’s a simple list:
- LED strip light kit with power adapter
- Tape measure
- Scissors (for cutting at marked points)
- Rubbing alcohol and a clean cloth
- Mounting clips or strong double-sided tape
- Drill and small screws (for extra hold)
- Cord clips or slim concealers
From my own installs, I’ve learned one thing: never skimp on mounting clips. The adhesive on strips works well at first, but kitchens get warm and sticky.
Step-by-Step Guide: How to Install Under Cabinet Lighting LED Strip
You’re just a few steps away from a brighter kitchen. Follow these steps, and you’ll have it done in no time.
Step 1: Plan the Layout
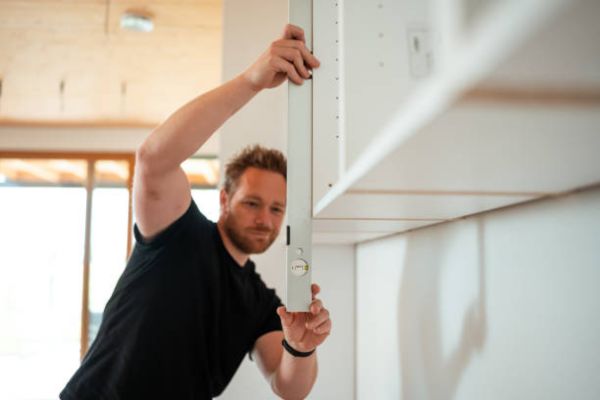
Start by measuring the length of the cabinets. Use a tape measure and write the number down.
Think about how much of the space you want to light. Do you want full coverage or just the middle part?
Pick your light colour. Warm light gives a soft feel. Cool light is sharper and better for tasks. I like warm for cosy evenings, but both work well.
Step 2: Prepare the Surface
Wipe the bottom of the cabinet with a clean cloth and rubbing alcohol. This removes grease and dust so the strip sticks well. Let it dry fully before moving on. I’ve skipped this step before. The strip peeled off the next day. Lesson learned—always clean first.
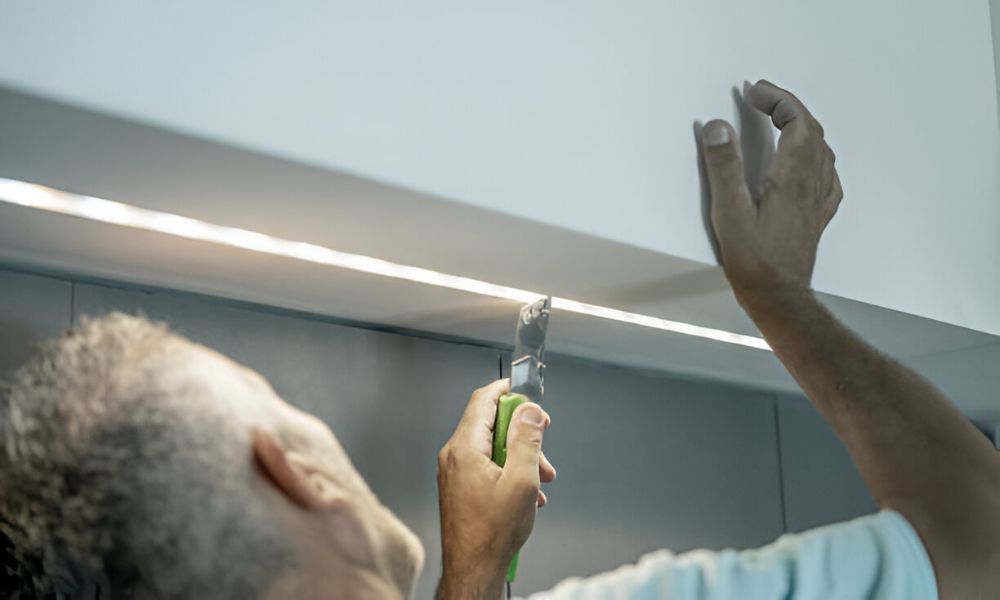
Step 3: Measure and Cut the LED Strip
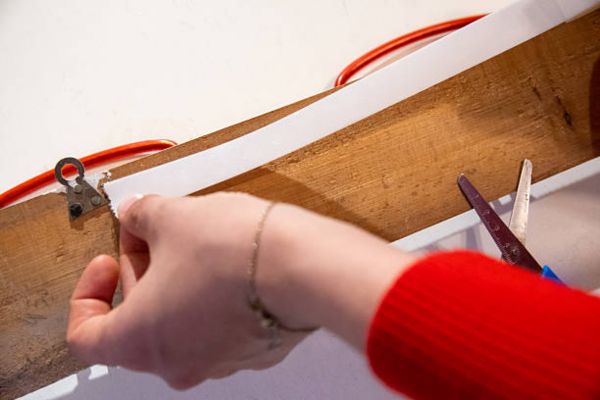
Unroll the strip and match it to your cabinet length. Cut only at the small copper lines marked on the strip. These are the safe spots to cut. Cutting elsewhere breaks. Take your time here. A clean cut saves headaches later.
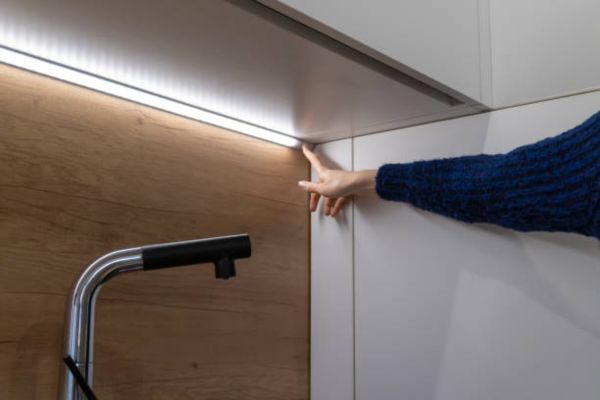
Step 4: Peel and Stick the LED Strip
Peel the paper backing off a few inches at a time. Press the strip firmly as you stick it under the cabinet. Keep it straight and flat. Don’t pull it too tight. Use mounting clips for extra hold, especially in warm spots. They keep in place for the long run.
Step 5: Connect to Power
Attach the strip to the adapter. Most kits have a clear plug or connector. Plug the adapter into a wall outlet. Make sure the cord isn’t stretched or twisted. Some strips light up right away. Others need a quick tap of the switch.
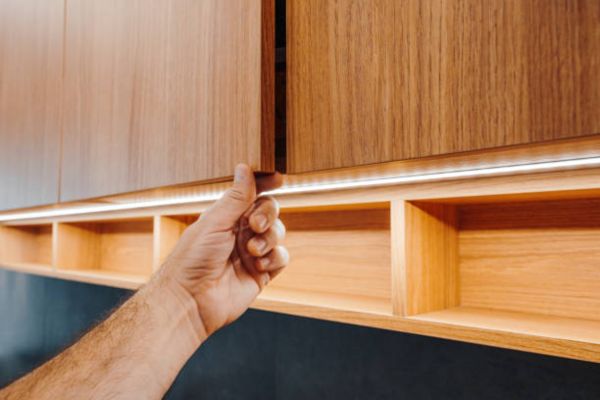
Step 6: Hide and Manage Wires
Wires can look messy if left loose. Use cord clips to guide them along the cabinet edge. Cord covers or slim channels can hide wires better. I like to tuck mine near the corner or wall for a clean look. It makes a big difference in how finished the project feels.
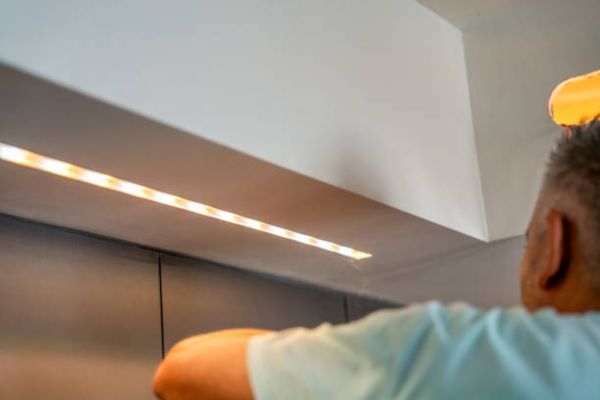
Step 7: Test and Adjust
Turn the lights on. Step back and look. Is the light even? Are there any dark spots or gaps? Make small fixes now before things settle in place. This is your final touch.
Pro Tips for a Clean and Lasting Install
Test the lights first. Before you peel the backing, plug in the strip and turn it on. Make sure it works and the light looks right. This saves time later.
Avoid sharp bends. Bending the strip too tight can break the light. Use gentle curves around corners. I like to leave a little slack near ends and bends.
Place the strip near the front edge. Light spreads better this way. It lights up more of the counter and cuts shadows. If it’s too far back, the glow stays hidden.
Add a dimmer or smart switch. These give you control. Bright for cooking, low for calm evenings. Some kits come with remotes. Others connect to apps.
Let me tell you about a mistake I made early on. I rushed and stuck the strip without testing it. It turned out I had cut the wrong line. No lights. I had to remove the whole thing and start again—with a new strip. Since then, I always test before I stick. It’s a small step that saves big trouble.
Choosing the Right LED Strip Lights
Not all LED strips are the same. Some are bright. Others are soft. Some stick well. Others peel off too soon. Picking the right one makes the whole job easier.
Look at brightness first. This is measured in lumens. More lumens mean more light. For kitchens, aim for something bright enough to light the full counter.
Check the color. Warm white feels soft and calm. Cool white looks sharper and works well for tasks. I like warm for cozy spaces and cool for food prep.
Make sure the strip is long enough. Measure your cabinets first. Then get a strip that covers them without too many joins or gaps.
Adhesive matters. Some cheap strips don’t stick well. Look for strong backing tape. I always test a small section before doing the full run.
Also think about durability and energy use. Good last year and uses little power. They stay cool and safe, even after hours of use.
Beyond the Kitchen: More Ideas for LED Strip Lights
It do more than brighten a kitchen. They add charm and style to other spaces too. Their slim shape and soft glow work almost anywhere.
Try them in the bedroom. Run a strip under the bed frame or along shelves. It gives a calm, cozy glow—perfect for winding down. Some of the best LED strip lights for bedroom use dimmers or soft warm tones to create that relaxing feel.
In the living room, place strips behind the TV or under side tables. It adds a soft light without glare. For workspaces or reading spots, a strip under a desk or shelf helps you see better without eye strain.
Common Mistakes to Avoid
Some mistakes are easy to make. I’ve made a few myself. Here are the big ones to watch out for:
Cutting in the wrong place. It have tiny copper lines marked for safe cutting. Cut anywhere else, and that section won’t light up. Always check the marks first.
Not planning for the outlet. Power cords need to reach a plug. Measure and plan before you stick the lights. It saves you from redoing the whole setup.
Skipping the cleaning step. Dust or grease will stop the strip from sticking. Wipe the surface with rubbing alcohol. Let it dry. Then install.
Choosing the wrong color tone. Cool light is bright but harsh. Warm light feels soft but may not be bright enough for tasks. Match the tone to your space and how you use it.
Small steps like these make a big difference in how your lighting looks and lasts.
Final Thoughts
Installing LED strip lights under your cabinets is simple, quick, and worth every minute. You don’t need fancy tools or expert skills. Just a clear plan, a few basic items, and a bit of care.
It’s a small project with a big payoff. Your kitchen looks better. Workspace feels brighter. Your daily tasks get easier.
I still smile every time I turn mine on. The soft glow makes the whole room feel more alive. Try it for yourself—you’ll be surprised how much it changes your space.