
I still remember the first time I tried how to install LED strip light under cabinets using 110v—I thought it would be complicated, but it was surprisingly simple. I wanted brighter counters without bulky fixtures or extra transformers, and this setup solved that problem fast. After learning how to wire 110v LED strip lights under kitchen cabinets and testing what actually works, I found a safe, beginner-friendly method anyone can follow. In this guide, I’ll show you exactly how to do it and how to choose the best 110v LED strip lights for under cabinet lighting.
Why Choose 110V LED Strip Lights for Under Cabinet Lighting
110V LED strip lights connect directly to household power, so there is no bulky transformer to deal with. Low-voltage strips usually need extra parts and more wiring. I struggled with that setup before, and it felt harder than it should have been. Switching to 110V made everything simpler.
110V works best when you want a quick, clean install, especially for longer cabinet runs. You measure, connect, and test. That’s it. When I upgraded my own kitchen, I finished in one afternoon.
The biggest advantage is reliability. The lights stay bright and consistent. That makes them great for beginners who want an easy win.
Pros
- No transformer needed
- Faster installation
- Strong, consistent brightness
Cons
- Must follow basic electrical safety
Tools and Materials You’ll Need Before You Start
Having everything ready makes the job faster and less stressful. I’ve learned that stopping mid-install to hunt for tools kills momentum. A simple checklist keeps things smooth.
Basic items
- 110V LED strip light kit
- Plug-in power cord or hardwire connector
- Mounting clips or adhesive backing
- Wire connectors
- Drill, screwdriver, measuring tape
- Safety gloves and voltage tester
If you have these on hand, you’re ready to start without surprises.
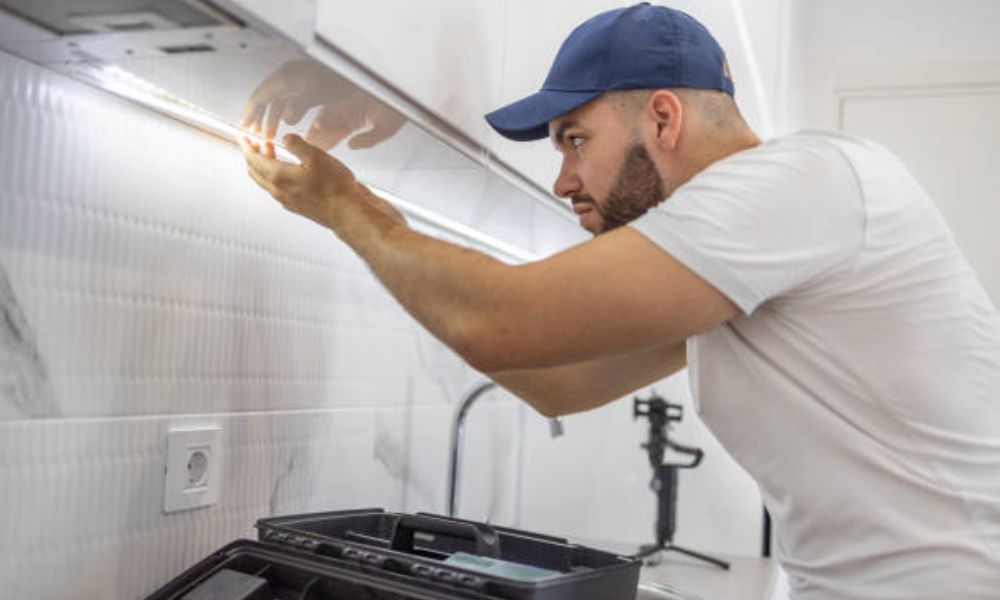
How to Wire 110V LED Strip Lights Under Kitchen Cabinets
Wiring 110V LED strip lights is simpler than most people expect. Power flows straight from your outlet or junction box to the strip, so there is no transformer in between. Fewer parts mean fewer mistakes.
You can choose between a plug-in setup or a hardwired setup. Plug-in is faster and great for beginners. Hardwired looks cleaner and is better for permanent installs. Both work well when done correctly.
Always match the correct wires and connectors. Follow the markings on your strip and power cable. Taking one extra minute here prevents flickering or failure later.
Plug-In Installation Method (Simplest Option)
This is the method I recommend for most beginners.
- Turn off the outlet or breaker for safety.
- Attach the plug-in power cord to the LED strip connector.
- Snap or screw the LED strip into mounting clips or stick it in place.
- Plug the cord into the outlet.
- Turn power back on and test.
If the lights turn on evenly, you’re good to go.
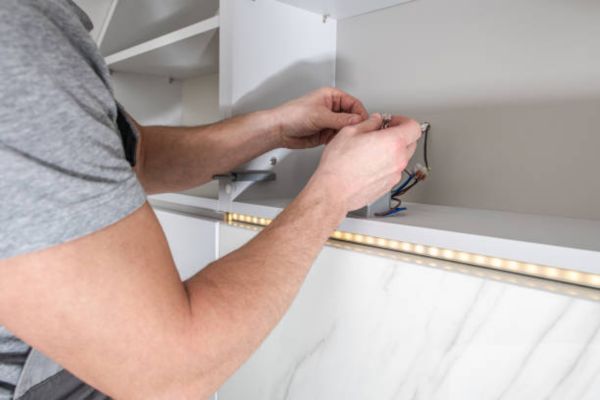
Hardwired Installation Method
This option hides wires and looks more professional.
- Turn off power at the breaker.
- Open the junction box under the cabinet.
- Connect hot, neutral, and ground wires using wire connectors.
- Attach the LED strip to its mounting clips or adhesive.
- Restore power and test.
Once it lights up properly, secure all wires and close the box.
Install Under Cabinet LED Lighting Without a Transformer
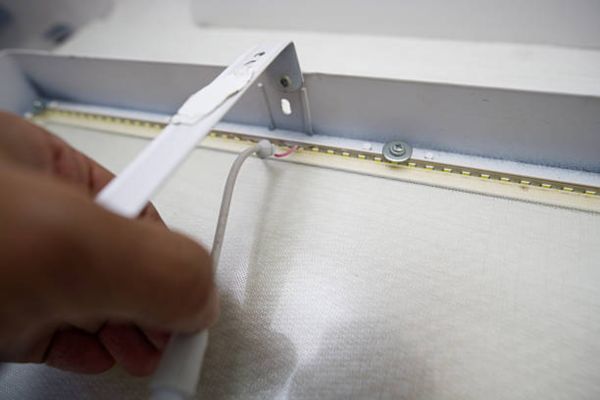
110V LED strip lights run directly on household power, so a transformer is not needed. That is one of the biggest reasons people choose them. With low-voltage lights, you must convert power first. With 110V, the conversion is already built into the strip.
Instead of a transformer, you use a simple power cord or hardwire connector. Power flows straight from the outlet or junction box into the strip. Fewer parts mean fewer things that can fail.
A common misunderstanding is thinking all LED strips need a driver. That is only true for 12V and 24V systems. Once I learned this, my installs became much faster and cleaner.
For me, removing the transformer was a game changer. It cut the setup time in half and made everything easier to hide.
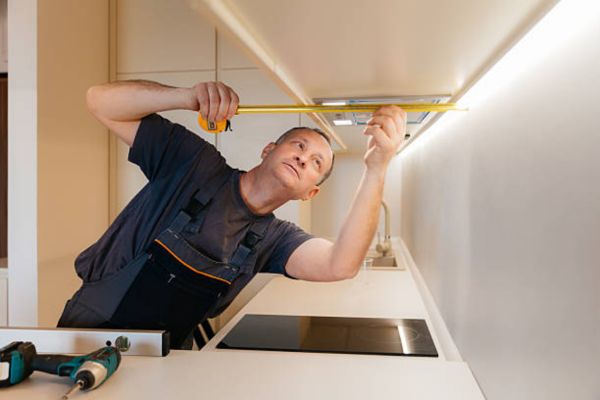
Step-by-Step Installation Guide (Beginner Friendly)
Following a simple order keeps mistakes to a minimum.
- Measure the length of each cabinet section.
- Cut the LED strip only at marked cut points.
- Attach mounting clips or peel-and-stick adhesive.
- Connect the power cable to the strip.
- Turn power on and test.
- Secure and hide any loose wires.
Take your time with each step. Slow and steady leads to clean results.
Is 110V LED Strip Lighting Safe Under Cabinets?
Yes, 110V LED strip lighting is safe when installed correctly. These strips are designed for indoor residential use.
Most quality strips include protective coatings, insulated wiring, and heat-resistant materials. Safety problems usually come from poor connections or damaged wires.
I treat every install with respect for electricity. That habit has kept my projects trouble-free.
Safety Tips I Always Follow
- Turn off the breaker before working
- Use UL-listed products
- Keep lights away from water
- Secure every connection
Small safety steps prevent big problems.
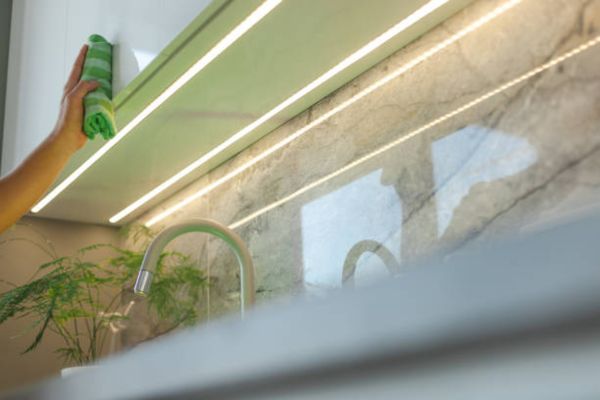
Best 110V LED Strip Lights for Under Cabinet Lighting
Look for strips with good brightness, durable coating, and a color temperature that fits your space. A waterproof or splash-resistant rating is a bonus for kitchens.
Warm white feels cozy. Cool white looks clean. Daylight gives a bright, modern look. I usually choose neutral or daylight for food prep areas. I focus more on quality than brand names. Solid build, clear instructions, and good reviews matter most. Before buying, check length, For ceiling lighting upgrades, check out our Best LED Recessed Lights guide for energy-efficient options that match your kitchen lighting setup.
Common 110V LED Strip Light Installation Mistakes
Most problems come from small, easy-to-avoid errors. I’ve made a few of these myself, which is how I learned what really matters.
Cutting the strip at the wrong spot can stop an entire section from working. Always cut only where the manufacturer marks it. Those marks exist for a reason.
Loose connectors cause flickering or lights that won’t turn on at all. Push connectors in firmly and double-check every connection before mounting.
Overloading a circuit can trip breakers or damage wiring. If you’re lighting a large area, spread the load or consult an electrician.
How Long Does Installation Take?
A simple plug-in setup usually takes about 30 minutes. You measure, cut, connect, and mount.
A hardwired setup often takes 60 to 90 minutes. The extra time comes from turning off breakers, opening junction boxes, and securing connections.
Timing depends on cabinet size, number of sections, and your experience level. The first install may take longer, but each one gets easier.
Final Thoughts
You don’t need to be an electrician to improve your kitchen lighting. With the right approach, this is a project almost anyone can handle.
Small DIY wins build real confidence. Each simple upgrade makes your home feel better and more functional.
I started with one cabinet and ended up doing my whole kitchen. Once you see how easy it is, you’ll probably want to do more.