

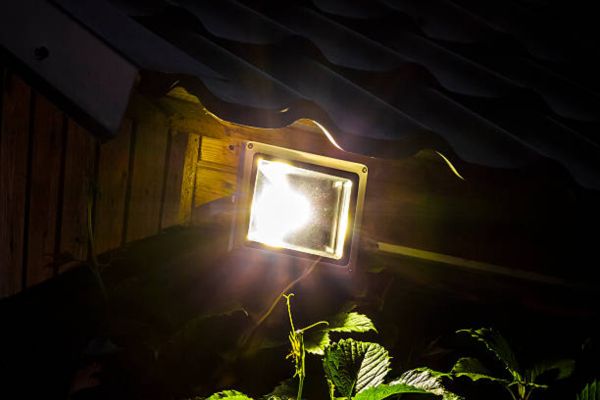
Dark spots around my garage once felt unsafe at night. A simple project changed that. I learned how to install an outdoor flood light, and the space became bright and secure.
A proper flood light installation improves safety and visibility around driveways and flood lights for garage areas. With the right floodlight wiring, the setup stays reliable.
In this guide, I share how to install an outdoor floodlight step-by-step.
Why Outdoor Flood Lights Are Worth Installing
Outdoor flood lights make a home feel safer and more welcoming at night. Bright light improves visibility around paths, doors, and yard areas. Many homeowners add flood lights for garage spaces to keep driveways clear and easy to see. Good lighting also helps reduce trips or missed steps in dark areas.
Security improves with stronger lighting as well. Bright spaces discourage unwanted activity and help cameras or neighbours notice movement more easily. A simple flood light installation can protect entryways and outdoor work areas.
I once added a light near my garage after noticing how dark the driveway felt at night. The change felt immediate. The yard looked brighter, and moving around at night became much easier.
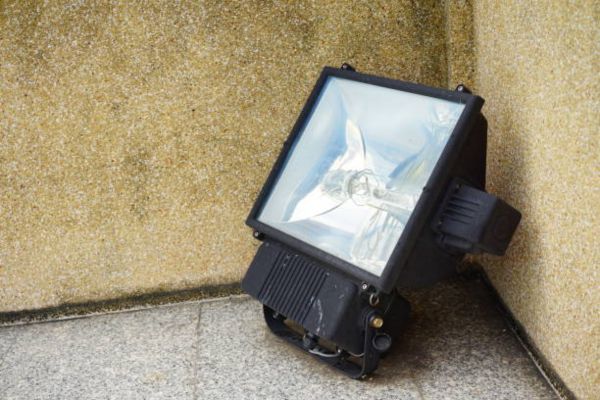
Tools and Materials Needed for Flood Light Installation
Preparation keeps the job smooth and organized. A short checklist helps avoid stopping mid-project. Most homes already have several tools needed for flood light installation.
Tools
- Screwdriver
- Voltage tester
- Drill
- Wire stripper
- Ladder
Materials
- Outdoor floodlight fixture
- Mounting bracket
- Electrical box (needed in some setups)
- Wire connectors
- Electrical tape
With these tools ready, the installation process becomes much easier and faster.
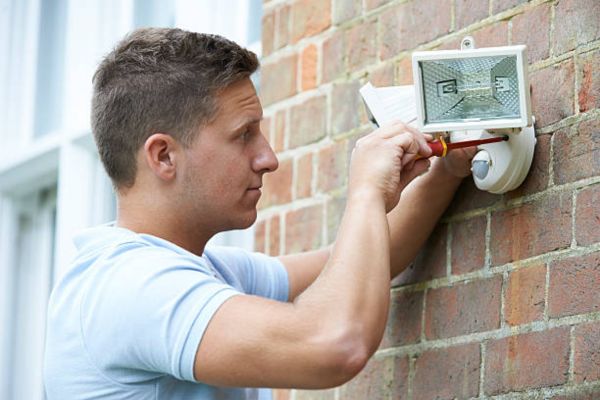
Important Safety Tips Before Installing a Floodlight
Safety always comes first during electrical work. Turning off the power at the breaker protects both hands and wiring. A voltage tester helps confirm that no electricity runs through the wires.
Outdoor-rated fixtures also protect the system from rain and moisture. These lights are built to handle weather changes.
Stable ladder placement also matters. A firm ladder helps maintain balance while working with floodlight wiring and mounting hardware.
Step-by-Step Guide on How to Install an Outdoor Floodlight
Outdoor lighting projects feel easier with clear steps. Each stage builds on the one before it, creating a smooth installation process. Careful attention to wiring and mounting ensures reliable results. A calm and organised approach helps the project move forward without confusion.
Step 1 – Turn Off the Power
The first step always involves shutting off electricity from the circuit breaker. The breaker panel controls the flow of power to different parts of the home. Switching off the correct breaker stops electricity from reaching the light wires. This action creates a safe starting point for the installation process.
Step 2 – Remove the Old Light Fixture
Existing lights attach to the wall with mounting screws. Removing these screws allows the fixture to come away from the wall or electrical box. Once loose, the wires behind the light become visible. These wires connect the fixture to the home’s electrical system.
Step 3 – Install the Mounting Bracket
A mounting bracket supports the new floodlight fixture. The bracket attaches directly to the electrical box using provided screws. Proper alignment keeps the light steady and prevents movement later. A firm bracket ensures the floodlight remains secure during wind or weather.
Step 4 – Connect the Floodlight Wiring
Correct wiring forms the core of the installation process. Three common wires appear in most lighting setups. The black wire carries power, the white wire serves as the neutral line, and the green or copper wire connects to ground.
Matching these wires correctly keeps the circuit stable. Black connects to black, white connects to white, and ground connects to the green or copper wire. Secure wire connectors protect each joint and maintain reliable floodlight wiring connections.
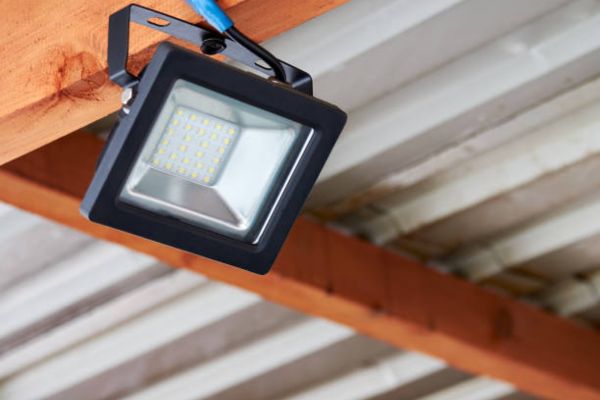
Step 5 – Mount the Floodlight Fixture
After wiring connections remain secure, the fixture attaches to the mounting bracket. Tightening the screws locks the light into position. Many fixtures allow the lamp heads to move or rotate. Adjusting the angle helps direct light toward driveways, paths, or entry areas.
Step 6 – Restore Power and Test the Light
Power returns after the installation feels complete. The circuit breaker restores electricity to the lighting line. A quick switch test confirms that the floodlight works correctly. Bright light across the yard signals a successful installation.
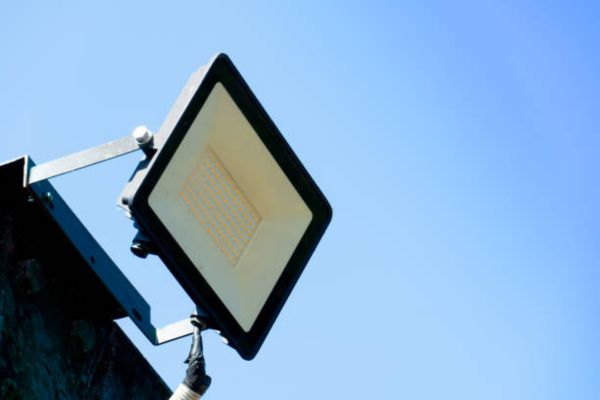
Best Placement Tips for Outdoor Flood Lights
Proper placement improves light coverage across outdoor spaces. Most flood lights work best at heights between eight and twelve feet above ground.
A slight downward angle spreads light across driveways and paths. Direct upward angles waste light and reduce visibility.
Garage entrances, driveways, and entry doors often serve as ideal locations. Many homeowners install flood lights for garage areas to keep parking spaces bright at night.
Common Floodlight Installation Mistakes to Avoid
Small mistakes can reduce lighting performance. Incorrect wiring connections may prevent the light from working properly. Secure connections help maintain reliable power flow.
Mounting lights too low can also create glare and uneven lighting. Higher placement spreads illumination more evenly.
Outdoor fixtures also require proper sealing. A tight mounting base protects wiring from rain and moisture. Outdoor lighting works best with the right light source, so check our guide on black light vs uv light to learn how different lights function.
My Personal Experience Installing an Outdoor Flood Light
My first outdoor lighting project started with a dark driveway. Parking at night felt uncomfortable, and visibility remained poor.
The wiring process required patience and careful attention. Once the fixture was mounted and the angle adjusted, the improvement felt obvious.
The driveway became bright and easy to navigate. That simple upgrade changed the entire feel of the space.
Maintenance Tips to Keep Flood Lights Working Longer
Regular care helps outdoor lights last longer. Cleaning the lens every few months keeps the beam bright and clear.
Checking wiring connections once a year also supports reliable operation. Secure connections prevent flickering or power loss.
Many homeowners also choose LED bulbs. LEDs last longer and use less electricity than traditional bulbs.
Final Thoughts
Outdoor flood lights improve safety, visibility, and comfort around a home. Bright spaces help families move around easily during the evening.
Installation often requires only simple tools and careful wiring. Proper placement also helps lights cover larger areas.
A single floodlight can transform a dark corner into a bright and secure space.
FAQs
How to install an outdoor floodlight near a garage?
Place the light about 8–12 feet high above the garage. Many homes use flood lights for garage areas to improve night visibility.
What tools help with flood light installation?
Basic tools include a screwdriver, drill, ladder, voltage tester, and wire connectors. These tools make installing a floodlight outside easier.
Can beginners install an outdoor floodlight?
Yes, many beginners handle flood light installation with simple tools and clear steps for how to install an outdoor flood light safely.