
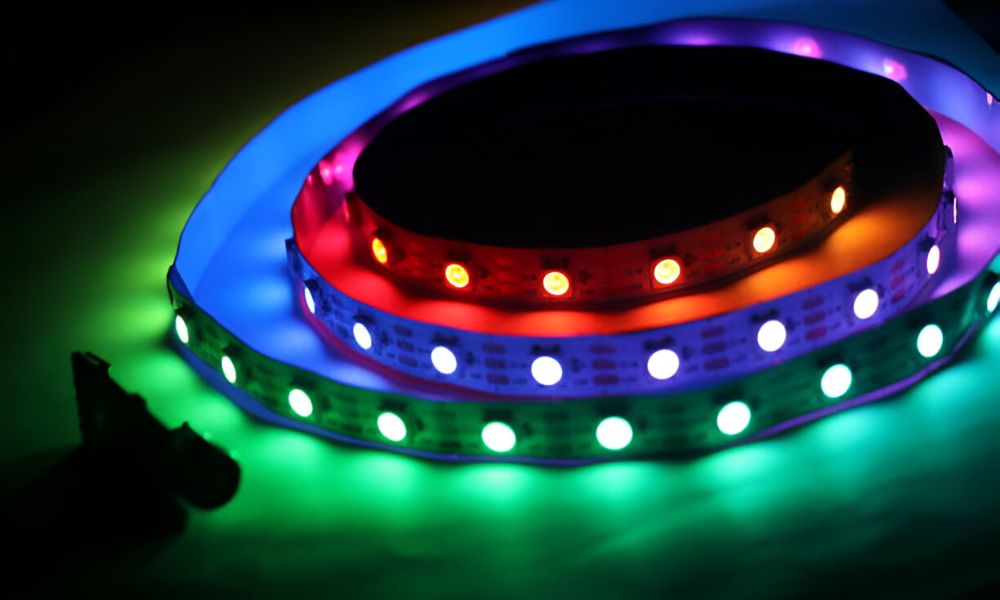
One evening, my bedroom felt different. The soft glow from my LED strip had gone dark halfway across the wall. A small rip had broken the light. It looked beyond repair, yet I knew there was hope. Over the years, I learned how to fix ripped LED strip lights without soldering using easy tools and clear steps. The method is fast, safe, and works for beginners.
Why LED Strip Lights Rip and Why It’s Not the End
They are flexible, yet they have limits. Bending them too sharply can stress the thin circuits inside. Tugging at the strip or pulling it from a surface can loosen or tear connections. Poor-quality adhesive may let sections sag, making them easier to catch and damage. Over time, age can weaken both the strip and its glue.
The good news is that most rips are not the end. LED are built in small, repeatable segments. This means a damaged section can be removed or reconnected without replacing the whole strip. With the right steps, your light can shine again.
Tools and Materials You’ll Need
A smooth repair starts with the right tools. Keep everything close so the job feels quick and easy.
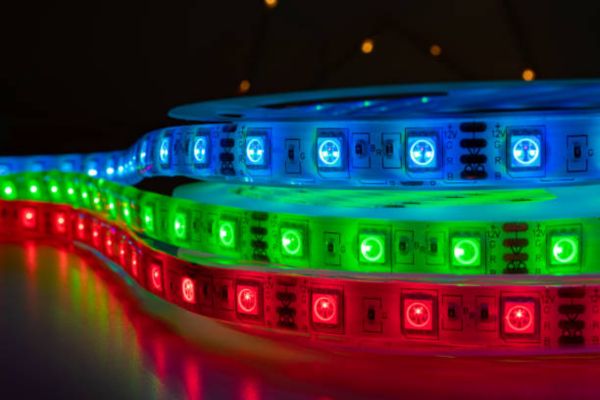
- LED strip connectors – Match the size to your strip. Most single-color strips use 8mm connectors, while RGB strips often use 10mm.
- Scissors – For making clean, precise cuts.
- Measuring tape – To check lengths before cutting or replacing a section.
- Clean cloth – Wipe copper pads so they connect well.
- Optional spare LED section – Useful for replacing a damaged part.
Step-by-Step Guide – How To Fix
Step 1 – Turn Off and Unplug
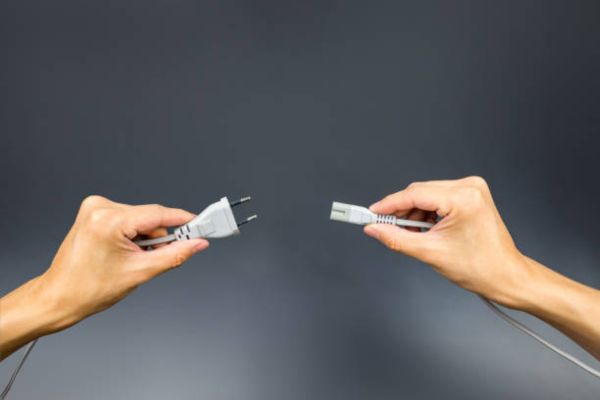
Cut the power before you start. Unplug the adapter from the wall. This keeps you safe and protects the strip from harm.
Step 2 – Inspect the Damage
Place the strip on a flat surface. Look closely at the tear. A rip near the copper pads is simple to fix. A rip through an LED may need that section removed.
Step 3 – Trim for a Clean Edge
Find the printed cutting line close to the damage. Use sharp scissors to make a straight cut. A clean edge helps the connector hold well.
Step 4 – Prepare the Strip Ends
Wipe the copper pads with a dry cloth. Remove dust or glue. Straighten bent parts so they slide in smoothly.
Step 5 – Attach with Connector Clips
Open the clip. Push the strip in until the copper pads touch the metal teeth. Match the “+” to “+” and “–” to “–”. Press the clip shut.
Step 6 – Test Before Mounting
Reconnect power. Turn the lights on. The glow should pass the repaired point. If it does not, adjust the pads inside the clip.
Step 7 – Secure the Strip in Place
Stick back in place. Use its adhesive or strong double-sided tape. For extra hold, add mounting clips.
Expert Tips for a Perfect Fix
Choose strong, well-made connectors. They grip better and keep the light steady over time. Cheap ones may loosen and break the link.
Keep a short spare strip in your toolbox. It’s useful for quick swaps if a section fails.
Add extra mounting clips where the strip bends or gets touched often. This reduces strain on the connections.
Pick the best LED strip lights for bedroom you can find. Quality stick longer, bend without damage, and need fewer repairs.
Preventing Future Rips
Keep smooth and relaxed. Avoid sharp bends that stress the circuits. Do not pull or stretch the strip during setup.
Check the adhesive from time to time. Replace weak tape with strong, double-sided mounting tape. This keeps the strip in place and safe from tugs.
Plan the layout before you install. Leave gentle curves at corners and some slack near connectors. This reduces strain and helps last longer.
Choosing the Best LED Strip Lights for Bedroom

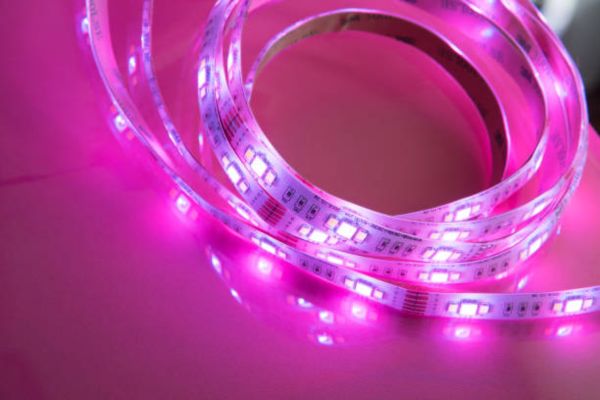
Look for strips with strong brightness that suit your space. Warm white is cozy, while RGB strips give you many color choices. Good adhesive is just as important. It keeps the strip in place and prevents sagging.
High-quality strips reduce the risk of rips and loose connections. They bend more smoothly and last longer. This means less time fixing and more time enjoying the light.
For beginners, choose plug-and-play kits with clear markings for cutting points. Brands with solid reviews and warranties offer extra peace of mind.
Final Thoughts
Fixing a ripped LED strip is simple, fast, and satisfying. You can bring back your room’s glow without special tools or soldering.
This small repair saves money and keeps your favorite lighting setup intact. It’s a skill worth knowing for any home.
With a little care and good planning, your lights will shine for years. Keep them clean, secure, and well-placed — and enjoy the comfort they bring to your space.
FAQs
Can I use tape instead of connectors?
Tape can hold the strip in place but will not carry power between sections. To restore light, use proper LED connectors.
How long will the fix last?
A good repair with quality connectors can last as long as the original strip. Strong adhesive and secure mounting extend its life.
Do I need special tools for this repair?
No. Scissors, a clean cloth, and the right connector are enough for most fixes.