
Have you ever walked into a room and noticed your recessed lights aren’t sitting right? Maybe the trim is loose, or the light flickers. I had this same issue in my own home. One of the recesses wouldn’t hold, and it was driving me crazy! Recessed light clips keep your fixtures in place. When they fail, it can feel like a small disaster. A loose Or broken clip can cause your light To hang unevenly or flicker. It’s important To fix them right away, Not just for looks but for safety. In this guide, I’ll show you how to fix recessed light spring clips. I’ll share tips from my own experience to help you get the job done easily and safely.
Common Reasons Why Recessed Light Clips Won’t Hold
It help keep your lights in place. But sometimes, they don’t hold well. Let’s look at why this happens.
Over time, clips can lose their strength. They wear out. I had one clip break. Once I replaced it, the light stayed secure.
Sometimes, the clip isn’t installed properly. It might not be set right. I once fixed a light just by making sure the clip clicked into place.
Heat and humidity affect clips. They weaken over time. I’ve noticed this in my bathroom, where humidity loosens.
01. Turn Off the Power

Safety first! Before doing anything, Turn off the power at the breaker. This keeps you safe from electrical shock while working On the light.
02. Remove the Trim or Baffle
Carefully remove the trim or baffle around the light. Most trims pop off with a little gentle force. Just be sure not to damage the trim as you take it off.
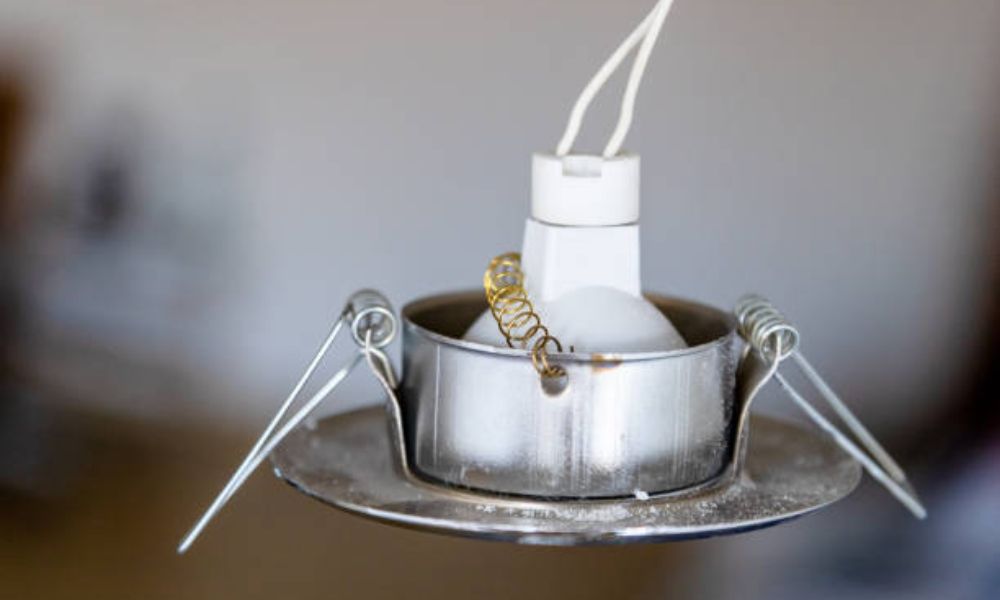
03. Inspect the Spring Clips
Now, check the spring clips. Look for any bends Or signs of damage. If they’re not holding properly, they might need adjusting Or replacing.
05. Adjust or Replace the Clip

If the clip is bent, use pliers to straighten it. For a broken clip, Replace it with a new one. Make sure the replacement Is the right size.
05. Reinstall the Trim
Once the clip is fixed, Snap the trim Or baffle back into place. It should fit securely. Make sure it clicks in properly So it doesn’t come loose.
06. Turn the Power Back On
Finally, turn the power back on at the breaker. Test the light To make sure everything is secure And working properly. If you’re looking For recommendations, check out the Best Recessed Lighting For Bathroom to elevate your space!
Tips for Perfect Results Based on Experience

Fixing It can be easy, but here are a few tips to make sure the job goes smoothly every time.
Use the Right Tools
The right tools make all the difference. I’ve found that a pair of pliers and a flathead screwdriver are perfect for adjusting or replacing. They give you the control you need without damaging the light or clip.
Check the Clips Regularly
Clips wear out over time. To avoid problems later, inspect them every few months. It’s a quick check that can save you from having to fix a loose light later.
Avoid Over-tightening
It might seem tempting to tighten the clip too much, but don’t! Over-tightening can damage the clip or cause it to break. A gentle snugness is all you need for a secure fit.
Different Types of Recessed Light Clips and When to Use Them
Not all are the same. Choosing the right one for your fixture is key. Let’s go over the main types and when to use them.
Coil
They are the most common. They work great for standard recessed light setups. If your fixture has a regular home size, coil spring are the way to go.
Flat
They are ideal for shallow or tight spaces. These clips are thinner and take up less room, so they’re perfect for ceilings with limited space.
Push-in
They are easy to use and great for quick fixes. They simply snap into place without much effort. These are perfect if you need to install or fix clips in a hurry.
Choosing the Right Clip
The key to choosing the right clip is knowing your fixture’s size and your ceiling’s depth. For standard fixtures, go with coil clips. Tight spaces, flat clips are best. For a quick fix, push-in clips are your friend.
Troubleshooting: What to Do If Your Light Clips Still Won’t Hold

Check these few things.
Check for Compatibility
First, make sure the clips fit the housing properly. Clips that are too big or too small won’t grip the housing. Double-check the clip size to make sure it’s the right fit.
Examine the Housing
Next, look at the housing itself. If the clips still won’t hold, the problem might be in the housing. Over time, the housing can get damaged or misshapen.
Replace the Housing
If the housing is damaged, you may need to replace it. A worn housing can’t secure the clips properly. Replacing the housing will help you get a firm fit.
Conclusion
Fixing recessed is simple. First, turn off the power. Then, remove the trim, inspect the clips, and adjust or replace them as needed. Don’t forget to reinstall the trim and test the light afterwards. Regular checks and maintenance will help keep your lights secure and safe.