
Last winter, I set up LED strip lights around our bedroom wall. I wanted that soft, even glow that makes a space feel calm. But something strange happened. Half the lights turned red. The rest stayed blue. It looked nothing like the warm vibe I had in mind. I didn’t toss them. I learned how to fix LED strip lights different colors the easy way. No tools. No panic. Now, I want to show you how to do the same. With a few steps, you can solve this fast—and enjoy your room again, just the way you imagined.
Understanding How LED Strip Lights Work (Made Simple)
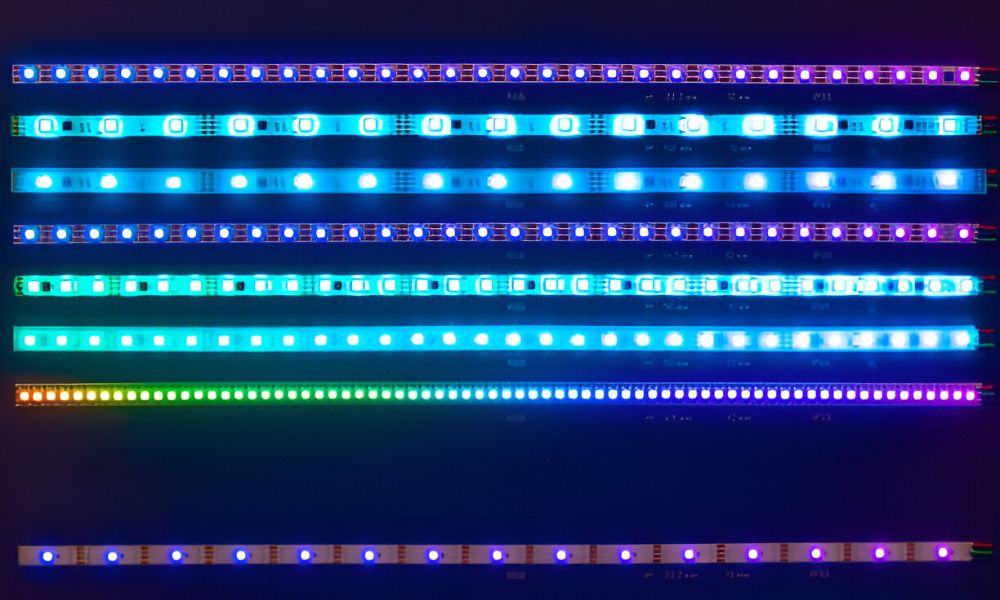
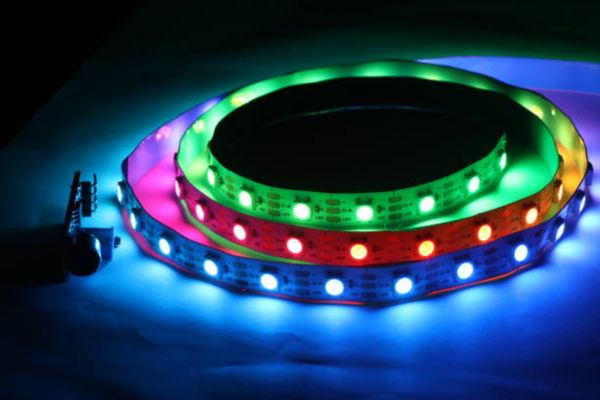
They are more than small bulbs on a roll. Each light on the strip can change color. It does this by following signals from a controller.
Most strips use RGB. That means red, green, and blue. These three colors blend to make many others. Some strips include RGBW, which adds pure white. That gives a softer, cleaner glow.
The controller sends two things—power and color data. These flow through the strip in a set order. Each light listens and reacts. All of them should work together. But they don’t always do that.
One broken signal can throw the colors off. A weak wire or bad pin can stop part of the signal. The lights then go out of sync.
Power matters too. Not enough power can cause dim or stuck colors. One end may look fine. The other side may turn green or fade.
Top Reasons LED Strip Lights Show Different Colors
Color problems often start with small things. A loose pin is one of the biggest causes. Just one bent pin can block the color signal. The lights then show the wrong shade—or stop glowing at all.
Connectors also fail. These small parts link the power or controller. If one is weak, colors shift or flash.
A weak power supply creates even more trouble. It sends less power than needed. That makes some colors fade or mix the wrong way. You might see blue instead of white—or green where red should be.
Some strips break from heat or bad bends. A cut or cracked area can stop the flow of power or color data. That part of the strip may glow differently—or not at all.
Remotes and controllers play a role too. A bad signal from the remote can confuse the lights. They may lock on one color or blink without reason.
Long strips often show color loss near the end. This happens due to voltage drop. Power fades as it moves down . One end stays bright. The other turns dull or odd.
Step-by-Step: How to Fix
Fixing color issues sounds hard. But it’s not. Follow these steps, and your lights will look perfect again. No tools needed. Just a bit of care and time.
Step 1: Unplug and Inspect
Start safe. Unplug the strip from the power source. Give it a close look. Check the length of the strip. Look for dark spots, burns, or broken parts. Many color problems begin here.
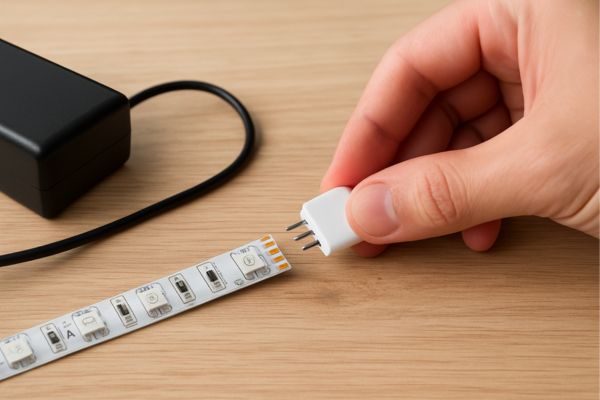
Step 2: Check Connection Points and Pins
Move to the connector. Look where the strip joins the controller or power. Are the metal pins straight? Are they clean? Even one loose pin can break the signal. Push each pin down gently. A firm, even press can fix a color issue in seconds.
Step 3: Reset the Controller
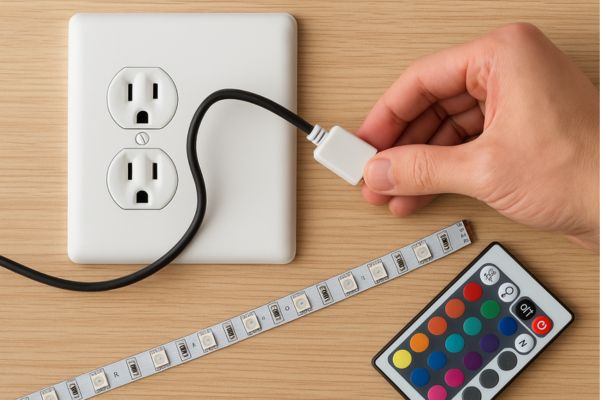
Still seeing the wrong colors? Try a reset. Unplug the controller from the wall. Wait ten seconds. Plug it back in. Simple, but it works often. This clears out bad signals and refreshes the setup. Think of it as a fresh start.
Step 4: Try a New Power Supply or Remote
Power matters. A weak adapter can’t keep colors true. Swap your power supply with one that matches the voltage and wattage. A small upgrade makes a big difference.
Also test the remote. Dead batteries or signal delays can confuse the strip. A working remote brings the lights back in sync.
Step 5: Trim Damaged Strip Ends and Reconnect
Still not fixed? Time for a quick LED color repair. Cut off the damaged end with clean scissors. Use a new connector to join again.
Make sure the copper pads line up. Press down firmly. Turn the lights on. That fresh connection should restore the colour flow.
Try This Before Replacing!
Test your strip with a short section first. Plug in a one-foot strip. If the colour looks right, the rest can be fixed too. No need to buy a whole new set.
Expert Tips for a Smooth Repair
Test With a Small Strip First
Start small. Cut a short test strip—just a foot or two. Connect it to your power source. Check the colours. If the short piece works fine, the main issue is in the longer run. No need to replace everything.
Use Matching Voltage Adapters
Always check the voltage on your adapter. Most strips use 12V or 24V. Mixing them can cause weak lights or full failure. A well-matched adapter keeps your colors clean and steady.
Label Your Wires
This sounds boring, but it works. Use tape or markers to label ends before you reconnect anything. It helps you remember which wire goes where. Next time there’s a glitch, you’ll fix it faster.
Use Quality Connectors
Cheap connectors fail fast. Here are the ones I trust:
- L-shape clip connectors – great for corners
- Snap-on gapless connectors – clean look, no solder
- 4-pin solderless joints – for RGB setups
These grip better, last longer, and make the lights shine the way they should.
Bonus Tip for DIY Lovers
Keep a repair kit nearby. A few extra connectors, fresh remote batteries, and one backup adapter can save you at midnight—no store run needed.
Preventing Future LED Colour Problems
Don’t Overload the Power
Use a power adapter that matches your needs. Go a little higher than the strip’s wattage. This keeps things stable. A weak adapter wears out fast and takes your colours down with it.
Stick Strips Properly
Press the strip down gently but firmly. Avoid sharp bends. Loose contact points cause flicker, fade, and full colour failure. Clean the surface first. Dust weakens the grip.
Some users add clear clips or adhesive pads. I do this behind shelves and headboards. The stays flat—and so do the colours.
Buy From Trusted Brands
Not all LEDs are made well. Some use thin wires or weak chips. These break fast. Choose quality over the cheapest deal. You’ll save money in the long run.
Look for solid reviews, steady colour output, and good support. I’ve tested dozens, and the best LED strip lights for bedroom give a warm, even tone that lasts.
Best LED Strip Lights for Bedroom (If You Need a Replacement)
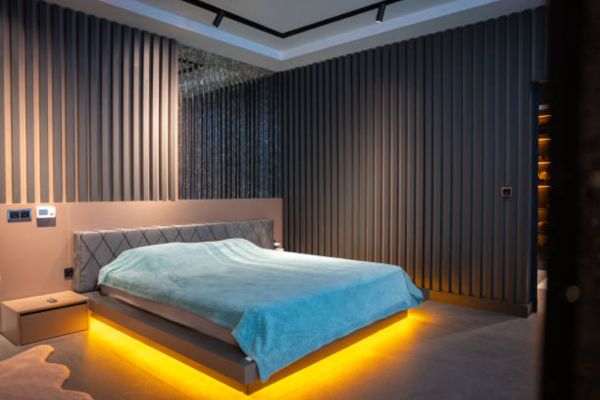
Sometimes a repair isn’t enough. Or maybe your old strip just doesn’t give the mood you want. This is a good time to upgrade.
Let’s walk through what to look for—and which options I’d trust again.
What Matters Most in Bedroom LED Strips
For cozy spaces, you want:
- Soft, warm tones (not harsh blue)
- Brightness control
- A remote or app for easy changes
- The right length for shelves, beds, or ceilings
- A clean look with strong adhesive or clips
I’ve tested many. Below are three picks that hit the mark.
Top 3 Picks: Best LED Strip Lights for Bedroom
| Strip Name | Best For | Pros | Cons |
| Govee Smart RGBW | Full room glow | App control, soft white tone, voice command | App setup takes a minute |
| DAYBETTER 32.8ft | Budget-friendly setup | Good brightness, long length, remote included | The adhesive is weak on rough walls |
| Philips Hue Lightstrip Plus | Premium feel | Deep colours, smooth fades, smart-home ready | High price, sold in shorter lengths |
Final Thoughts
A flickering light or color glitch can throw off your whole vibe. But don’t let it get to you. Most LED issues are small and easy to fix.
You don’t need special tools or expert skills. Just a little time, a good eye, and a few simple steps. You’ve got this.
FAQ
Why is half my LED strip a different color?
That’s often caused by weak power, bad connectors, or a broken section. Check each part of the strip, especially the middle joint.
Can I fix LED lights without cutting them?
Yes. Try pressing the connectors, resetting the controller, or changing the adapter first. Cutting is only needed for damaged areas.