

Last night, I was lying in bed with a cup of tea. My LED strip cast a soft glow across the room. Without warning, the light went out. The room felt dull, like it had lost its charm. Over time, I’ve learned how to fix broken LED light strip without stress. It’s easier than most people think and takes only a few tools. A quick repair can save money and keep the bedroom cozy. In this guide, I’ll share my simple method so you can bring your lighting back to life and keep your space feeling warm and inviting.
Why LED Strip Lights Matter in a Bedroom
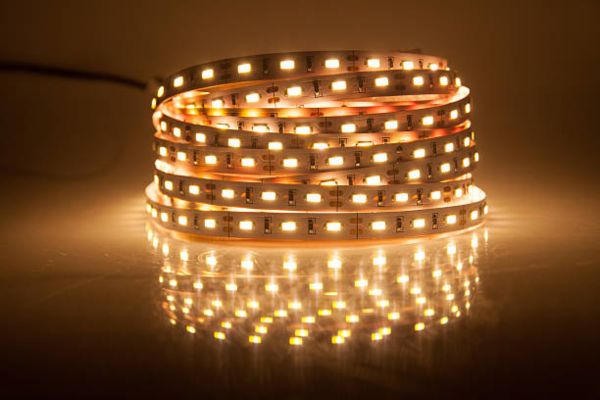
It add more than just brightness. A soft, even glow can make a bedroom feel calm and warm. The light spreads gently, creating a space that invites relaxation.
They also save energy. The power use is low, so you enjoy beauty without a big bill. The design is flexible, allowing you to place them under shelves, behind a headboard, or along walls.
With the best LED strip lights for bedroom, you can choose colors, dim the light, and even control it from your phone. I’ll share my top picks later to help you find the perfect match.
Understanding How LED Strip Lights Work
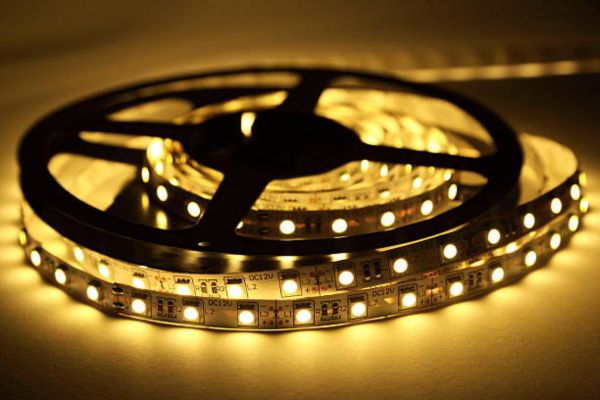
An LED is a flat, flexible ribbon. Tiny LED chips sit along its length, each giving off light. At set points, you’ll see small copper pads. These pads let you cut or connect sections without harming the rest of the strip.
On the back, there’s an adhesive layer. This sticky side makes it easy to mount the strip on walls, furniture, or ceilings. A power adapter sends electricity through the strip, feeding each chip.
They stop working for simple reasons. A loose connection, a damaged copper pad, or a weak adapter can break the flow. Even dust or bending too much can cause a section to go dark.
Common Reasons LED Light Strips Break
LED light strips can fail for a few simple reasons. Loose connections between sections or at the power adapter can stop the flow of electricity. A section may also get damaged from bending too tightly or making a rough cut.
A faulty power adapter or controller can cause flickering or a complete blackout. Dust and dirt on the copper pads or connectors can weaken contact and block power. The good news is that most of these problems are small and can be fixed at home with basic tools and a little care.
Tools You’ll Need Before You Start
You only need a few tools to repair an LED strip. A small pair of scissors or wire cutters will help you make clean cuts.
LED connectors are quick to use, while a soldering kit makes a stronger join. Electrical tape or heat shrink tubing will protect the fixed part from dust and damage.
A multimeter can check power flow, though it’s not required. Keep a spare strip section nearby to replace any part that cannot be saved. With these ready, you can start the repair with ease.
Step 1 – Test the Power Source
Unplug the strip. Plug another device into the same outlet to see if it works. Check the adapter label for the correct voltage and match it with your strip.
Step 2 – Inspect the Strip for Visible Damage

Lay the strip flat. Look for burn marks, cracks, or sections that appear darker than the rest.
Step 3 – Clean the Strip
Wipe the surface with a soft cloth and a little rubbing alcohol. Let it dry fully before you move on.
Step 4 – Find the Faulty Section
Reconnect the strip. Watch where the light stops. Mark the spot. Unplug before repairing.
Step 5 – Cut and Remove the Damaged Section
Use scissors or wire cutters to cut along the copper pad lines. Remove the broken part.
Step 6 – Reconnect the Good Sections
Attach both ends using LED connectors or solder wires to the copper pads. Match the + and – sides.
Step 7 – Secure and Reinstall
Stick the strip back in place with its adhesive or double-sided tape. Keep it straight for an even glow.
Step 8 – Test the Repair
Turn the strip on. The light should flow evenly along its length. Enjoy the restored glow.
Pro Tips from My Own Repairs
Work on a steady table for better control. A flat surface keeps your hands free and your cuts clean. Store extra connectors and strip pieces in a small box. They can save you time during future repairs.
Label each power adapter. This stops you from mixing voltages and damaging your strip. Bend the strip gently around corners. Sharp bends can break the circuit inside. Test the strip before sticking it back. This ensures the light works perfectly in its final spot.
When It’s Time to Replace Instead of Repair
Some LED strips reach a point where repair is not worth the effort. Multiple damaged sections can make the light uneven. Old strips may fade, losing the brightness that once made the room glow.
A power adapter that overheats is a sign to stop using it. Safety should always come first.
At that stage, it’s better to replace the whole setup. Look for the best with features like adjustable brightness, colour modes, and strong adhesive. Brands that offer remote or app control add extra comfort and style
How to Choose the Best LED Strip Lights for Bedroom
Choosing the best LED strip lights for bedroom starts with brightness. Look for strips that offer adjustable levels so you can set the mood. Colour options add variety, letting you shift from warm tones to vibrant shades.
A remote or app control makes changes easy without leaving bed. A good adhesive keeps the strip in place for years. Waterproof coating is a bonus for extra durability.
For beginners, brands like Govee, Philips Hue, and Nexillumi are reliable. My personal favorite is Govee for its smooth color blending, strong adhesive, and easy setup. It’s simple, durable, and perfect for cozy bedroom lighting.
Safety Tips for LED Strip Repairs
Always unplug before starting any repair. This keeps you safe from electric shock and protects the damage.
Use the right tools for each task. Scissors or wire cutters make clean cuts, and a soldering kit works best for secure joins.
Keep the strip away from water unless it is marked as waterproof. Moisture can cause short circuits and reduce the life of your lights.
Final Thoughts
Fixing an LED strip is easier than it first appears. With a few tools and some patience, you can bring the light back and keep your bedroom feeling warm and inviting.
A little care goes a long way. Clean the strip now and then, avoid sharp bends, and store spare parts for quick fixes. Done right, your LED lights can last for many years.
I’d love to hear how you restored your bedroom glow. Share your repair stories, tips, or favourite lighting setups so others can enjoy the same cosy atmosphere.