
The first time I added LED strip lights to my bedroom, everything changed. A soft glow lit the headboard, and the space felt warmer, calmer, better. It wasn’t just light—it was mood, comfort, and a touch of magic. I’ve tried many setups since then and learned a lot along the way. Mistakes? Made plenty. But now I know what works. In this guide, you’ll learn how to connect multiple LED light strips with ease. We’ll also explore the best LED strip lights for bedrooms to help your space shine. Let’s make your room feel just right—one light at a time.
Understanding LED Strip Basics
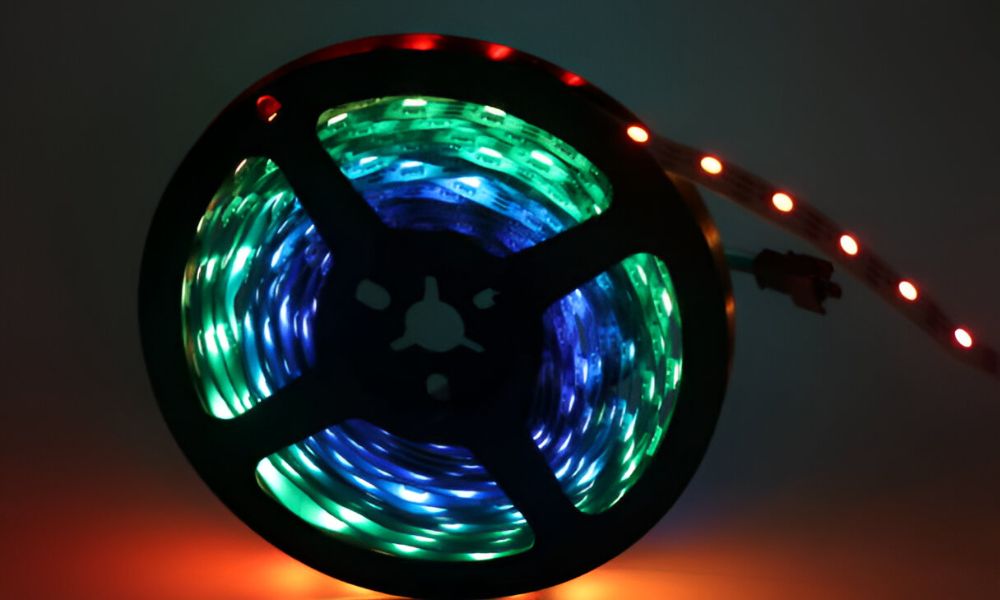
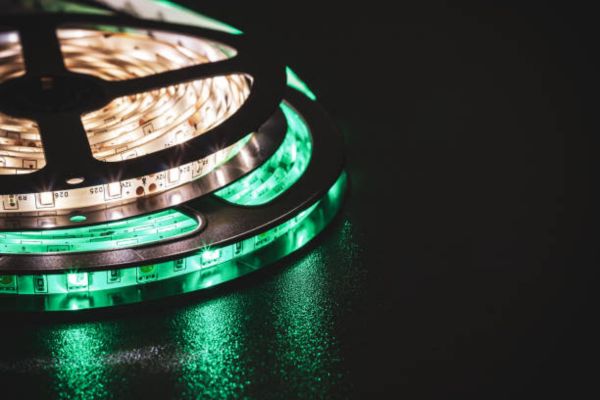
LED strip lights are long, bendable bands with small lights built in. They stick to walls, shelves, or behind furniture. You peel, press, and watch your room glow.
There are three types to know. Single-color strips give one solid shade like warm white. RGB lets you switch between red, green, and blue. RGBIC adds a twist—different colors show at the same time.
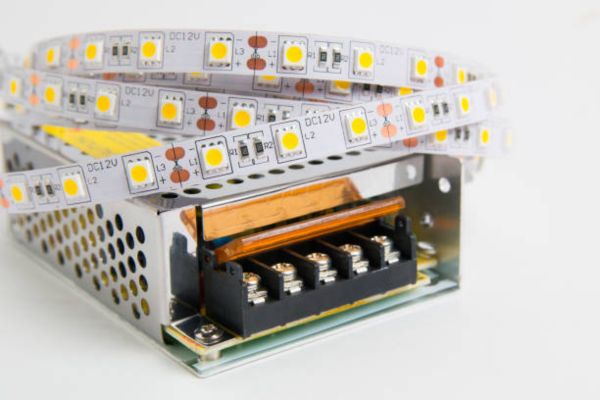
Most strips use 12V or 24V power. Check the label and match it with the right power supply. Wrong voltage can cause dim lights or damage.
Color tone matters too. Warm white feels soft and cozy. Cool white looks sharp and bright. Bedrooms usually feel better with warm light.
Tools and Materials You’ll Need
LED Strips
Pick strips that use the same voltage and type. Mixing brands or power levels causes issues.
Power Supply
Match the power to your strip’s needs. Add 20% more wattage than required for safe use.
Connectors or Soldering Kit
Use clip-on connectors for quick links. Use soldering for strong, clean joins.
Extension Cables
These help bridge gaps between strip sections. Make sure they match your strip type.
LED Controller or Remote
This lets you change colors, brightness, and effects. Some connect to apps or voice control.
Adhesive Clips or Mounting Tape
Hold your lights in place. Strong tape or clips keep everything neat.
Optional: Amplifier
Use one for longer runs. It keeps the signal strong across all strips.
Bonus Tip:
Keep a small box for spare parts. Save extra tape, clips, connectors, and wire. It saves time later.
Having these tools nearby makes the whole job smoother. No last-minute runs. No surprises. Just clean, glowing light.
Planning Your Layout: Map Before You Stick
Before peeling off any tape, take a few minutes to plan. Good lighting starts with a clear layout. A little prep now saves a lot of work later.
Start by sketching your room on paper. Keep it simple. Mark the bed, shelves, and corners.
Break the space into zones. Think about the ceiling, under the bed, and behind the headboard. Each area adds a new layer of light.
Pick where each strip will go. Decide what mood you want in each zone—soft glow, bright edge, or color splash.
Look around for power outlets. Plan wire paths that stay hidden. You want the glow, not the clutter.
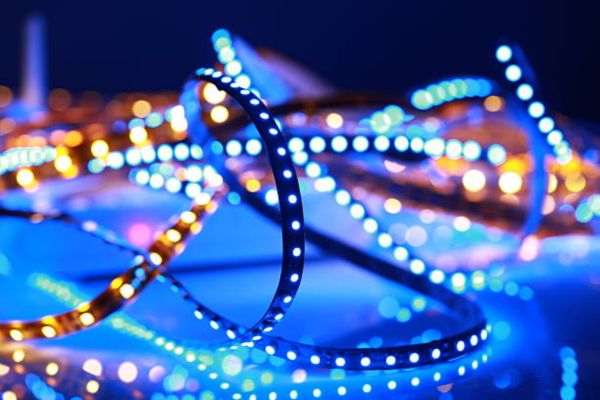
Many of the best LED strip lights for bedrooms are flexible and made for corners and tight spots. They bend easily and fit where bulbs can’t. This helps your lights look built-in, not added on.
Step-by-Step: How to Connect Multiple LED Light Strips
01. Measure and Cut
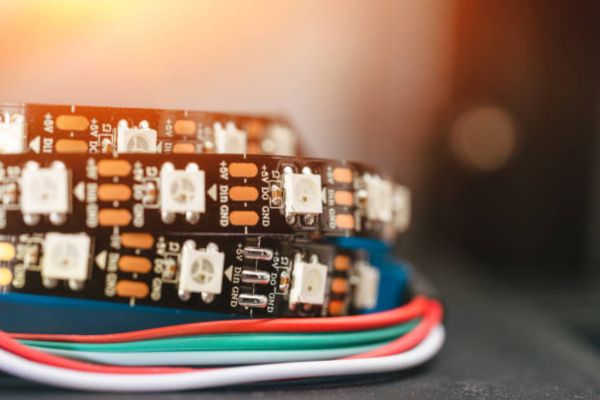
Lay the strips along your planned path. Cut only at marked cut lines. These lines are usually found every few inches.
02. Connect the Strips
Use clip-on connectors for a fast, tool-free setup. Or solder the wires for a cleaner, stronger link. Match the right pins—RGB uses 4-pin, RGBIC uses more.
03. Match the Polarity
This is key. Line up the + and – signs on both ends. A mismatch causes the strip to fail or flicker.
04. Test Your Setup
Before you mount anything, plug the strips in. Use the remote or controller to test the light. Check for color shifts or dead zones.
05. Mount Securely
Use clips or strong tape to stick the strips in place. Press gently but firmly. Corners may need extra support.
06. Power Up
Connect everything to the power supply. Make sure the supply has enough wattage. Leave a little extra room to avoid overload.
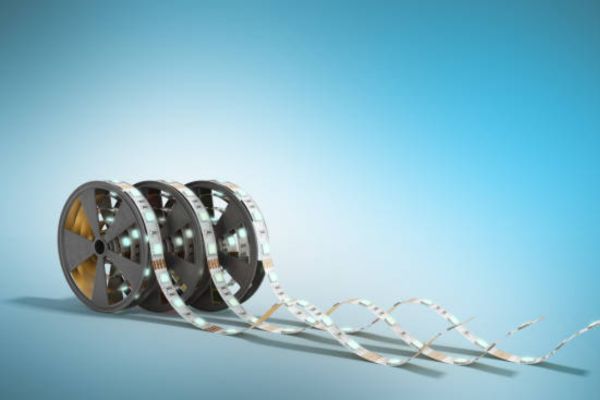
07. Add Amplifiers or Splitters
For long runs, use an amplifier. It keeps your colors bright and strong. Use splitters if you need to branch out to other zones.
08. Choose Your Setup Style
Series setup means one strip connects to the next. It’s simple, but may lose power over long runs.
Parallel setup gives each strip its wire to the power supply. This keeps brightness even in large rooms.
09. Avoid Voltage Drop
Keep runs short and power supplies close. Use thicker wires for longer distances. Don’t push the strips beyond their rated length.
Testing and Troubleshooting Your Setup
Always test before sticking anything down. This helps catch problems early and saves time later.
Start by plugging in one strip at a time. Use the controller or remote to turn it on. Run through each color and setting. Make sure the full strip lights up.
Watch for issues:
- No light at all? Check the power and connectors.
- Wrong colors? Flip the connector—your polarity may be off.
- Flickering or dim spots? You might need more power or a tighter connection.
- Half-lit strip? That section may be damaged or too far from the source.
Fixes are simple. Try a new connector. Press clips tighter. Switch wires if needed. Keep your wires short and strong.
Tips for the Perfect Bedroom Setup
Great lighting isn’t just about brightness. It’s about feeling. A few small changes can take your setup from basic to beautiful.
Use a smart controller for quick control. Change colors, dim lights, or set a timer with just a tap. Voice control adds even more ease. You can switch moods without lifting a finger.
Want more fun? Try syncing your lights to music. The colors move with the beat. It turns your room into a private concert.
Use diffusers to soften harsh light. These covers spread the glow and make the room feel calm. Some of the best LED strip lights for bedrooms come with built-in diffusers and remote access.
Match your lights to the look of your room. Warm tones feel cozy. Cool tones feel crisp. Choose what fits your mood best.
Hide wires for a clean finish. Tuck them behind furniture or use clips to guide them along the wall. A tidy setup feels more polished.
Safety Tips and Maintenance
Stay safe while keeping your lights at their best. A few smart steps go a long way.
Never overload your power supply. Check your strip’s wattage. Add it up, then choose a supply that handles more than you need.
Keep your strips away from heat or soft fabric. This stops them from overheating. Let them breathe, especially behind beds or curtains.
Clean every surface before you stick a strip down. Dust or oil can make the tape peel. A quick wipe with a dry cloth helps them stay put.
Unplug your setup before making changes. Even simple swaps need a power-off moment. It keeps your hands and gear safe.
To keep lights bright over time, check connections now and then. Look for dim spots or loose wires. Wipe down the strips gently to keep the glow clear.
Final Thoughts
Great lighting starts with a simple plan. Measure your space. Choose the right strips. Connect everything with care. Test it all, then sit back and enjoy the glow.
Your bedroom is more than just a place to sleep. It’s where you relax, reset, and recharge. Try new layouts. Mix colors. Play with light until it feels just right.
FAQs
Can I connect different brands of LED strips?
Yes, as long as they match in voltage and pin layout. Check that the connectors line up. Use the same type across your setup to avoid problems.
How many LED strips can I connect to one power supply?
Add the total wattage of all your strips. Pick a power supply that handles more than that. A 20% safety margin works well.
What’s the difference between RGB and RGBIC?
RGB shows one color at a time. RGBIC can show many colors across one strip. It gives more effects and smoother light blends.