
One night, I noticed my bedroom lights flickering. The soft glow I loved was gone. My LED strip had aged, and it showed. I knew it was time for a change. So I learned how to change LED strip lights—by doing it myself. No stress, no fancy tools. Just a few easy steps and the right lights. Now, my room feels warm and calm again. The lights bring comfort, mood, and style—all in one strip. In this guide, I’ll show you exactly how to change LED strip lights, plus tips for choosing the best LED strip lights for bedroom charm.
Tools and Supplies You’ll Need
Before you start, grab a few easy tools. No need for anything fancy. Just a few basics will do the job well.
Here’s what you’ll need:
- A fresh LED light
- Sharp scissors
- Rubbing alcohol and a cloth
- A matching power adapter
- Strip connectors or clips
These are easy to find and simple to use.
Choose the best LED strip lights for bedroom use by checking three things: light colour, brightness, and stickiness. Warm white adds calm. Soft glow brings comfort. Look for lights that dim or change colour with a remote.
Step-by-Step Guide: How to Change LED Strip Lights
Changing is easier than you think. Take your time, follow these steps, and your room will shine in no time.
Unplug and Remove the Old Strip
Start by cutting the power. This keeps things safe and avoids short circuits. Next, find the edge of the old strip. Gently peel it off. Go slow to avoid pulling paint or wood. For stubborn glue, use a hair dryer on low heat. It softens the adhesive. A clean peel keeps your surface ready for the next strip.
Clean and Prep the Surface
Once the strip is off, clean the area. Old glue can stop the new lights from sticking. Use rubbing alcohol on a soft cloth. Wipe down the full path. Let it dry. Make sure the surface feels smooth to the touch. A clean start makes all the difference.
Measure, Cut, and Prepare the New Strip
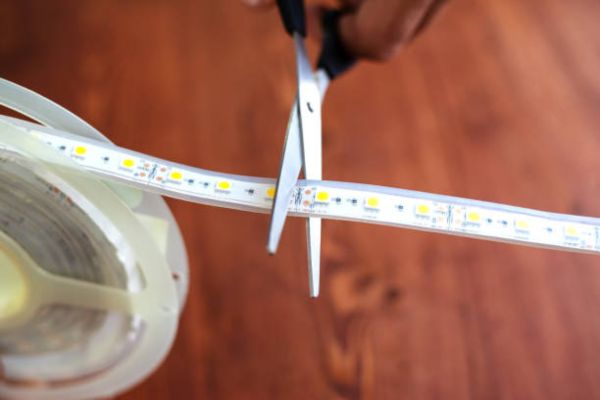
Now take your new strip. Lay it across the area. Measure with care. You want an even fit—no extra, no gaps. Cut only at the copper points. These are safe spots marked on the strip. Use sharp scissors. Before peeling the back, test the fit. Make sure the length looks right.
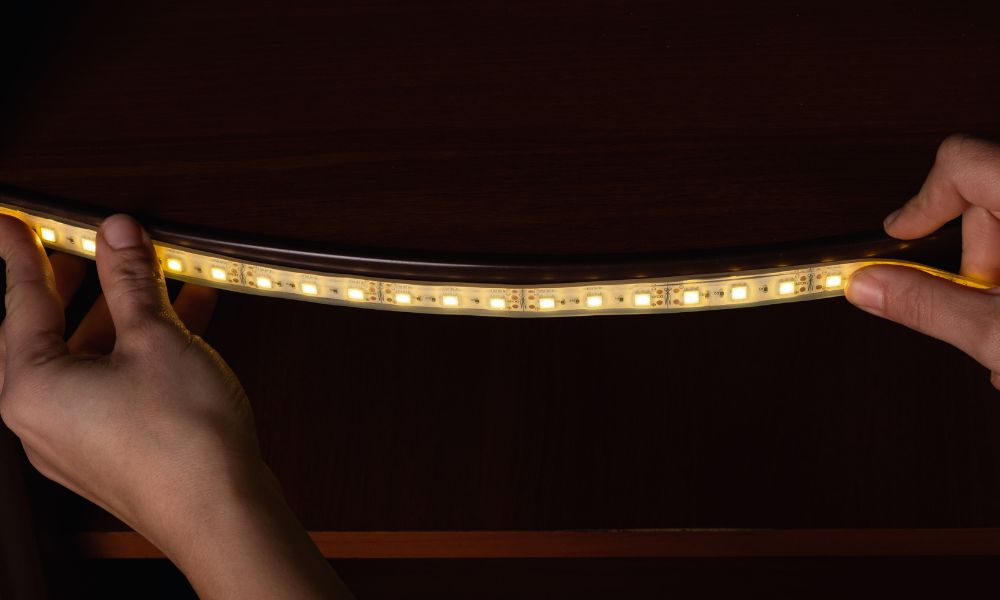
Attach and Stick New Strip Lights
Once the strip is cut, peel the backing a little at a time. Press it down slowly. Use your thumb to smooth as you go. Corners can be tricky. Don’t bend too tight. Use clips or buy corner connectors. They keep the line clean and the strip safe. Good placement brings good glow.
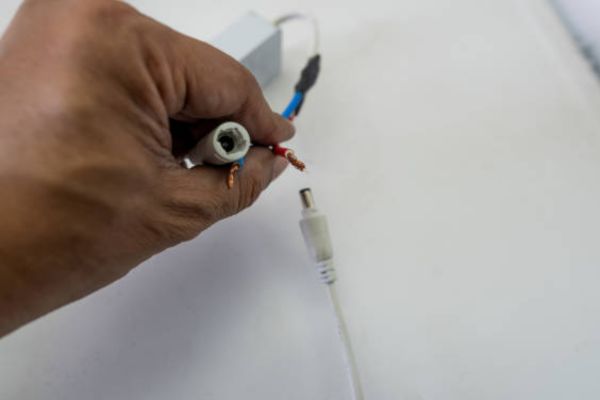
Connect and Test the Power Source
Now plug in the strip. Make sure the adapter matches the strip’s voltage. Check that connectors face the right way. Turn it on. Watch for even light. No flicker. No dead zones. If it doesn’t light up, unplug and check the link. Flip the connector or press it in again.
Expert Tips for a Clean and Cozy Look
Want your lights to feel like they belong? Start by hiding the wires. Run them behind your bed, along trim, or under shelves. Use tape or small clips to keep things tidy.
Add a dimmer or remote. This gives you full control. You can lower the lights for rest or brighten them while reading. Some strips even let you change the mood with one click.
Pick warm tones for a calm space. Soft white or golden glow works best for bedrooms. Cool colors can feel sharp and cold.
Common Mistakes to Avoid
One wrong cut can ruin the whole strip. Only cut at the marked copper points. They’re safe spots made for trimming. Cutting anywhere else may break the lights.
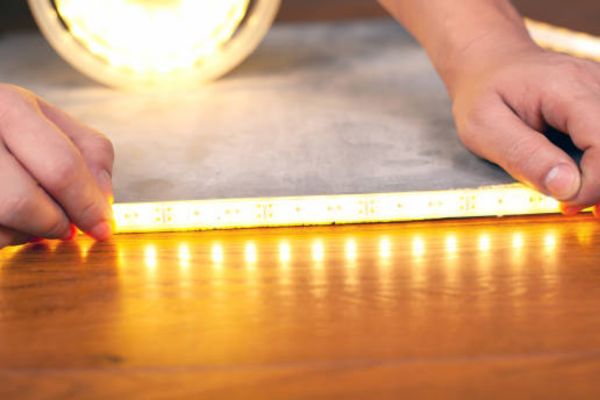
Always test the strip before you stick it. Plug it in. Make sure every part lights up. It’s much harder to fix once it’s on the wall.
Match with the right power adapter. Check the voltage. Check the plug. A mismatch can stop the lights or even cause damage.
Don’t skip cleaning. Dust and leftover glue stop strips from sticking. A clean, smooth surface makes the lights last longer.
How to Pick the Best LED Strip Lights for Bedroom
Start with the right length. Measure your bed frame, shelves, or walls. Most bedrooms need 6 to 16 feet. Too short looks odd. Too long means waste.
Next, choose the right brightness. Look for low to medium levels. Bedrooms need soft light, not a spotlight. Aim for around 300 to 600 lumens per meter.
Color makes a big difference. Warm white feels calm and cosy. Soft pink adds a gentle glow. These tones help you relax and sleep better.
Think about placement. Behind the bed? Use standard strips. Near the floor or windows? Go with waterproof. They last longer in tricky spots.
Maintenance and When to Replace Again
Good lights last a long time. Most stay bright for up to 30,000 hours. That’s years of cozy light in your bedroom.
Still, nothing lasts forever. Over time, you may notice dim spots. Some parts may flicker. Colors can fade or shift. These are signs it’s time for a new.
Keep things clean. Wipe gently with a soft cloth. Avoid harsh cleaners. Dust and dirt can block the light or wear down the glue.
Check the wires now and then. Look for loose ends or bent connectors. A quick fix today can save a full replacement later.
A little care keeps your lights glowing strong.
Final Thoughts
You don’t need to be an expert to do this. Changing is a simple DIY anyone can try. All it takes is care, patience, and a few tools.
In my own room, this small upgrade made a big change. The space feels warmer, calmer, and more me. Every night now feels a little more special.
Learning how to change LED strip lights gave me more than glow—it gave me confidence. I saw what a small touch could do.