
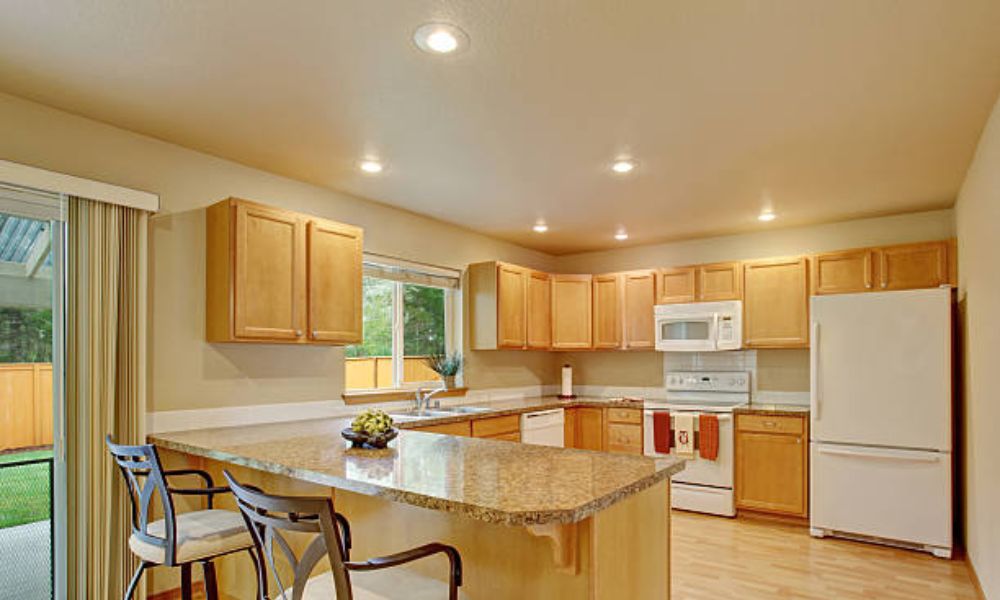
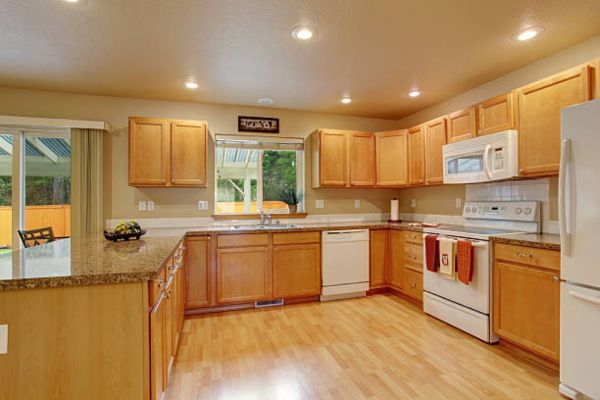
The first time I renovated my kitchen, I was excited. I picked beautiful tiles, stylish cabinets, and shiny new appliances. Everything looked great—until I turned on the lights. The room felt dull. Shadows hung over the sink. The stove looked dark. My counters weren’t bright enough to chop safely. I knew something was missing. That missing piece? Lighting. Recessed lights changed everything. Once I added them, the whole kitchen came to life. It felt open, clean, and warm. Cooking became easier. Even late-night snacks felt special. People now ask me, how do i layout recessed lighting in my kitchen so it looks bright and feels right? It’s a smart question. Because good lighting makes a kitchen work, not just shine. In this guide, I’ll share what I’ve learned from my own mistakes and wins.
Why Recessed Lighting Is Perfect for Kitchens
Recessed lights are also called can lights or downlights. They sit flat in the ceiling. They shine straight down and light the room without adding bulk.
This is one reason I love them. My kitchen looks cleaner and more open. The ceiling feels taller. Even a small space looks larger with these lights.
Another big win? They spread light evenly. No dark corners. No strange shadows. You see your counter, stove, and sink with ease.
These lights also help you break your kitchen into zones. You can light up prep areas. Keep walkways soft. Add a glow above your island. Your kitchen recessed lighting layout becomes smart, not random.
Step-by-Step: How Do I Layout Recessed Lighting in My Kitchen?
Designing a good recessed lighting layout is easier than it sounds. It just takes a little planning. Here’s how I do it, step by step.
01. Map Out Your Kitchen Zones
Look at your kitchen. Think about what happens where. You have zones—places you prep food, cook, clean, and walk.
My sink, stove, island, and counter all need clear light. Walkways need soft light. Start your kitchen lighting plan by marking each zone on paper. This helps you place lights with purpose, not guesswork.
02. Use the Ceiling Height Rule
This simple trick works like magic. Take the height of your ceiling and divide it by two. That’s your spacing.
For example, if your ceiling is 8 feet high, space your lights about 4 feet apart. It gives even coverage without overdoing it. Your ceiling lighting design will look balanced and feel bright.
03. Avoid Shadows
One mistake I made early on? Placing lights too close to the cabinets. That cast shadows right where I needed to see.
So now, I keep lights about 12 to 18 inches away from upper cabinets. This keeps my counters bright. Always aim for soft, even light—not hard spots or dark gaps.
04. Think in Layers
A flat kitchen is a boring kitchen. Lighting should have depth. That’s where layers come in.
Start with recessed lights for general lighting. Then add under-cabinet lights for tasks. Maybe a pendant over the island for style. Together, these create a kitchen that looks great and works well.
Each light has a job. Once you understand your space, your recessed lighting layout will come together like a good recipe—simple, smart, and satisfying. Whether you’re optimising a cosy spa or a functional washroom, choosing the Best Recessed Lighting For Bathroom is the key to achieving both style and utility.
Practical Tips from Real-Life Experience
Over the years, I’ve picked up a few tricks that make recessed lighting even better. These tips come from trial, error, and lots of standing on ladders.
Use dimmers for control
Sometimes you want bright light for chopping veggies. Other times, you want a soft glow for dinner. Dimmers let you do both. I added them to every switch. It’s one of the best choices I made.
Set up separate switches for each zone
Your kitchen has different areas. Each one needs its own mood. I put the sink, island, and walkway lights on their own switches. That way, I only light what I need.
Pick adjustable trims (called gimbals).
These let you aim the light. I use them to shine directly on my backsplash and open shelves. They also help in kitchens with sloped ceilings.
Go with LED bulbs
They last longer, use less power, and stay cool. I used to change bulbs often—now, not so much. Plus, they come in soft or cool tones, depending on the feel you want.
Test placement before you cut
Grab a flashlight or even tape up paper circles. Walk around and shine light where the cans would go. This helped me avoid bad angles and missed spots.
Common Mistakes to Avoid
I’ve made a few of these myself, and I’ve seen friends make them too. The good news? They’re easy to fix once you know what to look for.
Using too few lights
This is the most common mistake. You think six will do, but your kitchen needs eight or more. Too few lights create dark spots and uneven coverage. Always plan for full brightness, then use dimmers to tone it down.
Lining them up like a grid
It looks neat on paper but feels cold in real life. I call it the runway effect—straight rows that don’t match how the kitchen works. Instead, place lights where you need them, not just in lines.
Skipping task lighting
Overhead light is good, but not enough for chopping or reading a recipe. I once tried cooking under just ceiling lights—my own shadow blocked the cutting board! Add light under cabinets or above the island for a full lighting plan.
Mixing color temperatures
One light looks warm. Another looks blue. It throws off the whole mood. Stick to one color tone across the kitchen—soft white for cozy, cool white for modern. It keeps the space calm and clean.
Avoiding these mistakes will save time, money, and frustration. A little planning now makes your kitchen lighting layout work better every day.
Choosing the Right Number of Lights
You don’t need to guess how many lights your kitchen needs. There’s a simple way to figure it out. Start with the ceiling height and the size of your kitchen.
Most homes have 8-foot ceilings. In that case, a good rule is to place lights about 4 feet apart. This gives even coverage without making the room too bright.
Now, think about beam spread. Most recessed lights cover a circle of light about 4 to 5 feet wide. The higher the ceiling, the more spread you’ll get—but the dimmer it becomes. That’s why you should space lights based on both height and brightness needs.
Let’s take an example.
For a 10×12 foot kitchen, you’d likely use six recessed lights:
- Two rows of three lights
- Spaced 4 feet apart
- Set 2 feet in from each wall
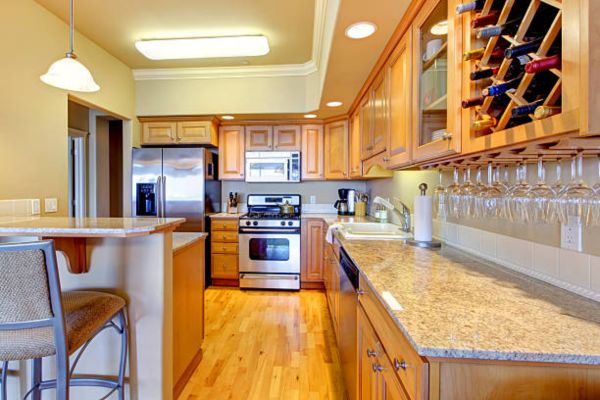
Bonus: Recessed Lighting Layout for Kitchen Island
The kitchen island is often the heart of the room. It’s where we prep food, serve snacks, and gather with friends. So, it needs the right light—not too harsh, not too dim.
I like to use 2 to 3 small can lights above the island. They give even light without flooding the whole room. Place them in a straight line, spaced about 30 inches apart, and centered over the countertop.
To add warmth and style, I also hang a couple of pendant lights. These create layers. The recessed lights do the work. The pendants set the mood.
Final Thoughts
Lighting your kitchen doesn’t have to feel overwhelming. Start small. Sketch your layout. Think about how you use each area. Then build from there.
The best designs mix function and beauty. Recessed lights make that easy. They’re clean, bright, and out of the way. They help you see better and feel better in your space.
There’s no one “perfect” layout. Your kitchen is unique, so your lighting should be too. Test ideas. Adjust as you go. That’s how great kitchens are made.