
I used to dread crawling outside in the cold just to unplug my Christmas lights every night. That’s when I started wondering, how do Christmas light timers work and why so many people in the U.S. rely on them during the holiday season. After testing a few indoor and outdoor Christmas light timers, I learned not only how to set a light timer the right way, but also how much time and energy they actually save. In this guide, I’ll share how these timers work, the simple steps to set them up, and the common mistakes to avoid so your lights shine worry-free. Stick around—I’ll even share my personal tricks on how to set a Christmas light timer outdoors without fuss.
What Is a Christmas Light Timer?
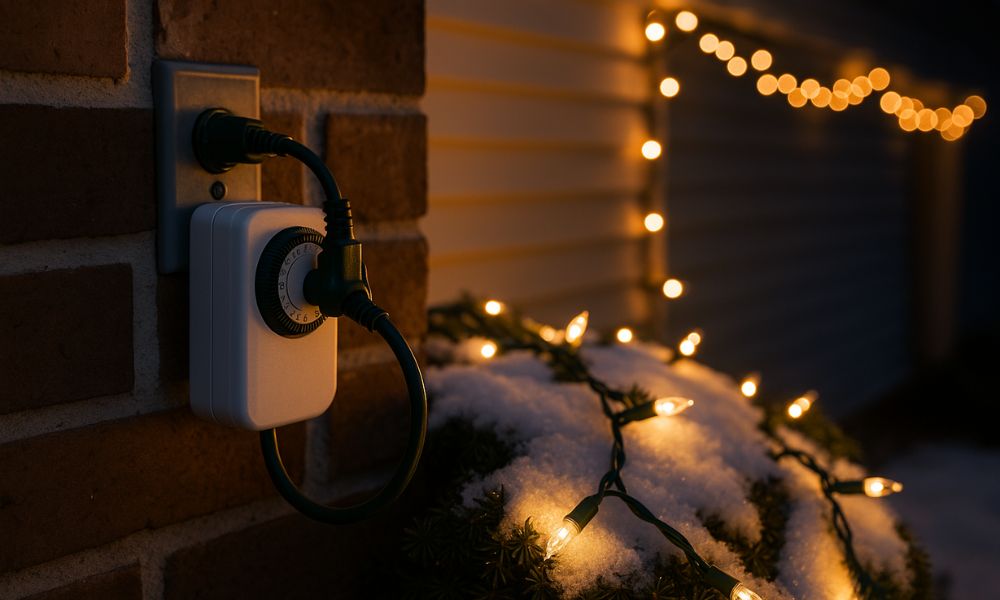
A Christmas light timer is a small tool that turns your lights on and off by itself. You set the time once, and it does the work for you. No need to go outside in the cold to unplug them every night.
There are three main types of timers. First, mechanical timers have a dial and pins. You turn the dial and push the pins to set the on/off time. Second, digital timers use buttons and a screen. You press the buttons to choose when the lights should turn on or off. Third, smart timers work with apps or voice commands. You can use your phone or Alexa to control them.
I like digital timers for outside because they hold the settings better during a power cut. For inside, I use a mechanical timer since it’s quick and simple. If you want ease, choose mechanical. If you want control, go digital. You want high-tech, smart is best.
How Do Christmas Light Timers Work?
Christmas light timers work by turning power on and off at set times using an internal clock or control chip. Once you set it, the timer sends electricity to your lights only when it’s supposed to. That way, your lights turn on and off by themselves—even if you’re not home.
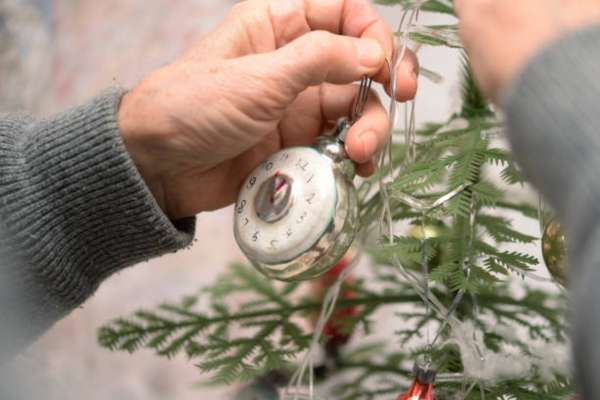
A mechanical timer has a round dial with pins. You press the pins down at the times you want the lights to turn on. Then, the timer rotates slowly like a clock and clicks the switch at the right time. It’s super easy to use and perfect for simple setups.
A digital timer lets you set exact times using buttons and a small screen. You can program different times for different days. Some even have battery backup. It’s great if you want more control or a weekday/weekend schedule.
A smart timer connects to Wi-Fi or Bluetooth. You can use an app or voice command to control it from anywhere. These are best for tech lovers who want remote access or to connect with Alexa or Google Home.
If you’re just starting out, use a mechanical timer. It’s simple, cheap, and hard to mess up. That’s the one I used for my first holiday light display, and it worked like a charm.
How to Set a Light Timer
How to Set a Christmas Light Timer
Setting a Christmas light timer is simple once you know the steps. Whether you’re using a mechanical, digital, or smart model, the goal is the same: make your lights turn on and off without lifting a finger.
Mechanical Timer (Dial + Pins)
- Plug the timer into the wall.
- Turn the dial to match the current time.
- Push down the pins for the hours you want the lights on.
- Leave the rest of the pins up for the off hours.
- Plug your lights into the timer’s outlet.
- Set the switch to “Timer” mode (not “Always On”).
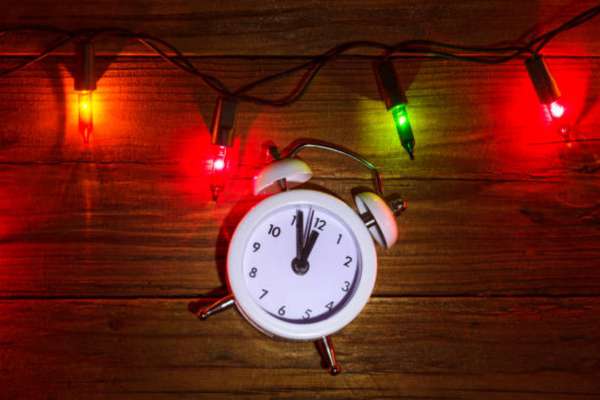
Quick Tip: If you want your lights on from 6 PM to 11 PM, push down all the pins between those hours.
Digital Timer (Buttons + Screen)
- Plug in the timer and reset it (if needed).
- Use the “Clock” button to set the current time and day.
- Press “Program” to set the on time (e.g., 6:00 PM).
- Press “Program” again to set the off time (e.g., 11:00 PM).
- Set the days you want it active (daily, weekends, weekdays).
- Plug in your lights and select “Auto” mode.
Helpful Tip: Double-check AM/PM—this is where most people mess up.
Smart Timer (App-Controlled)
- Plug in your smart timer and open the app.
- Follow the app steps to pair with Wi-Fi or Bluetooth.
- Set the on/off times in the app’s schedule menu.
- Use voice commands if you have Alexa or Google Home linked.
- You can also control it manually from your phone anytime.
Bonus: You can set sunrise/sunset triggers on most smart models.
My Mistake: What NOT to Do
The first time I tried to set a digital timer, I forgot to check if it was AM or PM. The lights stayed on all night and I only noticed when my neighbor asked if I’d “gone full Vegas.” Since then, I always triple-check the screen before hitting “Auto.”
How to Work a Light Timer
Once your light timer is set, it takes care of everything on its own. All you have to do is plug your lights into the timer and make sure it’s in the right mode—usually “Timer” or “Auto.” From there, the timer will turn your lights on and off at the times you picked.
If you’re using a mechanical timer, the dial will rotate through the day. When it hits the pins you pushed down, it will click and turn the lights on or off. With a digital timer, the chip follows the schedule you programmed. And if you’re using a smart timer, the app keeps track of everything—just make sure your phone or Wi-Fi stays connected.
Safety Tips: Indoor vs. Outdoor Use
Not all timers are made for the outdoors. Always check the label for “weatherproof” or “outdoor rated.” Use covered outlets and keep the timer off the ground if you can. Indoors, make sure the timer isn’t near water or heat sources.
Pro Tip: For outdoor setups, I put my timer inside a plastic storage box with a hole for the cord—cheap, safe, and dry.
Troubleshooting: When Things Don’t Work
If your timer isn’t working, try these quick fixes:
- Check if it’s in the right mode (Timer/Auto/On).
- Make sure it’s actually plugged in (yes, I’ve forgotten too).
- For digital timers, confirm AM/PM settings are correct.
If it has a reset button, try using it and reprogram from scratch. - For smart timers, check your Wi-Fi connection or app updates.
Quick Fix: If your lights never turn on, try plugging them straight into the wall to test if the issue is the timer—or the lights themselves.
How to Set an Outdoor Timer for Lights
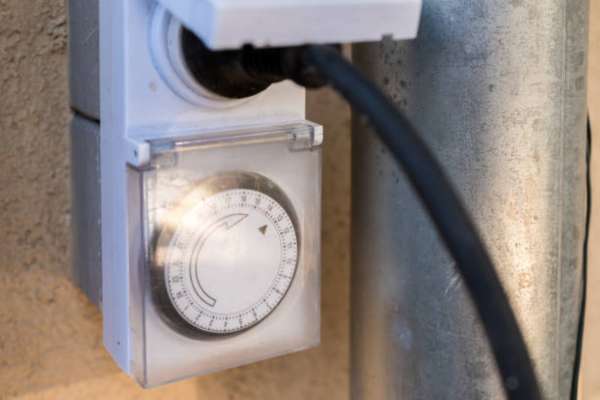
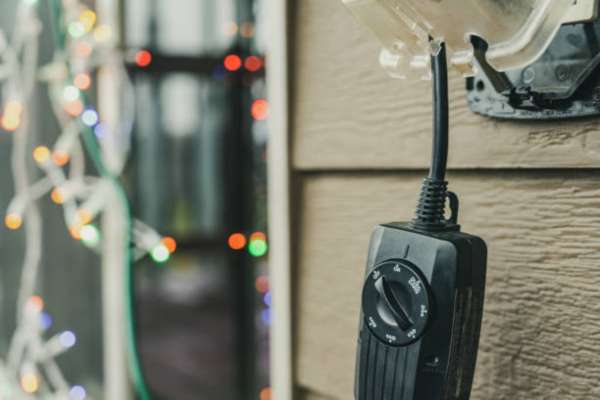
To set an outdoor timer for lights, start by choosing one that’s weather-resistant and rated for outdoor use. It should say “Outdoor” or “Weatherproof” on the box or back label. These timers are made to handle rain, snow, and even freezing temps—unlike indoor ones, which can short out or get damaged easily.
Once you’ve got the right timer, pick a smart place to plug it in. Look for a covered outlet, preferably one with a built-in waterproof box. Don’t leave the timer sitting on wet ground. If possible, mount it on a wall or hang it slightly above ground level to keep it dry.
Benefits of Using a Christmas Light Timer
A Christmas light timer saves energy, adds convenience, and makes your setup safer—all without any extra effort. Once it’s set, it does the job for you every single night.
It Saves Energy (and Money)
Your lights won’t stay on all night if you forget to turn them off. That means lower electricity bills. Even LED lights use power over time, and a timer keeps things in check.
It Adds Convenience
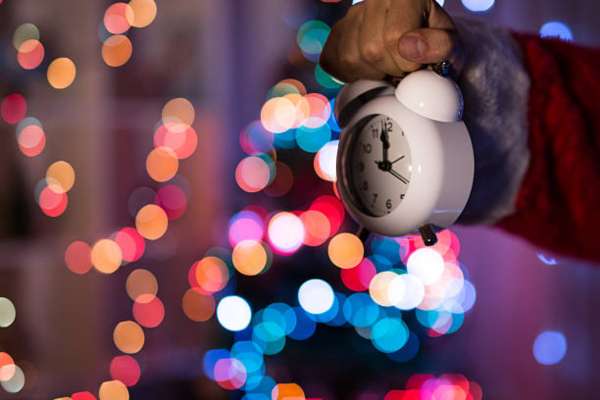
No more stepping outside in freezing weather to plug or unplug cords. Whether you’re at home or away, your lights run on schedule. That’s especially helpful if you work late or travel over the holidays.
It Boosts Safety
Leaving lights on too long can overheat cords, especially with older decorations or cheap extension plugs. Timers reduce fire risk by shutting things down when needed. Plus, they make your home look “lived in” while you’re away, which can help deter break-ins.
My Real-Life Example
Last December, I ran lights on a timer from 6 PM to 11 PM. Without the timer, they used to stay on past 2 AM. After switching, I saved over $20 on my electric bill that month—and I didn’t have to lift a finger. Honestly, it paid for itself.
Common Mistakes to Avoid When Using Light Timers
Even the best Christmas light timers won’t help if they’re not set up right. Here are a few common mistakes—and how to avoid them.
Not Checking AM/PM on Digital Timers
This one gets a lot of people (me included). Many digital timers use a 12-hour format, so it’s easy to mix up morning and evening.
Overloading the Timer
Every timer has a limit on how many watts it can handle. Plugging in too many lights or power-hungry decorations can overload it.
Using an Indoor Timer Outdoors
Indoor timers aren’t made for rain, snow, or freezing temps. Using the wrong one can cause a short or fire hazard.
Forgetting to Reset After Power Outages
A short power cut can wipe the memory on many timers—especially digital ones without battery backup.
FAQs
Can I leave my Christmas lights plugged into a timer all season?
Absolutely. As long as your lights and timer are both rated for outdoor use (if outside), it’s safe to leave them plugged in for weeks. Just check your settings after storms or outages.
What is the best type of Christmas light timer for beginners?
A mechanical timer is best for beginners. It’s simple, affordable, and doesn’t need any tech knowledge—just twist the dial, press the pins, and you’re done.
Conclusion
Christmas light timers are easier to use than they seem—and once you set them up, they do all the work for you. Whether you choose a simple dial timer or a smart one with app control, the result is the same: more time to enjoy the season and less time fiddling with cords.
Using timers made my holidays feel calmer and more fun. I no longer had to rush outside in the cold or worry about whether the lights were still on at midnight. My setup now runs like clockwork, and honestly, it’s one of the best small changes I’ve made to my decorating routine.