
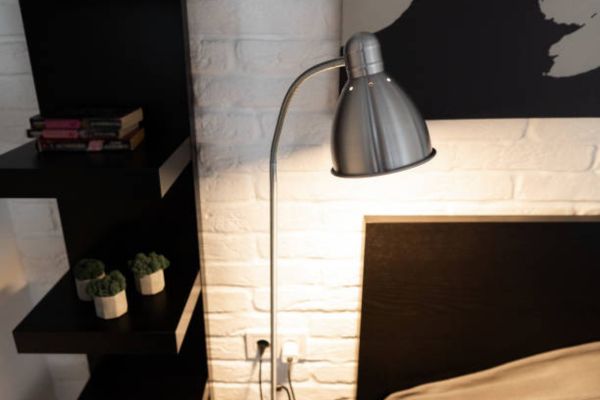
Learning How To Fix A Floor Lamp Socket can save money and keep your lamp working longer. I noticed this after my floor lamp suddenly stopped turning on one night. The bulb was fine, but the socket inside had a loose connection.
Many floor lamp socket problems come from worn wiring, heat damage, or loose metal contacts. The good news is that most repairs are simple with basic tools and careful safety steps. This guide explains how to fix a floor lamp socket safely at home.
Why Floor Lamp Sockets Stop Working
Floor lamp sockets wear out over time because they handle heat and electricity every day. Older lamps often develop loose internal connections after years of use. Dust buildup and overheating can also damage the metal contacts inside the socket.
Sometimes the issue starts after moving the lamp around too often. Twisting the cord or accidentally pulling the plug may loosen the wiring inside the socket housing. Cheap bulbs with excessive heat can also shorten socket lifespan.
LSI keywords used naturally throughout this guide include:
- floor lamp socket replacement
- lamp socket repair
- fixing a broken lamp socket
- floor lamp wiring repair
- replace lamp socket safely
- lamp switch repair
- faulty floor lamp socket
- floor lamp electrical repair
Signs Your Floor Lamp Socket Is Broken
Lamp Flickers Frequently
A flickering bulb often points to poor contact inside the socket. Loose metal tabs fail to hold the bulb securely, causing inconsistent power flow.
Bulb Does Not Turn On
Sometimes a new bulb still refuses to light up. This usually means the socket itself no longer transfers electricity properly.
Burning Smell Around The Socket
A burning smell should never be ignored. Heat damage inside the socket may create a fire hazard. Disconnect the lamp immediately before inspecting it.
Visible Black Marks Or Corrosion
Dark marks inside the socket usually mean overheating. Corrosion can also prevent electrical contact and stop the lamp from working correctly.
Tools Needed To Fix A Floor Lamp Socket
Most floor lamp socket repairs only require simple household tools.
Basic Tools
- Screwdriver
- Wire stripper
- Needle nose pliers
- Voltage tester
- Replacement lamp socket
- Electrical tape
Keeping the correct replacement socket ready before starting makes the repair process easier.
Safety Tips Before Starting
Electricity should always be handled carefully. Unplug the lamp completely before touching the socket or wires. Never attempt repairs while the lamp remains connected to power.
Work on a dry surface with good lighting. Avoid touching exposed wires with bare hands. A voltage tester adds extra safety by confirming the lamp no longer carries electrical current.
How To Fix A Floor Lamp Socket Step By Step
Step 1: Unplug The Floor Lamp
Always disconnect power first. This protects against electrical shock during the repair.
Place the lamp on a stable surface where the socket area is easy to reach.
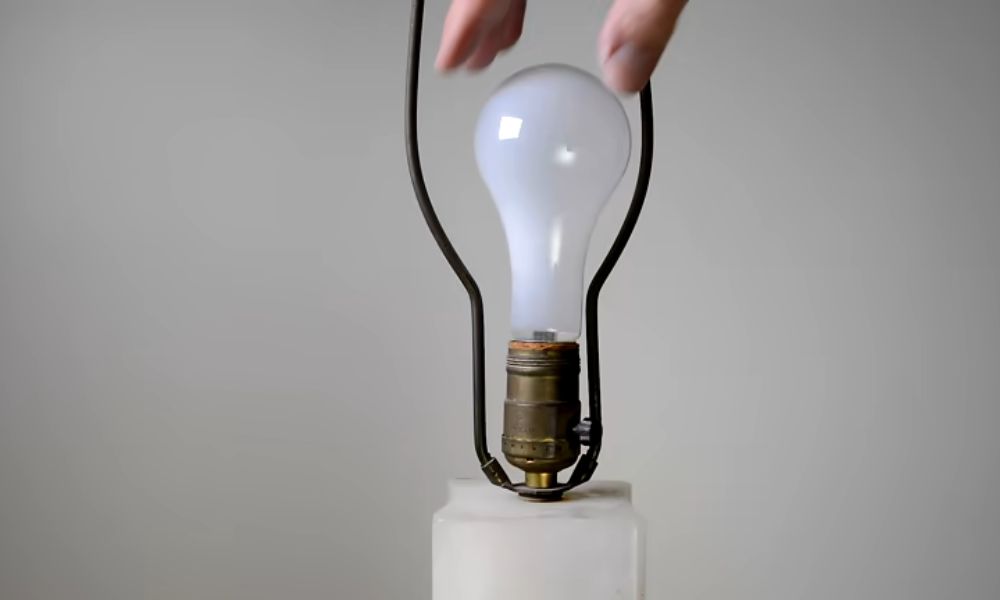
Step 2: Remove The Light Bulb
Carefully unscrew the bulb from the socket. Inspect it for damage or burn marks. Sometimes the bulb itself causes the problem rather than the socket.
Testing the bulb in another lamp can help confirm this quickly.
Step 3: Remove The Socket Cover
Most floor lamp sockets have a removable outer shell. Gently squeeze or twist the shell depending on the design.
Older lamps sometimes use small screws to hold the cover in place. Keep these screws safe during disassembly.
Step 4: Inspect Internal Wiring
After opening the socket, inspect the wiring connections carefully.
Look for:
- Loose wires
- Burned insulation
- Melted plastic
- Corrosion
- Broken switch components
Damaged wires may cause power interruptions or overheating.
Step 5: Tighten Loose Connections
Sometimes the repair only requires tightening screws that hold the wires.
Loose wires prevent stable electrical contact. Carefully secure each wire connection without overtightening.
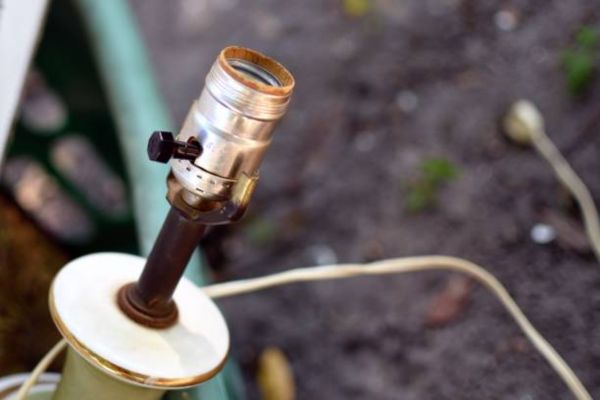
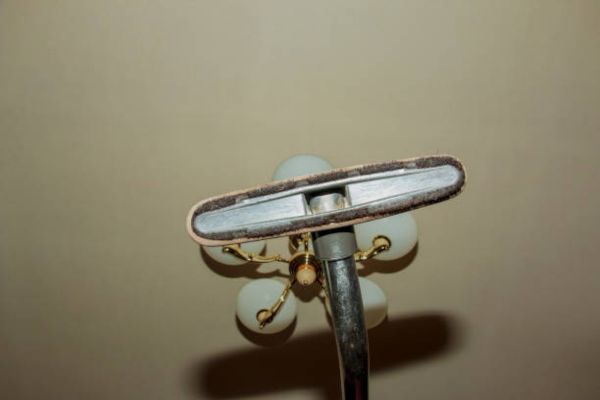
Step 6: Check The Metal Contact Tab
Inside the socket sits a small metal contact tab at the bottom. This part touches the bulb base to transfer electricity.
Over time the tab may flatten too much. Gently lifting it slightly upward using pliers often restores proper contact.
Be careful not to damage the metal.
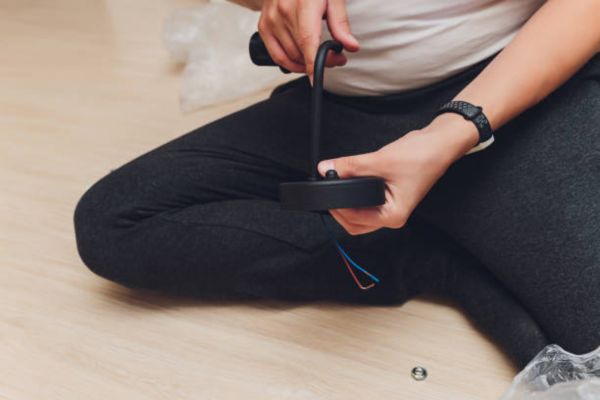
Step 7: Replace The Socket If Necessary
Severely damaged sockets should be replaced completely.
Disconnect the old wires carefully. Attach the wires to the matching terminals on the new socket.
Usually:
- Black wire connects to brass screw
- White wire connects to silver screw
Tight connections help prevent overheating later.
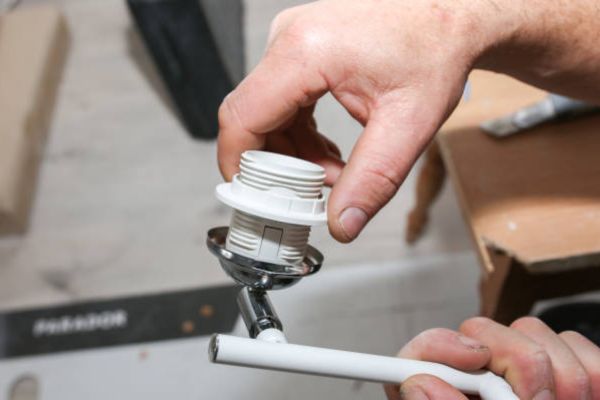
How To Replace A Floor Lamp Socket
Choose The Correct Replacement Socket
Not all lamp sockets match every floor lamp. Check the wattage rating and socket style before buying a replacement.
Many hardware stores sell universal lamp socket replacement kits that work with common floor lamps.
Install The New Socket
Attach the wires securely and reassemble the socket shell carefully. Make sure no bare wire remains exposed outside the terminals.
After installation, screw the bulb back in and test the lamp.
Common Floor Lamp Socket Problems
Loose Socket Connection
A loose socket often causes flickering or intermittent lighting. Tightening internal screws usually fixes this problem quickly.
Burned Socket Interior
Heat damage from oversized bulbs can melt the socket interior. Replacement becomes necessary once plastic parts start burning.
Broken Lamp Switch
Some floor lamp sockets include built-in rotary switches. Worn switches may stop working after years of use.
Replacing the socket usually solves both switch and socket issues together.
Damaged Lamp Cord
Sometimes the real issue comes from the power cord rather than the socket. Frayed cords should always be replaced immediately for safety.
How To Prevent Floor Lamp Socket Damage
Avoid High Wattage Bulbs
Using bulbs above the recommended wattage creates excess heat inside the socket.
LED bulbs usually produce less heat and help extend socket lifespan.
Keep Dust Away
Dust buildup traps heat around the socket. Regular cleaning improves airflow and reduces overheating risk.
Avoid Pulling The Cord
Pulling the lamp by the cord strains internal wiring connections over time. Always move the lamp carefully using the base or pole.
Inspect Older Lamps Regularly
Vintage floor lamps may contain aging wiring and worn sockets. Occasional inspection helps catch problems before they become dangerous.
When To Replace The Entire Floor Lamp
Some lamps become unsafe due to extensive internal damage. Replacing the entire lamp may be smarter than repeated repairs.
Consider replacement when:
- Multiple electrical issues appear
- The cord and socket are both damaged
- The lamp overheats repeatedly
- Internal wiring insulation cracks badly
Newer lamps also tend to use safer and more energy efficient components.
LED Bulbs Help Protect Lamp Sockets
Switching to LED bulbs made a noticeable difference in my own floor lamp. The socket stayed cooler, and the lamp operated more reliably for longer periods.
LED bulbs also reduce energy costs while creating less strain on older sockets.
Common Mistakes To Avoid
Forgetting To Unplug The Lamp
Never work on a plugged-in lamp. This remains the biggest safety mistake during lamp repairs.
Mixing Wire Connections
Incorrect wire placement may damage the lamp or create shock risks. Always connect wires properly.
Using The Wrong Socket Type
An incompatible replacement socket may not handle the correct wattage safely.
Ignoring Burning Smells
Burning odors usually signal dangerous overheating inside the socket. Immediate inspection prevents bigger electrical problems.
Floor Lamp Socket Repair Costs
DIY floor lamp socket repair usually costs very little.
Typical costs include:
- Replacement socket: $5–$15
- Basic tools: $10–$25
- LED bulb upgrade: $5–$20
Professional lamp repair services may charge significantly more depending on the damage.
Final Thoughts
Learning how to fix a floor lamp socket can save money and extend the life of a favorite lamp. Many socket problems come from loose wiring, worn contacts, or heat damage that can often be repaired at home safely.
Simple maintenance, cooler LED bulbs, and regular inspections help prevent future issues. A properly repaired floor lamp not only improves lighting but also creates a safer home environment for everyday use.