
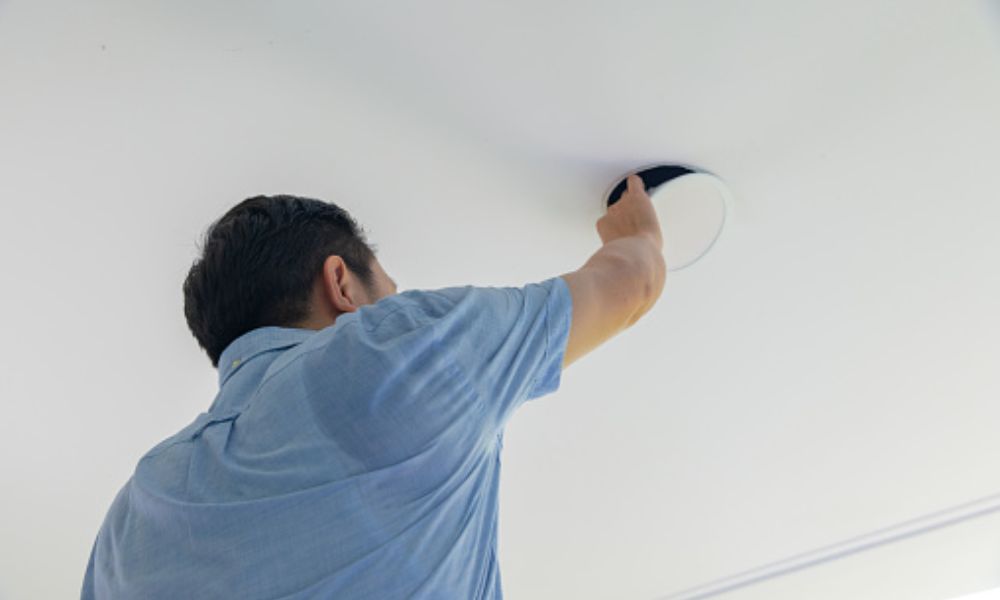
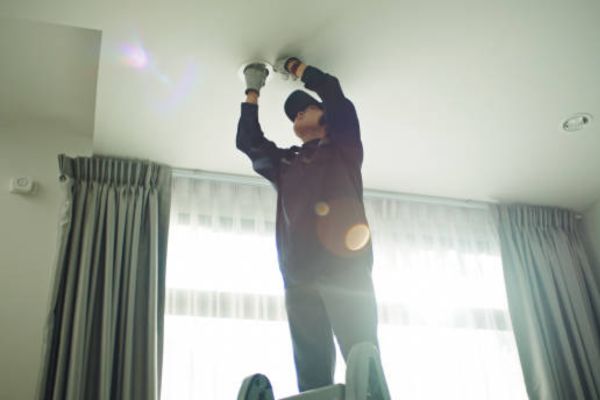
The first time I figured out how to change an LED ceiling Light, I stood on a wobbly chair with a screwdriver in one hand and pure confusion in the other. If you’ve ever struggled with recessed lighting, wondered how to remove a bulb from a can light, or worried about breaking something while trying to change a recessed light bulb, you’re not alone. Over the years, I’ve learned a few simple tricks that make changing bulbs in recessed lighting safe, quick, and even a little satisfying. In this guide, I’ll walk you through each step, from easy fixes to full replacements, and share the personal tips that saved me time, money, and a few headaches. Let’s get started—you’ll see just how simple it can be.
Understanding LED Ceiling Lights
LED ceiling lights don’t work like the old bulbs we grew up with. You can’t always twist them out and pop in a new one. Some are built into the fixture, and that changes everything.
I found that out when I tried to fix one in my hallway. It wouldn’t twist out like I expected. That’s when I learned not all lights are the same. Some need a bulb change. Others need a full replacement.
Here are the main types:
- Recessed lights sit inside the ceiling. They’re also called can lights.
- Flush mounts sit flat against the ceiling. You’ll see these in bedrooms or halls.
- Integrated LED lights have no separate bulb. The whole thing must be replaced.
Knowing which type you have makes things easier. If it’s a simple bulb, you’re in luck. If it’s an integrated one, you’ll need to remove and replace the whole unit.
Trust me, this one detail saves a lot of time. I learned the hard way. But don’t worry—I’ll walk you through both types step by step.
Safety First – Before You Begin
Before you touch anything, turn off the power at the circuit breaker. Not just the light switch—the actual breaker. It’s a small step, but it can save your life.
Once the power is off, gather your tools. For most jobs, you’ll need a step stool, a pair of gloves, and a flat screwdriver. If you’re working with recessed lighting, grab a suction cup tool too—it helps pull out the bulb safely.
I always keep a non-contact voltage tester nearby. It tells me if power is still running through the wires—even if the switch is off. That little device has saved me more than once.
Pro tip: Use a voltage tester to make sure the power is truly off.
Step-by-Step Guide to Changing an LED Ceiling Light
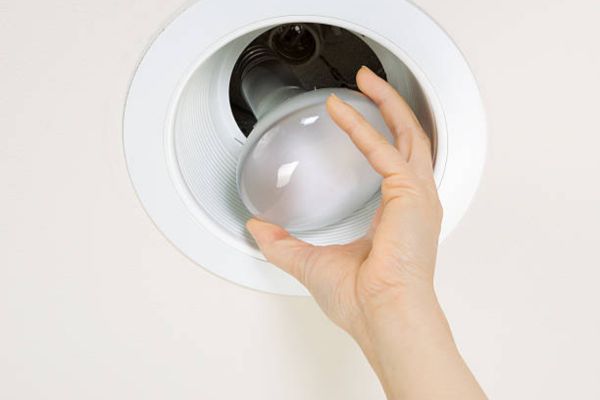
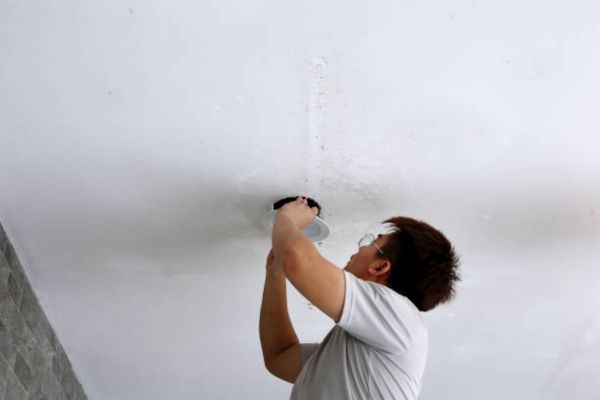
How to Change a Light Bulb in a Recessed Can Light
If your light is a basic recessed fixture, the bulb should twist out just like a regular one—at least in theory. In practice, it can be tricky if the bulb sits deep inside the can. To change a bulb in a recessed can light, gently twist it counterclockwise and pull it out without using too much force.
I used to struggle with these until I found the suction cup trick. You stick it to the center of the bulb and twist—it grabs better than your fingers ever could. It sounds silly, but it’s a game changer.
How to Remove a Bulb from a Can Light
Some recessed lights don’t just hold bulbs—they have spring clips and trim rings that keep things snug. To get to the bulb, you might need to pull the trim down and release the spring clips first. That gives you access to the bulb without damaging the fixture.
The first time I tried this, I pulled too hard and thought I’d broken the whole thing. Turns out, that pop was normal—and the trim was just clipped in. Now I always go slow and look for spring arms before tugging too hard.
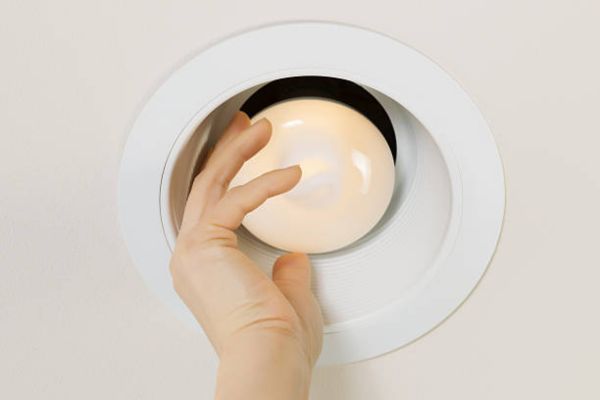
How to Change a Recessed Light Bulb Safely

Once the trim is off, use the twist-and-pull method: grip the bulb (or use a suction tool), turn it counterclockwise, and remove it slowly. The safest way to change a recessed light bulb is to twist it counterclockwise and pull it gently without using pressure.
The most common mistake I’ve seen—and made—is pulling too fast. That can crack the trim or damage the fixture. You don’t need strength for this—just a little patience and the right tool.
Changing Bulbs in Recessed Lighting (When Bulbs Keep Burning Out)
If your bulbs keep burning out, it’s usually a sign of heat buildup or the wrong type of bulb. Recessed lighting can cause bulbs to fail early, so it’s best to use low-wattage, dimmable LED bulbs rated for enclosed fixtures.
I had this issue in my kitchen—bulbs dying every few weeks. Once I switched to ENERGY STAR-rated LEDs with lower wattage, they lasted much longer. That small change saved me money and hassle.
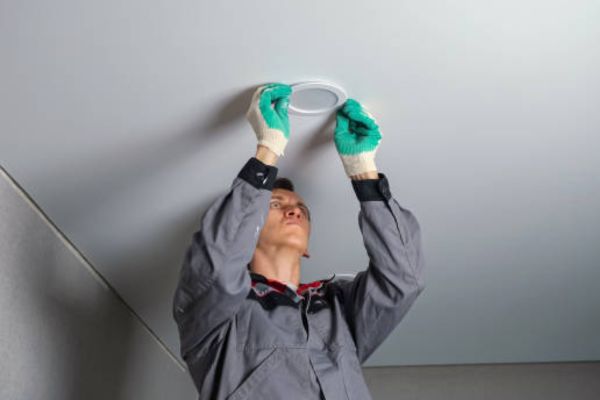
How to Replace an Integrated LED Ceiling Light Fixture
If your ceiling light is integrated, there’s no bulb to change—the entire fixture must be replaced. Start by removing the cover or trim, unscrewing the mounting plate, and carefully disconnecting the wires. To replace an integrated LED ceiling light, remove the full fixture and disconnect the wires before installing the new one.
I always label each wire with tape before removing them—black, white, and ground—so I don’t mix them up. Then I match the new ones, connect them securely, and reattach the mount. After that, the cover snaps on, and you’re all set.
Troubleshooting and Common Issues
Light Won’t Come Out: How to Deal with Stuck Bulbs
If your LED bulb won’t budge, don’t panic—I’ve been there too. Sometimes bulbs get stuck due to heat or dust buildup. Try using a suction cup tool for better grip. To remove a stuck recessed bulb, use a suction cup tool and twist slowly counterclockwise.
Avoid using force. If it still doesn’t move, gently wiggle the bulb side to side. That helps break any seal or grime that’s holding it in place.
Integrated LED Not Working: Repair or Replace?
If your integrated LED ceiling light won’t turn on, first check the breaker and the switch. If power is fine, the unit itself may be faulty. Integrated LED lights can’t be repaired easily—you usually need to replace the whole fixture.
I once opened mine up hoping to “fix” it. Turns out, the driver board inside had failed. I ended up buying a replacement unit and installed it in under 15 minutes.
Dimmer Compatibility Problems
If your light flickers, won’t dim, or turns off randomly, the problem could be your dimmer switch. Not all dimmers work with LED lights. LED ceiling lights need dimmer switches that are labeled “LED-compatible” to work properly.
I had this issue in my dining room—the light would flash like a strobe when I dimmed it. Swapping the switch to an LED-friendly one solved it right away.
Flickering Recessed LED: My Real-Life Fix
One of my kitchen lights kept flickering, even though the bulb was new. After checking the wiring and fixture, I found the problem—the bulb wasn’t seated tightly. Flickering recessed LED lights are often caused by a loose connection or a poor fit inside the socket.
I turned the bulb a little tighter, and the flickering stopped instantly. Simple fix—but easy to overlook!
Pro Tips for Long-Lasting LED Lighting
Choose the Right Color Temperature and Brightness
Not all LEDs feel the same. Some give off a warm, cozy glow, while others feel sharp and bright. For living rooms and bedrooms, go for 2700K to 3000K (warm white). For kitchens and workspaces, 4000K to 5000K works best.
Also, check the lumens instead of watts when buying bulbs. Lumens tell you how bright the bulb is. I once replaced a 60-watt bulb with an LED that was too dim—because I didn’t check the lumens!
Install Dimmer-Compatible LEDs
If your room has a dimmer switch, make sure your LED is marked “dimmable” and “dimmer-compatible.” Otherwise, you’ll get flickering, buzzing, or even early burnout.
I learned this after installing a regular LED in my dining room chandelier. It buzzed nonstop until I swapped it with a dimmable one.
Keep Recessed Fixtures Clean to Reduce Heat
Dust and heat don’t mix well—especially in recessed lighting. Over time, dust builds up around the trim and traps heat inside. That heat can wear out your LEDs faster.
Once a month, I wipe around the edge of my recessed lights with a dry microfiber cloth. It takes five minutes and helps the lights last longer.
Personal Note: ENERGY STAR LEDs Saved Me Money
I made the full switch to ENERGY STAR-rated LEDs a year ago. My power bill dropped, and I haven’t changed a bulb since. They cost a bit more up front, but they last longer and use less energy.
It’s one of those upgrades you barely notice—until you realize your utility bill is lower and your ladder’s collecting dust.
FAQs
How do you remove a stuck bulb from a can light?
Use a suction cup to grab the center of the bulb and twist slowly. If the bulb feels stuck, try gently wiggling it side to side. Avoid using force, which can damage the fixture.
Can you replace an integrated LED bulb yourself?
Integrated LED bulbs can’t be replaced on their own—the entire fixture must be replaced. Turn off the power, remove the fixture, disconnect the wires, and install the new one. If you’re not comfortable working with wires, call a professional.
What tools do I need to change recessed lighting?
You’ll need a step stool, gloves, a flat-head screwdriver, and a suction cup tool for deep-set bulbs. A non-contact voltage tester is also helpful to check if the power is off before you begin.
Conclusion
Changing an LED ceiling light might seem tricky at first, but once you know the steps, it’s actually pretty simple—and safe. Whether you’re replacing a bulb in a recessed can light or swapping out an integrated fixture, a little care goes a long way.
I still remember the first time I did it myself—nervous hands, YouTube on pause, tools all over the floor. But now? I do it in minutes, and I haven’t called an electrician for lighting issues in years. That small bit of DIY knowledge has saved me time, stress, and a good chunk of money.