

I remember the first time I added LED strip lights to my bedroom. The soft colors made the whole space feel calm and cool. I used them above my bed and around the shelves. The glow was just right. But tastes change. I wanted something simpler. So I decided to take the lights down. That’s how I learned how to remove led strip lights without removing paint surfaces without peeling paint or leaving a mess. It’s easier than most people think. With a few tools and some care, you can clear your space and keep your walls smooth and clean.
Why You Might Want to Remove LED Strip Lights
There are plenty of good reasons to take down your LED strip lights. Maybe you’re moving into a new space. Maybe you’re changing your style. Or maybe you’ve found some of the best LED strip lights for bedroom setups and want to upgrade.
No matter the reason, you don’t need to stress. Taking them off the wall can be quick and clean. You just need the right steps and a little care.
This guide is made for beginners. It’s simple, safe, and based on real hands-on experience. Whether your lights have been up for weeks or years, you’ll get them down without damage.
What You’ll Need (Simple Tools, No Fancy Gadgets)
You don’t need anything fancy to get started. Just a few basic tools can make the job smooth and safe. Here’s what I always keep on hand:
Hairdryer
This helps soften the glue behind the lights. I use a small travel dryer with low heat. It’s gentle and works fast.
Plastic card or scraper
An old gift card is perfect. It’s firm but won’t scratch paint. I’ve used one for years and it never fails.
Gentle cleaner
Soapy water works well. For sticky spots, I grab rubbing alcohol. Both are safe and easy on most walls.
Soft cloth
Use this to wipe down spots and clean up. A cotton cloth or microfiber towel works best.
Optional extras
For tough glue, I use an adhesive remover like Goo Gone. Just a drop on a cloth does the trick. Painter’s tape also helps if you’re putting up new lights. It makes future removal even easier.
I’ve used all of these at home and they’ve helped me get clean results every time. No damage, no mess—just a smooth wall ready for a fresh start.
Step-by-Step Guide — How To Remove Led strip Lights Without Removing Paint
Step 1: Turn Off the Power
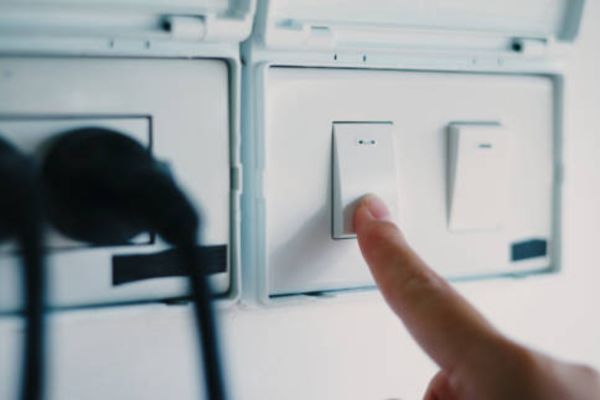
Safety always comes first. Unplug the lights or flip the breaker. No tools should touch live wires. Keep it simple and safe.
Step 2: Soften the Adhesive
Use a hairdryer on low heat. Move it slowly over the strip. The warmth loosens the glue, so it peels without a fight.
This step is key. Cold glue sticks tight. Warm glue lifts easier. It protects your wall from damage.
Step 3: Peel Slowly and Gently
Start at the end of the strip. Use your fingers or a plastic card. Pull straight and close to the wall.
Take your time. Fast pulls can rip paint. A steady hand keeps the wall smooth.
Step 4: Clean Off Sticky Residue

Some glue may stay behind. That’s normal. Use a soft cloth with warm soapy water. Rub in small circles.
For tougher spots, dab a little rubbing alcohol. A drop of adhesive remover also works. I keep Goo Gone in my drawer just for this.
Step 5: Check and Touch Up the Wall
Once the wall is clean, take a close look. Small chips can happen. Use a tiny brush and some leftover paint to fix them.
A fresh coat can make the wall look brand new again. No one will know the lights were ever there.
Pro Tips From Years of Practice
Patience is everything. Don’t rush the process. Fast moves can pull paint or tear the wall. A slow, steady peel makes all the difference.
Always test your cleaner on a small spot first. Some walls react to rubbing alcohol or remover sprays. A tiny test patch keeps you safe from surprises.
Stick with plastic tools. I’ve seen metal scrapers leave scratches that need sanding and paint. A plastic card works just as well—and won’t leave marks behind.
Planning to put up new lights? Try painter’s tape under the strip. It sticks well but pulls off clean. Next time you remove them, it’ll be ten times easier.
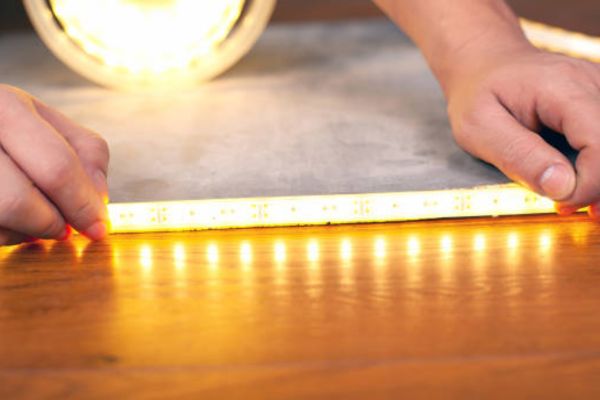
Many of the best LED strip lights for bedroom use now come with reusable adhesive or magnetic backing. I’ve tried a few myself and love how simple they are to move around. No mess, no stress.
Planning Your Next Look
Once the lights come down, your room becomes a blank canvas. This is the fun part. You get to start fresh and create a space that matches your mood and style.
Some people go without lights for a more natural look. Others bring in new lighting to keep the vibe soft and warm. Both choices can work beautifully.
If you’re ready to try again, check out the best LED strip lights for bedroom use today. Many are easy to install and even easier to remove. Some use magnets or reusable glue, so you can move them around without damage.
FAQs
Can LED strip lights damage paint?
Yes, they can—if pulled too fast or without heat. Softening the glue first makes removal safe and clean. Slow peeling protects your wall.
Can I reuse them after removing?
Sometimes. Older strips may lose their stick. Newer ones with reusable backing or magnetic strips work better for second use.
How long does the adhesive last?
Most strips stay put for six months to two years. Over time, heat, dust, and air can weaken the bond.
Conclusion
Removing LED strip lights may seem tricky at first, but it’s something anyone can do. With care, the right steps, and a little patience, it becomes quick and simple.
It feels good to refresh a room. Taking down old lights can open the door to a whole new vibe. Clean walls, fresh ideas, and more room to explore your personal style.
Don’t be afraid to try something new. Soft lights, bold art, or no extras at all—it’s all up to you.
Your space should grow with you. And now you know that removing lights doesn’t have to leave a mark—it just clears the way for your next great idea.