
My bedroom lights were a mess. Cords everywhere. I wanted a clean look—something I could control with a switch. So I learned how to hardwire LED strip lights to a wall switch. It was easier than I thought. Now, with one tap, soft light wraps the room. No remote. No clutter. Just a warm glow every night. This simple change made a big difference. In this guide, I’ll show you how to do it too—step by step. It works great with the best LED strip lights for bedrooms. Let’s make your space feel calm, cozy, and custom.
Why Hardwire LED Strip Lights?
Hardwiring LED strip lights makes a big difference. It looks cleaner. No cords. No messy plugs.
You also get better control. Flip a wall switch or turn a dimmer—your lights respond right away. It feels built-in, not temporary.
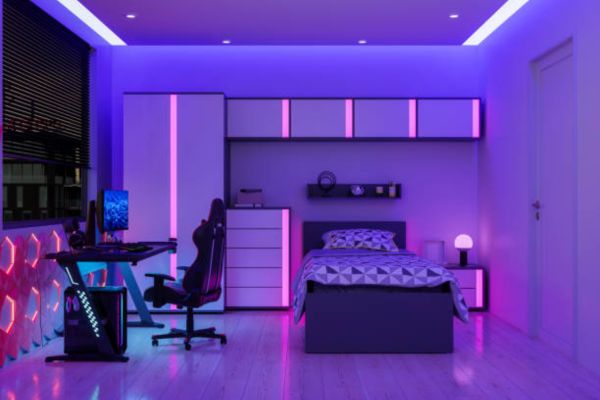
The setup adds style and function. It works well with the best LED strip lights for bedrooms. The light feels soft and cozy, just right for relaxing. Plug-in strips can look cluttered. Hardwired lights stay neat and simple.
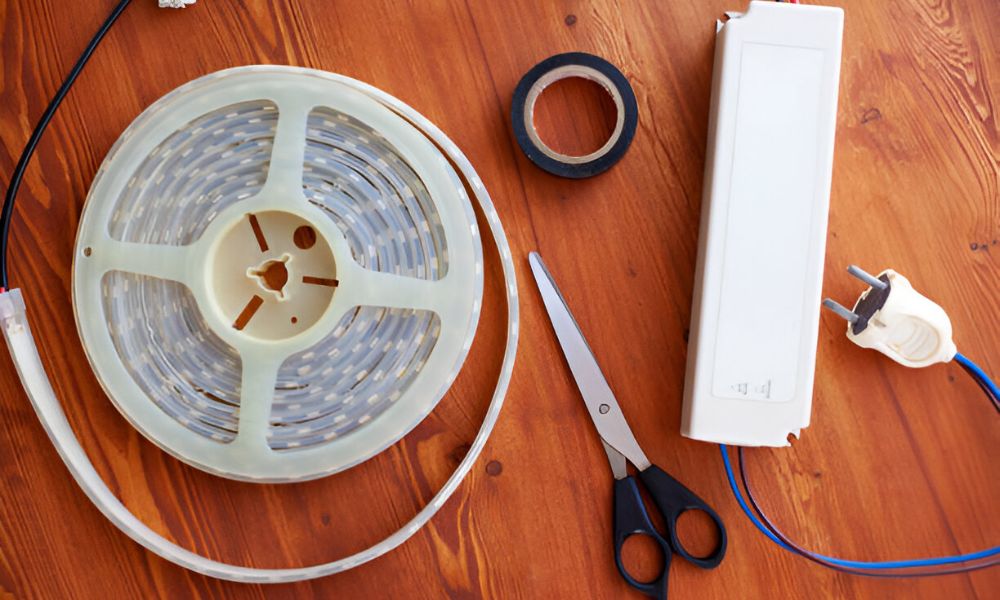
What You’ll Need: Tools & Materials Checklist
You don’t need much to get started. A few tools, the right lights, and you’re good to go.
Tools:
- Wire stripper
- Voltage tester
- Screwdriver
Materials:
- LED strip lights (no plug)
- LED driver (12V or 24V)
- Wall switch (single-pole or dimmer)
- Low-voltage wire
- Wire nuts or connectors
One quick tip: match the driver to the strip. A 12V strip needs a 12V driver. Using the wrong one can cause dim lights—or no lights at all.
Plan Before You Wire: A Quick Layout Guide
Before you grab the tools, take a few minutes to plan. Good prep makes the job smoother.
Start by measuring your space. Know how long your LED strip needs to be. Add a little extra—just in case.
Next, choose the spot for the lights, the driver, and the wall switch. Keep the driver close to the strips to make wiring easier.
Hide the wires for a clean look. Run them behind furniture or along the wall trim. This works great in bedrooms.
Keep wire runs short. Long wires can cause the lights to dim near the end.
Step-by-Step: How To Hardwire LED Strip Lights To A Wall Switch
Step 1: Turn Off Power at the Breaker

Safety first. Go to your breaker box and shut off the power to the room. Use a tester to make sure the wires are dead.
Step 2: Mount the LED Driver
The driver turns your home’s power (120V) into low-voltage power (12V or 24V). Mount it near the strips, inside a cabinet or behind furniture. Leave space for air flow.
Step 3: Wire the Switch
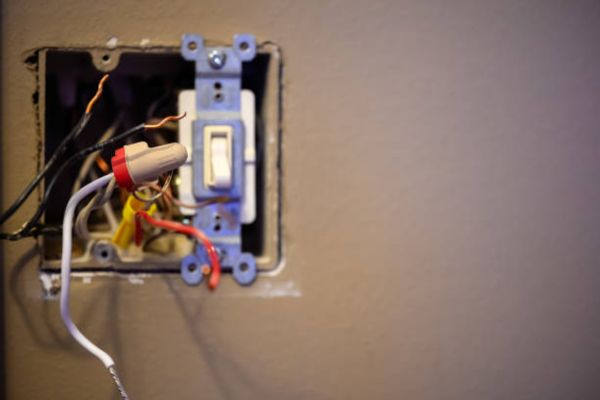
Run a power line from the breaker to your wall switch. From there, connect the switch to the LED driver. Use wire nuts and check each connection.
Step 4: Run Low-Voltage Wires
From the driver, run low-voltage wire to the LED strips. Keep wires short and neat. Match the positive and negative sides.
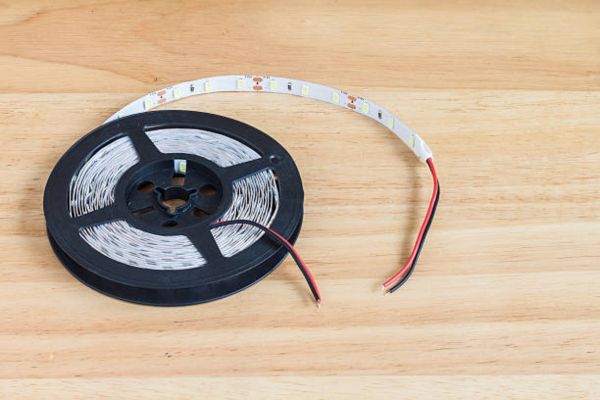
Step 5: Connect and Mount the Strips
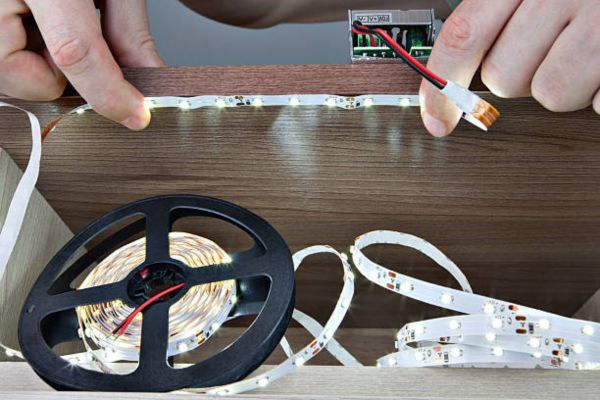
Stick the strips in place. Use clips if needed. Connect the wires—red to red, black to black. Double-check the connection before securing them.
Step 6: Test the System
Turn the power back on. Flip the switch. If the lights glow, great! If not, check the wires again.
Step 7: Tidy Up and Finish
Tuck in any loose wires. Add the switch cover. You’re done—your setup now feels clean, smooth, and built-in.
Pro Tips From My Own Bedroom Installation
Here are a few tips I’ve learned from hardwiring LED strips in my own bedroom. These small steps can make a big difference.
Use a driver with extra power. Aim for 20–30% more than your strip needs. This helps prevent flicker and overheating.
Pick the best LED strip lights for bedrooms. Look for warm white tones, smooth dimming, and low flicker. Cheap strips often wear out fast or buzz.
Hide the driver out of sight. A closet, drawer, or shelf works great. Just leave room for air to flow.
Use clips or wire raceways to guide the wires. It keeps things tidy and clean.
Test the lights before sticking them down. Trust me—it’s much easier than peeling them up later.
Where to Use Hardwired Strip Lights in Your Bedroom
Hardwired LED strips work in lots of places. They add light and mood without taking up space.
Try placing them behind the headboard. It gives a soft glow that’s perfect for winding down at night.
Wrap them around the ceiling trim. This makes the room feel bigger and more peaceful.
Add strips under shelves to light up books, plants, or decor.
Inside closets, pair them with a motion sensor. The lights turn on as you open the door—no switch needed.
Around mirrors, LED strips give soft light that’s great for getting ready without harsh shadows.
Safety First: Things to Keep in Mind
Before you start or finish, safety comes first. A few simple steps can help keep things safe and smooth.
Always turn off power at the breaker. Double-check with a tester. Never trust a light switch alone.
Check your local rules. Some places have codes about lighting or low-voltage installs.
Use certified drivers and LED strips. Look for UL or ETL marks—they mean the parts meet safety standards.
Don’t overload the circuit. Add up the watts on the line. Make sure your setup stays well under the limit.
A little care now saves big trouble later.
FAQs
Can I use a regular switch for LED strips?
Yes. A simple wall switch works well. You don’t need anything fancy to turn the lights on or off.
What type of driver do I need?
Pick one that matches your strip’s voltage—12V or 24V. Always choose a driver with a bit more power than the strip needs.
Can I still dim the lights from the wall?
Yes. Just use a dimmer that works with low-voltage LED systems. Make sure it matches your driver and strip type.
Is this safe to do myself?
Yes, if you follow each step and stay careful. Turn off the power, use good parts, and double-check wires. Call a pro for anything complex.
Final Thoughts
Hardwiring your LED strip lights to a wall switch brings a clean, modern feel to your room. No cords. No clutter. Just soft, steady light with one easy click.
It may sound tricky, but it’s not. Take it step by step, and you’ll get it done.
This setup works great with the best LED strip lights for bedrooms. It adds calm, comfort, and style—all at once.