
Adding LED lights to a bedroom feels like adding a touch of magic. I still remember my first time working with LED strips. The soft glow made the room cozy and inviting. But soldering the strips? That seemed tricky at first. Learning how to solder LED light strips gave me control to fix and customize my lights. It helped me avoid buying new strips every time. This guide will show easy steps to help you do the same. No fuss, just simple advice to brighten your space with confidence.
Why Learn How to Solder LED Light Strips?
Learning how to solder LED light strips opens up many new possibilities. Most LED strips come with plug-and-play connectors. These are easy but can limit what you do. Soldering lets you cut strips to any length you need. You can join strips together for bigger projects. It also helps fix broken parts without buying new strips.
With soldering, you gain full control over your lighting design. This is perfect for bedrooms, where mood matters most. Some of the best LED strip lights for bedroom use work even better with soldered connections. Custom setups mean your room looks just right—no limits, no extra costs.
Tools and Materials Needed
Before starting, gather a few key tools and materials. You will need a soldering iron with a fine tip. Choose one around 25 to 40 watts for good heat control. Get some rosin core solder—this melts easily and helps make strong joints. Flux helps solder flow better, so a small tube or pen is handy. Wire cutters and wire strippers will make preparing wires easy. Also, have some thin wires ready to connect your strips.
Look for LED strips made for indoor use, like 12V or 5V strips. These work well in bedrooms and are easy to solder. Some strips come with silicone coating for water resistance, which you can carefully peel back to solder. Picking good quality tools and strips makes your project smooth and lasts longer.
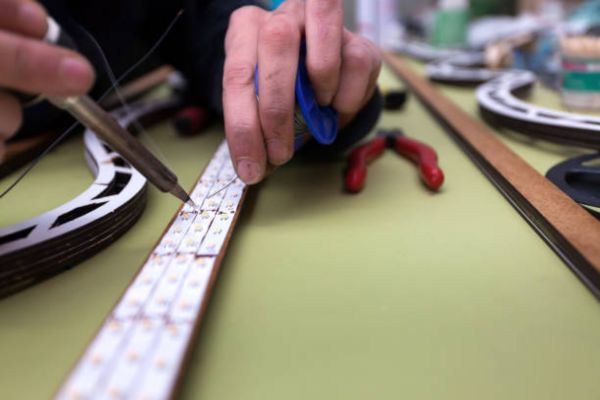
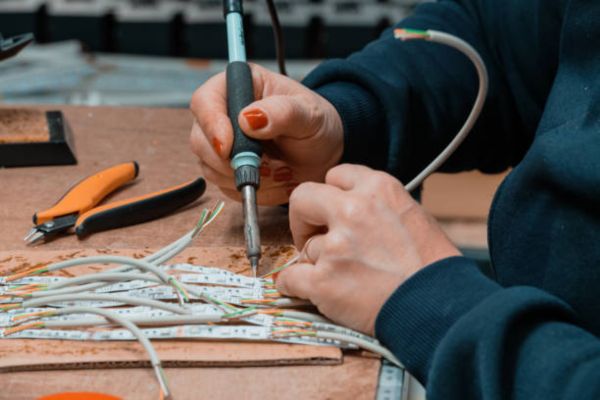
Step 1: Prepare the LED Strip and Wires
Start by cutting the LED strip at the marked lines. Use sharp scissors and cut straight. Peel back any silicone coating gently to expose copper pads. Next, cut your wires to the needed length.
Step 2: Strip and Tin the Wires
Use wire strippers to remove about 3–5 mm of insulation from each wire end. Heat the soldering iron and lightly melt solder onto the wire tips. This is called tinning. It helps the solder stick better later.
Step 3: Apply Flux to the Pads
Put a small amount of flux on the copper pads of the LED strip. Flux cleans the metal and makes solder flow smoothly. This step helps avoid weak connections.
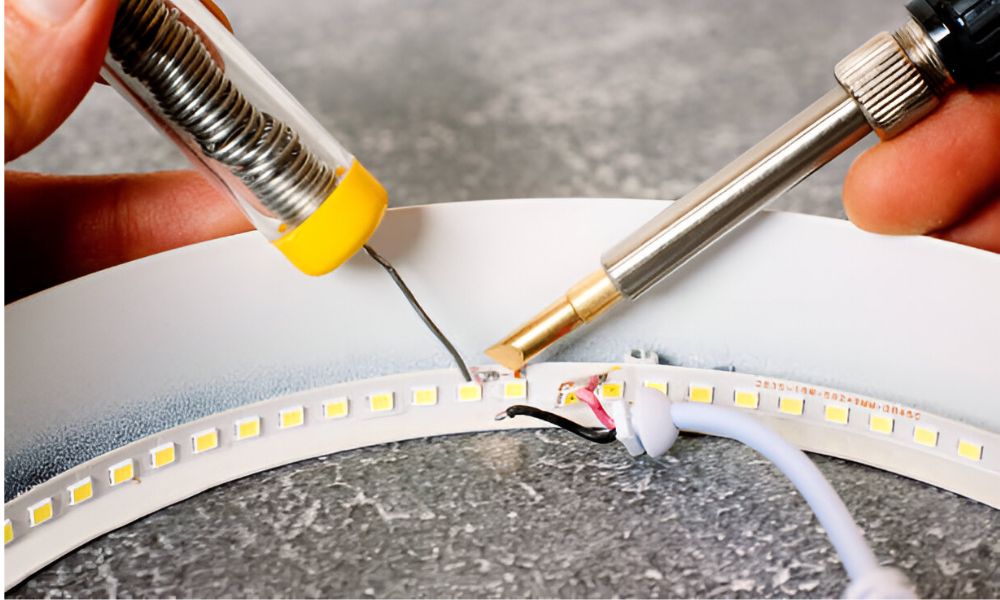
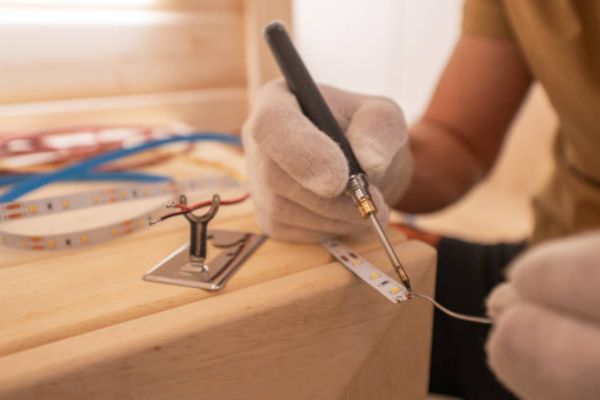
Step 4: Solder the Wires to the Pads
Hold the tinned wire on the correct pad. Touch the soldering iron to both wire and pad at the same time. After a second, add a little solder until it melts around the wire and pad. Remove solder, then iron. The joint should be shiny and smooth.
Step 5: Test the Connection
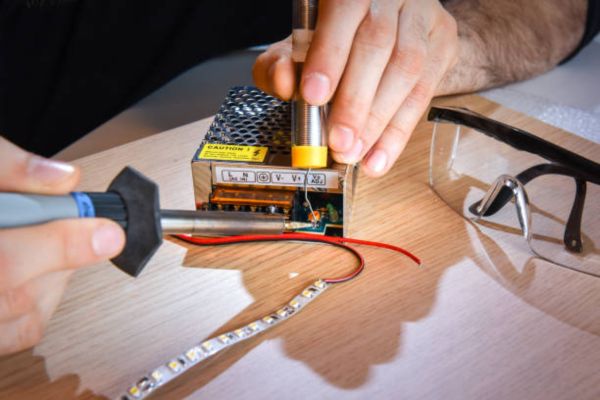
Before covering your work, connect the strip to power. Check the LEDs light up evenly. A multimeter can help test the wires too.
Step 6: Insulate and Protect
Slide heat shrink tubing over the soldered joints and shrink it with heat. This keeps connections safe and neat. If tubing isn’t available, use electrical tape carefully.
Tips for Perfect Soldering Results
Avoid these common beginner mistakes:
Don’t use too much solder. Big blobs can cause shorts. Don’t hold the iron on the pads too long. Too much heat can lift the copper pads and ruin the strip. Always check which wire goes to which pad — mixing them up can stop the lights from working.
Keep your solder joints strong and neat:
Use just enough solder to cover the wire and pad. A shiny, smooth joint lasts longer. Keep your soldering iron tip clean by wiping it on a damp sponge often. Work in a well-lit area so you see what you’re doing clearly. Holding wires steady with helping hands makes a big difference.
Safety tips for soldering at home:
Work in a ventilated space to avoid fumes. Always place the hot soldering iron on a heat-safe stand. Avoid touching the tip — it’s very hot. Keep a small fireproof surface under your work area. And keep kids and pets away during soldering.
Choosing the best LED strip lights for bedroom projects:
Look for strips with clear markings on copper pads. Choose low-voltage strips, like 12V or 5V, which are safe and easy to work with. Silicone-coated strips last longer and resist dust, great for bedrooms. Good quality strips solder better and shine brighter.
Troubleshooting Common Issues

LEDs flicker or don’t light up?
Check your connections first. Loose wires or bad solder joints often cause flickering. Make sure all wires are on the right pads. Also, test your power supply to confirm it’s working well.
Fixing cold solder joints or lifted pads:
Cold joints look dull and may feel loose. Heat the joint again with your soldering iron and add a bit more solder. For lifted pads, try to gently press the pad back down. If the copper pad peels off completely, you might need to use a new strip section or a special repair kit.
When to ask for professional help:
If multiple strips fail after soldering, or pads are badly damaged, it’s smart to get expert advice. Also, if soldering feels overwhelming or you don’t have the right tools, a pro can save time and avoid costly mistakes.
Conclusion
Soldering LED strips is easier than it seems. A little practice goes a long way. Trying this yourself means creating a unique bedroom glow that fits your style perfectly. Take your time, enjoy the process, and watch your space transform.
Explore the best LED strip lights for bedroom projects to find strips that suit your needs. Feel free to share your own soldering stories or ask questions—I’m here to help!