

I still remember setting up my first LED in the bedroom. The box promised a soft glow that would make the room feel warm and alive. The strip was too long, and I needed to know where to cut LED strip lights without damage. That small task became a lesson in patience and skill. Over the years, I have learned simple ways to measure, trim, and fit strips for a clean look. In this guide, I will share those steps so you can enjoy perfect lighting and avoid the small mistakes that often spoil a great project.
Why Knowing Where to Cut LED Strip Lights Matters
Cutting in the wrong place can break the circuit. This stops part of from lighting and ruins the smooth glow. A small mistake here can waste time, money, and effort.
A correct cut gives a perfect fit. They will sit straight, look tidy, and shine for longer. The light will spread evenly, adding a clean finish to your space.
Pairing the right cut with the best LED strip lights for bedroom projects delivers beauty and function. The result is lighting that feels made for your room and lasts for years.
Understanding LED Strip Lights
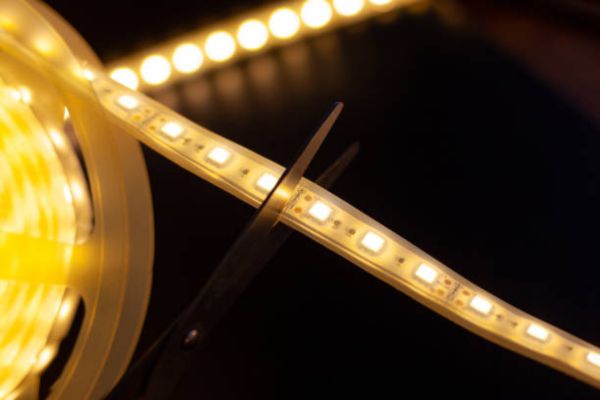
They are thin, flexible strips with many small lights fixed along them. They run on low power, so they are safe for home use. A sticky back lets you attach them to walls, shelves, or furniture.
Each strip has cut points. These are the only spots where trimming will not harm the lights. The cut points are placed to keep the circuit complete after a cut.
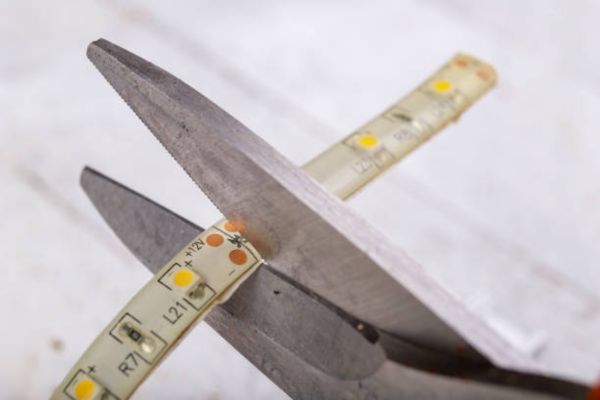
At each cut point, there are small copper pads. These pads carry power through. The marked line between them is the safe place to cut.
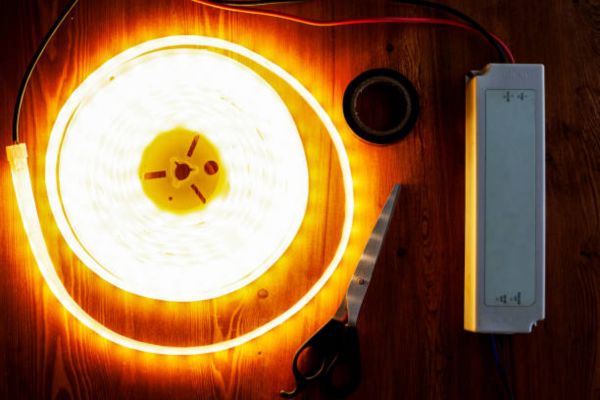
Tools and Materials You’ll Need
Cutting lights well starts with the right tools. Use sharp scissors or a precision cutter for a clean edge. A tape measure helps you check the length before cutting.
LED connectors can join two pieces after trimming. This lets you extend the light to another area without gaps. Silicone end caps protect cut ends from dust and moisture, helping the strip last longer.
Step 1 – Unroll and inspect the strip
Place on a clean, flat surface. Make sure the sticky back stays free from dust. Check that the lights work before you start.
Step 2 – Identify the cut marks
Look for the scissor icon or small copper pads along. These marks show the safe spots to cut. Cutting anywhere else can break the circuit.
Step 3 – Measure your space
Use a tape measure to check the exact length you need. Always match your measurement to the nearest cut mark. This keeps the fit neat.
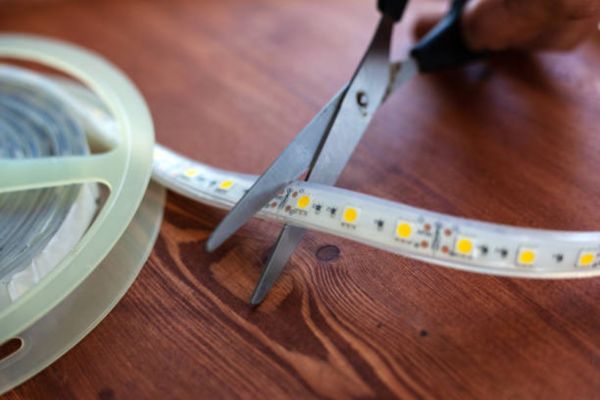
Step 4 – Cut on the marked line only
Use sharp scissors or a precision cutter. Make a straight, clean cut through the line between the copper pads. A clean cut helps keep working.
Step 5 – Seal or connect the cut end
If you plan to join another strip, use an LED connector. If not, seal the end with silicone caps to protect it from dust or moisture. This helps last longer.
Practical Tips for Perfect Cuts (From Experience)
Always measure twice before cutting. A quick double-check saves you from wasting a good strip.
Test the strip before mounting it. Plug it in to make sure every section lights up after cutting.
Keep leftover pieces. Short works well for shelves, drawers, or small accent spots.
Plan the route. This prevents awkward gaps or bends that spoil the look.
Avoid cutting too close to corners. Leave space for a connector or a gentle curve so the light flows smoothly.
Common Mistakes to Avoid
Cutting between LEDs instead of on the cut mark can break the circuit. This will stop part of the strip from lighting.
Using dull scissors can crush. A rough cut may damage the copper pads and shorten the strip’s life.
Ignoring the power supply direction can cause the strip to light unevenly. Always follow the arrows or markings.
Forgetting to test before installation can lead to extra work. Check that the strip lights up fully before sticking it in place.
Creative Places to Use Your Cut LED Strips

Place cut behind headboards for a soft, relaxing glow. It adds warmth to the bedroom and makes the space feel cozy.
Wrap them around bookshelves to highlight your favorite items. The gentle light draws attention without being too bright.
Fix strips under desks or shelves for a clean, modern look. This also makes it easier to see and work in dim light.
Run them along baseboards to create night lighting. The low glow helps guide your steps while adding a stylish touch to the room.
Final Thoughts
Knowing where to cut is the key to a clean, custom fit. A correct cut keeps the circuit safe, makes the strip last longer, and gives a smooth, even glow.
Start small to build your confidence. Each project will teach you something new and help you work with more skill.
FAQ
Can you cut LED strip lights without breaking them?
Yes. Cut only at the marked cut points between the copper pads.
How do I connect two cut strips?
Use LED connectors made for the type. They join the copper pads securely.
What happens if I cut in the wrong place?
You may break the circuit, and part of the strip will stop working.