I wanted soft lights around my bedroom ceiling. Something calm. Something clean. So I bought LED strip lights. Halfway through, I realized the strip was too short. The mood was broken. That’s how I learned how to splice LED light strips. It wasn’t hard. Just a few tools and clear steps. Now, my room glows the way I always pictured. In this guide, I’ll show you how to splice like a pro. No stress. No tech talk. Just real help from someone who’s been there. Ready to light up your space? Let’s make it easy—and beautiful.
Why Splicing LED Strip Lights Matters
Lights should fit your space, not the other way around. But most LED strips come in fixed lengths. That can be a problem. A strip that’s too short or too long breaks the flow.
Learning how to splice LED light strips lets you fix that. You can cut and connect them. You can shape them to fit every edge, corner, and shelf. It’s simple. It’s smart.
Splicing also saves money. Instead of buying more, you can use what you already have. You can turn scraps into something beautiful.
It opens the door to more creative setups. Think under-bed glows. Soft lighting behind curtains. Clean lines along the ceilings. The look feels custom, but without the cost.
For the best results, pick scalable strips. Many of the best LED strip lights for bedroom use copper pads and flexible tape.
Tools and Materials You’ll Need
You don’t need much. Just a few simple tools can make a big difference. Most are easy to use, even for beginners.
- LED strip lights – Pick ones with clear copper pads. These are made for splicing.
- Soldering iron – A small one works best. It gives better control.
- Solder – This melts and bonds the wires. Choose a clean, lead-free type.
- Wire cutters – Use them to snip wires clean.
- Wire strippers – These peel off the plastic so you can connect the ends.
- Thin wire – Use 22 AWG. It bends well and fits tight spaces.
- Heat shrink tubing – This wraps the splice and keeps it safe.
- Electrical tape – Works too. Use it as a backup.
- Helping hands – Not a must, but great for holding wires in place.
Always work with the power off. Let tools cool before you touch them. Clean your solder tip often. This gives better results.
Understanding Your LED Light Strip
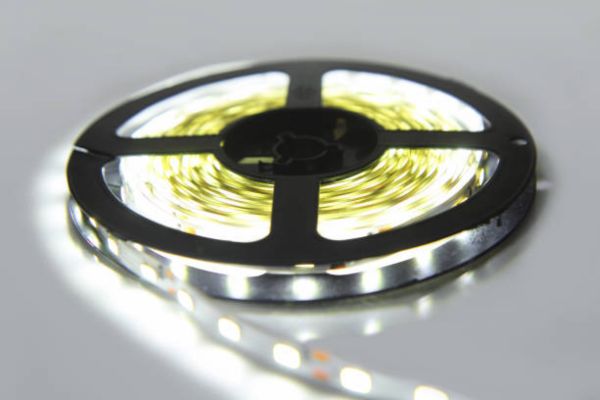
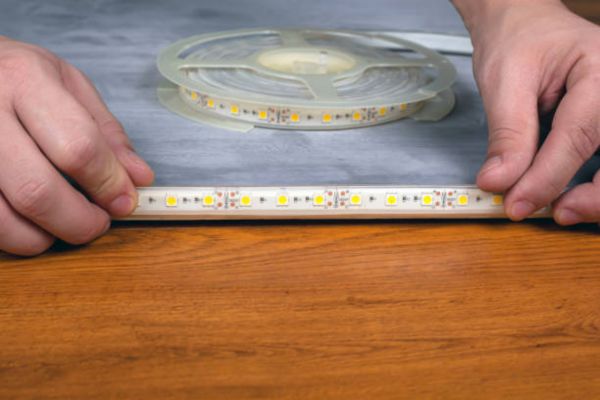
Look closely at your strip. You’ll see small copper pads. They sit between the lights. These are your cutting points.
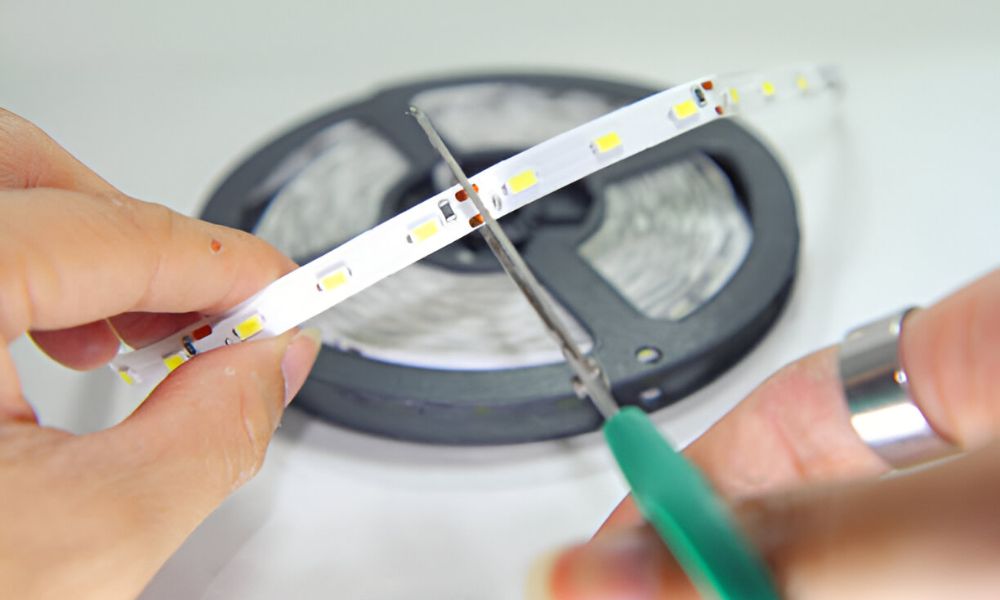
Cut right through the line on the pads. Not above. Not below. A clean cut keeps the strip working.
There are different types. Single-color strips glow one shade. RGB strips shift colors. RGBIC strips show many colors at once. They have built-in chips that control each zone.
Stick with single-color or RGB strips. They splice well. RGBIC strips often don’t. The chip breaks the flow.
Always match voltage. Most strips run on 12V or 24V. Check the label. Use the same on both sides. A mismatch can stop the lights—or ruin them.
Step-By-Step: How To Splice LED Light Strips
Splicing sounds tricky. It’s not. Just follow these steps. You’ll be fine.
Step 1: Cut the Strip on the Copper Line

Lay the strip flat. Find the copper pads between the lights. You’ll see a thin line across them. That’s where you cut. Use sharp scissors. Make one clean snip. Don’t cut off-center.
Step 2: Strip and Prep the Wires
Take your wire. Cut it into short pieces—about 2 to 3 inches. Use wire strippers to peel off a small section at each end. Twist the strands so they don’t fray. Keep the ends neat. This makes soldering easier.
Step 3: Tin the Pads and Wires
Plug in your soldering iron. Let it heat up. Touch the tip to the pad for one second.
Then add a bit of solder. You’ll see it melt and shine. Do this on each pad and each wire end. This is called “tinning.”
Step 4: Solder the Wires to Each Strip
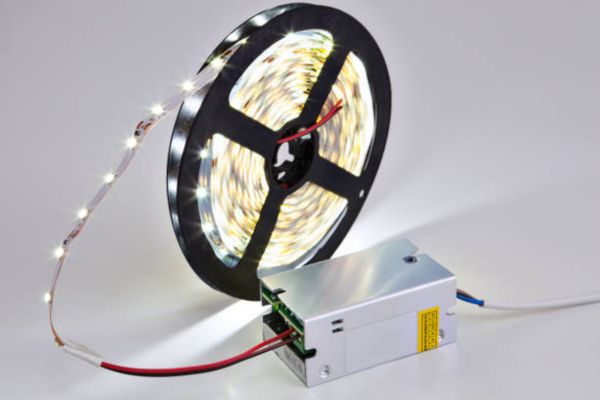
Line up the wire with the pad. Press both with the soldering iron for one second. The solder will bond them. Lift the iron and let it cool. Don’t move the wire. Repeat for each pad. Match color to color. You’ve got this. Just take it slow.
Step 5: Insulate the Connections
Now it’s time to protect your work. Slide heat shrink tubing over each joint. Use a lighter or heat gun to shrink it. No tubing? Wrap each wire with a bit of tape. Keep it tight. Keep it clean.
Step 6: Test Before Sticking
Connect the strip to power. Turn it on. Check that all parts glow. No light? Double-check your joints. Loose wires or too little solder are common. Fix what’s needed. Then test again. Once it works, press the strip into place. Stick it where you want. Step back and enjoy the glow.
Common Mistakes and How To Avoid Them
Everyone makes mistakes. I’ve made plenty. Here are a few common ones—and how you can avoid them.
Cutting in the wrong place
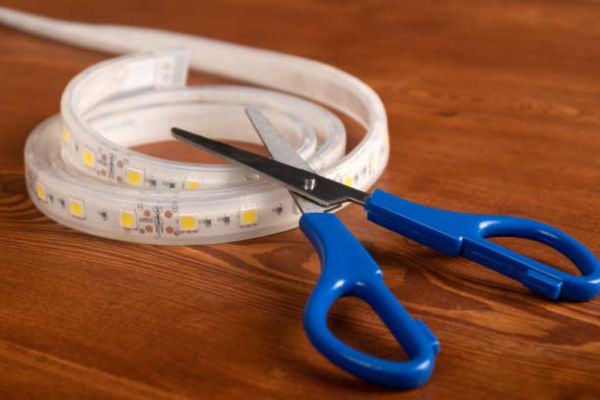
Always cut on the copper line. Not near it. Not around it. Right on it. Cutting even a little off can break the strip. Then it won’t light up.
Using mismatched strips
Match both voltage and type. Use 12V with 12V. Use RGB with RGB. Don’t mix colors, chips, or power levels. A bad match means no power or dead lights.
Skipping wire insulation
Bare wires cause trouble. They touch. They short out. Cover every joint. Use shrink tubing or tape. Keep it safe. Keep it dry.
Applying too much solder
More isn’t better. A big blob can cross over to the next pad. That creates a short. Just a dab is enough. Let it flow. Then stop.
Pro Tips From Real Bedroom Projects
I’ve worked on dozens of bedroom setups. Some were sleek. Some were simple. All taught me something. Here’s what works best.
Add extra wire for corners
Corners can bend your plans. A short wire between strips solves that. It gives room to flex. It keeps the lights from lifting or breaking.
Hide splices behind furniture or trim
Splices aren’t always pretty. Tuck them out of sight. Behind a bed frame or curtain rod works well. Your room stays clean. The glow stays smooth.
Use soft white or warm RGB colors for bedrooms
Bright colors feel harsh at night. Soft white sets the mood. Warm RGB lets you shift tones but stay cozy. Bedrooms need calm, not chaos.
Pick strips that splice easy
Not all strips are equal. The best LED strip lights for bedroom use strong tape, clear copper pads, and simple wiring. They don’t flicker. They don’t peel off. Look for brands with flexible backing and solid brightness—not just flashy names.
Final Thoughts
You’ve seen the tools. You’ve learned the steps. You now know the common mistakes and how to fix them. Start small. Light up a shelf. Wrap a mirror. Practice your cuts. Make one clean splice and see how it feels.
Splicing gets easier each time. It’s hands-on. It’s fun. And the results speak for themselves. Now you know how to splice LED light strips like a pro. You don’t need fancy gear. Just steady hands, a bit of care, and a love for soft light.
FAQs
Can I splice different brands together?
Yes, but be careful. Match the voltage and type. Both strips should be 12V or 24V. RGB to RGB. Single-color to single-color. Some brands use slightly different parts. Always test before you stick them in place.
Is soldering the only way to connect LED strips?
No. You can also use clip-on connectors. These let you join the strips without heat. Just slide the ends into the clip and close it tight. It works well for short runs or fast fixes. For long-term use, soldering gives a stronger hold.
Are spliced strips safe?
Yes—if done right. Cover all wires. Keep the power off while working. Use heat shrink or tape to protect the joints. Good splices last long and stay safe.

