
I used to fumble with plugs each night just to turn on my bedroom lights. The cords were messy. The switch was out of reach. It felt like a small problem, but it got old fast. One evening, I decided to fix it. I learned how to wire LED lights to a wall switch, and it changed everything. Now, one touch by the door fills the room with a soft glow. In this guide, I’ll show you how to do the same. Step by step. No stress. No electrician. Just clean light, simple tools, and a switch that feels like magic.
What You’ll Need Before You Start
Wiring a switch sounds complex, but it’s easy once you’re ready. This section walks you through the tools, wiring basics, and safety steps. A solid start makes the rest smoother.
Tools and Materials Checklist

Here’s what you’ll need for the project:
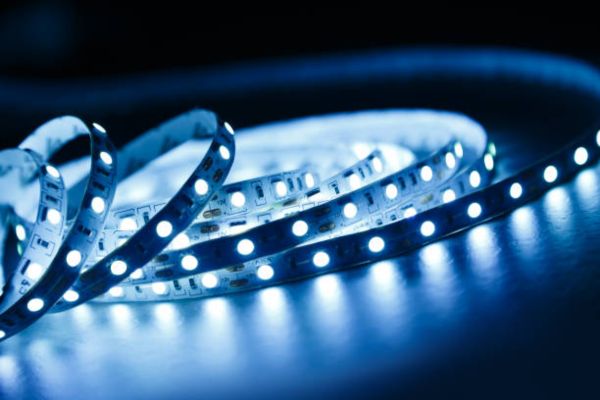
- LED strip or light bar (designed for hardwiring)
- Wall switch (single-pole)
- Electrical cable (14/2 or 12/2 NM, Romex)
- Wire nuts or push connectors
- box
- Voltage tester
- Wire stripper
- Screwdrivers (flathead and Phillips)
- Drill (for routing cable)
- Tape (electrical and painter’s)
- Safety gloves and goggles
Each tool has a purpose. Keep them nearby. It saves time and avoids mistakes
Step-by-step: How to Wire LED Lights to a Wall Switch
This guide makes it simple. Each step builds on the last. Take your time. Work safe. You’re about to learn how to wire like a pro.
01. Turn Off the Power at the Breaker
Go to your breaker panel. Find the switch for the room. Turn it off. Use a voltage tester. Check every wire. Make sure no power is running. Never skip this. It protects you.
02. Plan the Wiring Path (Switch to Light)
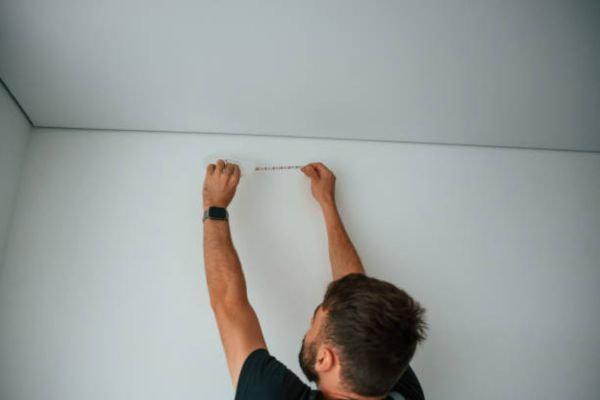
Pick a clean path from the switch to the LED light. Short paths are better. Mark the wall for the switch. Plan the light position too. Measure the cable length. Add a little extra, just in case.
03. Install the Wall Switch Box
Find a clear spot between wall studs. Use a drywall saw to cut the hole. Insert the box. Tighten it until snug. Make sure it’s flat and straight. A good fit helps with mounting the switch later.
04. Run the Electrical Cable
Pull one cable from your power source to the switch. Pull another from the top to the light. Drill small holes in studs to run the wire. Use cable staples to keep it tight. Leave extra cable at both ends. It gives room to work.
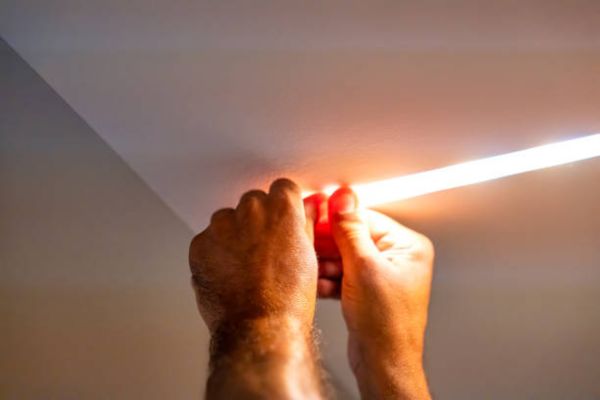
05. Wire the Switch and the LED Lights
In the box, strip the cable ends. You should see black, white, and bare wires. Twist the ground wires (bare) together. Connect to the green screw on the switch. Black from the power to one side of the switch. Connect black going to the LED to the other side. Twist white wires together. Cap with a wire nut. Tuck them into the box. At the LED light, match black to black, white to white, and ground to ground. Use wire nuts and tape.
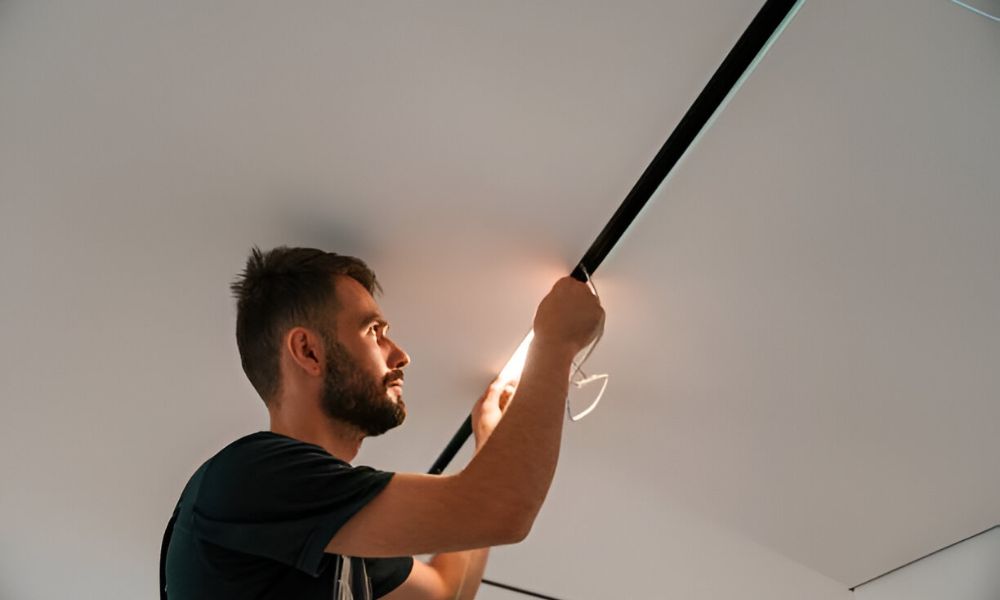
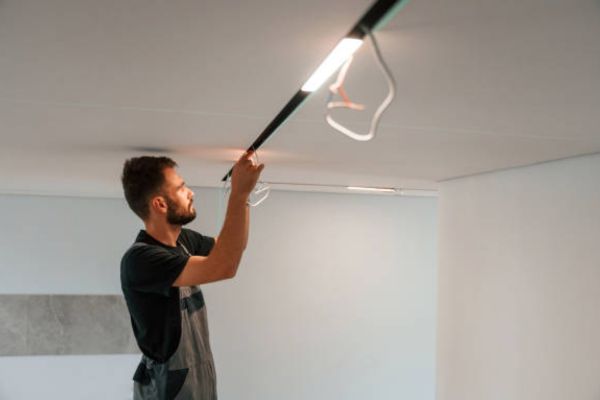
06. Mount and Connect the LED Lights
Stick or screw the LED strip or fixture in place. Channels or clips keep it neat. Connect the wiring to the light. Follow your light’s guide. Make sure each wire is tight. No loose ends.
07. Restore Power and Test the Setup
Return to the breaker box. Turn the power back on. Now flip your new wall switch. The LED lights should turn on smoothly and steadily. That means the job is done right.
Choosing the Best LED Strip Lights for Bedroom Projects
Not all LED strips are the same. Some work better. Others are made only for plug-ins. Choosing the right type saves time and gives better results.
Some LED Strips Are Easier to Hardwire
Many strips come with adapters only. These are not built for wall switches. Look for LED strips that allow direct wiring. These often come with exposed wire ends or clear terminal blocks. You can connect them to without extra parts.
These options feel more solid. They give a clean, built-in look that suits any bedroom.
Match Switch and Light Features
Not all switches work with every LED light. Some need a dimmer. Others flicker with the wrong type. Read your LED strip’s specs. Make sure your switch is made for LED loads. For dimming, use an LED-rated dimmer. This avoids buzzing and keeps your light smooth.
Choosing the best LED strip lights for bedroom setups makes all the difference. It’s not just about light—it’s about mood, safety, and ease. Take a little time here. Your room will thank you later.
Common Mistakes to Avoid (Learned from Experience)
Some lessons come the hard way. I’ve made a few mistakes over the years, and I want you to skip them. These small errors can cause big problems later.
Forgetting to Shut Off Power
One time, I rushed into a project and skipped the breaker. I thought the room was safe. The wires shocked me. It was minor—but it could’ve been worse.
Now I always shut off the power and test with a voltage tool. Always.
Using Mismatched Wires
I once used the wrong gauge cable. The light flickered. Use 14/2 or 12/2 NM cable, depending on your breaker and load. Match wire type to your setup. It keeps things safe and smooth.
Overloading Circuits
Stacking too many lights on one line feels easy. But it can cause tripped breakers, dimming, or worse—fire risk.
Always check the total wattage. Count the amps. Stay well below the limit. Less is more.
Skipping Wire Labels or Not Using Junction Boxes
I used to twist wires and leave them behind the drywall. It worked—until I needed to fix something. Then I had no clue what wire did what.
Now I use junction boxes and label every line. It adds a minute but saves hours later.
Pro Tips to Make Your Setup Last Longer
A good setup feels great. A smart one lasts for years. These small steps help your lights stay bright, safe, and solid, day after day.
Use Aluminium Channels for Neatness and Safety
LED strips stick well at first. Over time, though, the glue weakens. Strips fall, wires bend, and things look messy.
Aluminum channels fix that. They keep the lights in place and add a clean, modern edge. Plus, they help with heat control and protect the strip from dust.
Label Wires for Future Use
Wires look the same. Months later, it’s easy to forget which one does what. I’ve been there.
A small piece of painter’s tape and a pen can save you hours. Label the power line. Mark the one going to the lights. Clear notes make future work faster and safer.
Test All Connections Before Final Mounting
Before closing up the wall or sticking lights to the ceiling, flip the breaker. Try the switch. Make sure the light turns on and off without trouble.
Testing now saves time later. You won’t need to peel things off or open boxes again.
Use Proper Switch Types for LED Compatibility
Not all switches are made for LED lights. Some old cause buzzing or flickering. That gets annoying fast.
Look for a that’s rated for LED use. For dimmers, use one made just for LED loads. The right match means smooth, quiet lighting every time.
Why a Wall Switch Setup Is Perfect for Bedrooms
Bedrooms should feel calm. Soft light. Easy control. A wall switch setup brings that comfort into your daily life. Once it’s in place, you’ll wonder why you didn’t do it sooner.
Cleaner Look and Better Sleep Routines
No more wires hanging across the wall. No more reaching behind the bed to turn things on.
One switch by the door sets the mood for the night. A soft glow helps your body slow down. It creates a signal—it’s time to rest.
No Plug Clutter or Dangling Cords
Plug-in lights are fine at first. But the cords take over. They tangle, stretch, and break the mood of the room.
Works Great with Smart Switches or Dimmers
Want full control? Add a dimmer or a smart switch. Dimmers help you ease into the evening. Smart let you use your phone or voice. Both make your lighting work around your life.
Ideal for Ambient Lighting Setups
LED strips behind your headboard. A soft line along the ceiling. A glow behind a mirror.
These setups shine with a wall switch. You turn them on with one touch—and they fill the room with calm.
FAQs
Can I Wire LED Strips to Any Wall Switch?
Not always. Some switches aren’t made for LED lights. They may cause flicker or won’t turn off cleanly.
Do I Need a Transformer or Driver?
That depends on your LED setup. Most low-voltage strips need a driver to convert the power. Some come with it built in. Read the product label. It will tell you what’s needed.
Can I Add a Dimmer Later?
Yes. As long as your light and switch both support dimming. Choose a dimmer rated for LED use. Avoid old-style dimmers—they don’t work well with new lights.
Final Thoughts
Let’s recap. You picked the right lights and the wire installed the wire, and tested every step. You didn’t just light a room— you built comfort, ease, and control. And you did it by hand. Take a moment and enjoy it. Always work safely. Always check your setup. And don’t be afraid to learn more.