
I still remember my first LED strip light project. I stuck the strip under my bed, turned it on, and smiled. Then I saw the problem. The lights didn’t reach the end. Half my room looked great. The rest? Empty and dark. That’s how I learned how to extend LED strip lights. It opened up new ideas. Now my ceiling, shelves, and headboard all glow. It’s simple once you know the steps. This guide will show you how to do it right.
What Are LED Strip Lights and Why Do People Love Them?
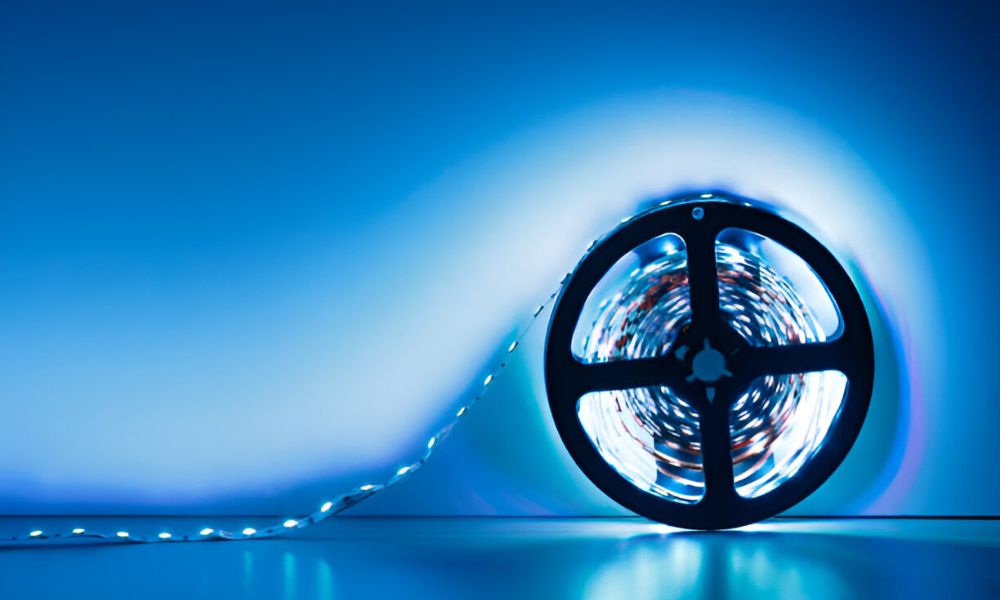
They are small lights stuck on a flexible. You can bend them, cut them, and stick them almost anywhere. They come in long rolls and give off a soft glow that changes how a space feels.
People love them in bedrooms. They’re easy to use and don’t need fancy tools. You peel, stick, and plug them in. That’s it. The light makes the room feel calm, cozy, or even bold—just the way you want.
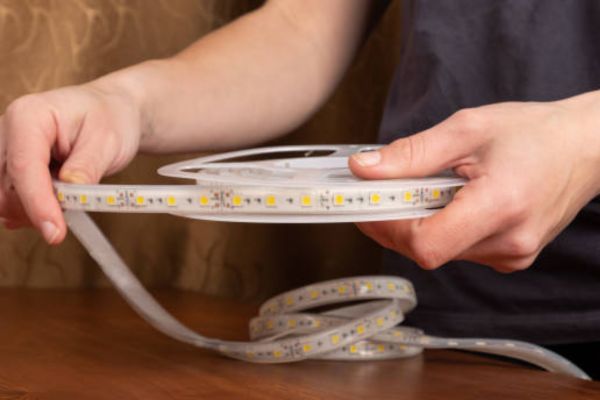
Things You Need Before You Extend LED Strip Lights
You don’t need a lot to get started. Just a few basic tools. Keep these nearby:
- Extra Light
- Connectors or a soldering kit
- Scissors with a sharp edge
- Tape measure or ruler
- Power supply with enough wattage
Always check the type of strip. Some use 12 volts. Others use 24. Never mix them.
Match the pin count too. Two pins for one color. Four pins for RGB. More pins mean more features.
Most problems start with the wrong parts. Weak glue. Mismatched voltage. Loose clips. These things cause flickers or full blackouts.
Step-by-Step Guide
Step 1: Measure your space
Grab a tape measure and check the full area. Go around corners and along edges. Write down the total length. This tells you how much extra you need.
Step 2: Choose your extension method
There are two ways to join strips. Use clip-on connectors for fast work. Use soldering for a cleaner look. Both get the job done.
Step 3: Match strip types and voltages
Look at your current strip. Check the voltage—12V or 24V. Count the pins too. The new strip must match in both ways.
Step 4: Connect the strips the right way
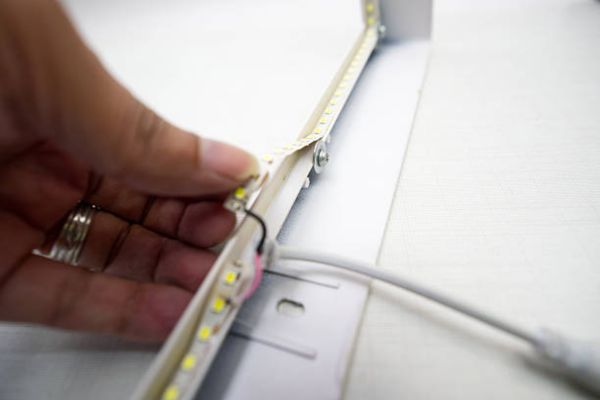
Use the right connector or solder the wires. Match the pin colors—red to red, blue to blue. For help, see our section on how to connect. Clean joins give steady light.
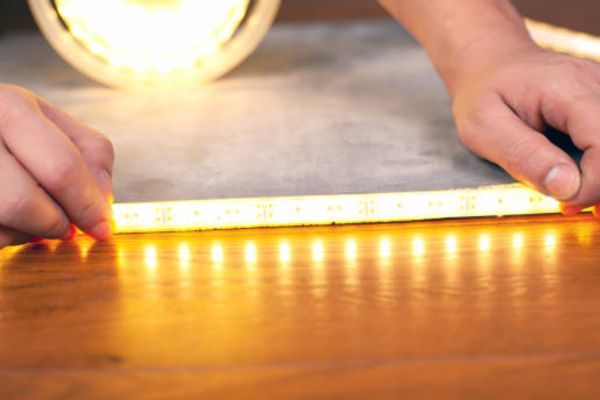
Step 5: Test before sticking anything
Plug the strips in. Turn on the power. Check every inch. The light should run smooth from end to end.
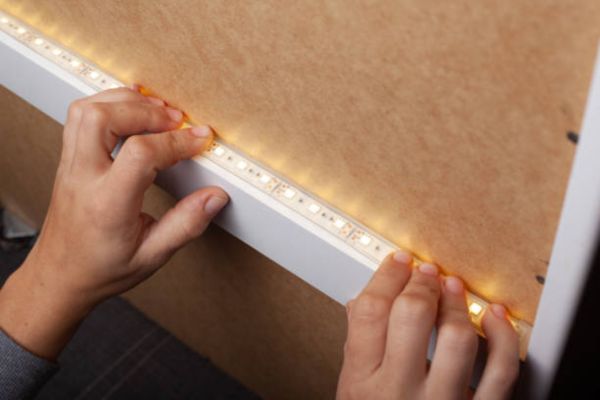
Step 6: Mount the strip with care
Peel the back and press it gently. Follow the shape of your wall, bed, or shelf. Use clips for tricky spots. Avoid sharp bends.
Step 7: Plug in and enjoy the glow
Connect to the power again. Turn off the main light. Enjoy your new look. The room feels fresh, warm, and modern.
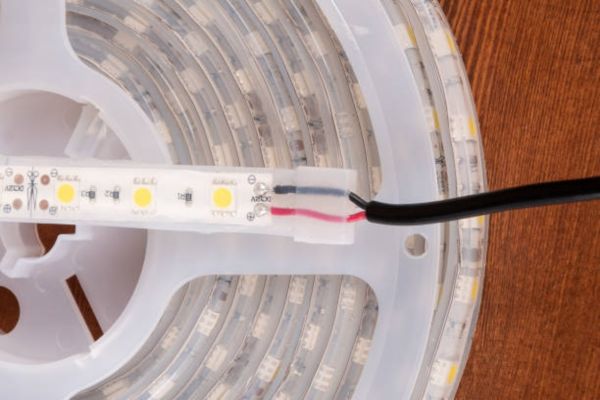
How to Connect LED Strip Lights Safely and Easily
LED strips come in different types. Some have 2 pins. Others have 4. A 2-pin strip gives steady white light. A 4-pin strip lets you change colors. These are called RGB.
Each type needs the right connector. Clip-on pieces work well for fast jobs. Solder-free plugs snap into place. Corner joints help bend light around edges.
Here’s how to connect with a clip. Cut along the copper mark. Slide the strip into the open connector. Line up the copper pads. Press the clip down until it locks.
Use the same voltage on both strips. Match the number of pins. Always line up the arrows. Bad joins cause flickers or no light at all. Good joins shine smooth and bright.
Best Practices to Get a Clean and Long-Lasting Setup
Bend the strip with care. Sharp turns can break the circuit. Keep curves soft and wide. Stretching too hard may loosen the parts.
Tuck connectors out of sight. Slide them behind the bed or a frame. This hides the bulk and keeps the look smooth.
Use strong tape or mounting clips. Some surfaces don’t hold well. Clips give extra grip. They help in corners and near the ceiling.
Always check your power supply. Add up the total watts use. Choose an adapter with more than enough. Matching the voltage keeps everything safe and bright.
My Favourite Bedroom Setup with LED Strips
I love soft lights at night. They make the room feel calm and warm. My favorite setup starts under the bed. It gives a soft glow that feels like it’s floating.
Next, I light the back of the headboard. It adds depth and a cozy frame. The third spot is the ceiling edge. That line of light makes the whole room feel bigger.
For smooth color and long life, I go with the best LED strip lights for bedroom use. They stick well, shine bright, and don’t overheat. A good strip makes all the difference.
Common Problems and Easy Fixes
Sometimes the light flickers. Sometimes one side goes dark. Don’t panic. Most issues are easy to fix. Start with the basics. Check the connectors. Make sure the pins touch the copper pads. Look for loose clips or flipped.
Cut in the wrong spot? Don’t toss the strip. Grab a new connector. Line it up with the next copper mark. Press it tight. Wrong voltage? That’s a bigger issue. A 12V strip won’t work with 24V power. Use the right match. Always read the label before you buy or plug in.
FAQs
How many strips can I link together safely?
That depends on your power supply. Add up the watts for each strip. Leave extra room so your adapter runs cool and steady.
What power adapter should I use?
Pick one with more watts than your total strip load. For example, 60 watts of strip needs a 72-watt adapter or more. Match the voltage too.
Are smart controls easy to set up?
Very easy. Many strips come with remote apps. Some work with voice tools like Alexa. Just plug in the smart controller and follow the steps.
Conclusion
There’s something special about soft, glowing light. It turns a plain room into a calm, cozy space. Learning how to extend adds new ways to shape that glow.
Try it yourself. Stretch the lights along your ceiling or under the bed. See how small changes bring big vibes.
Play with color. Light a shelf. Wrap your headboard. Share your setup with others.