
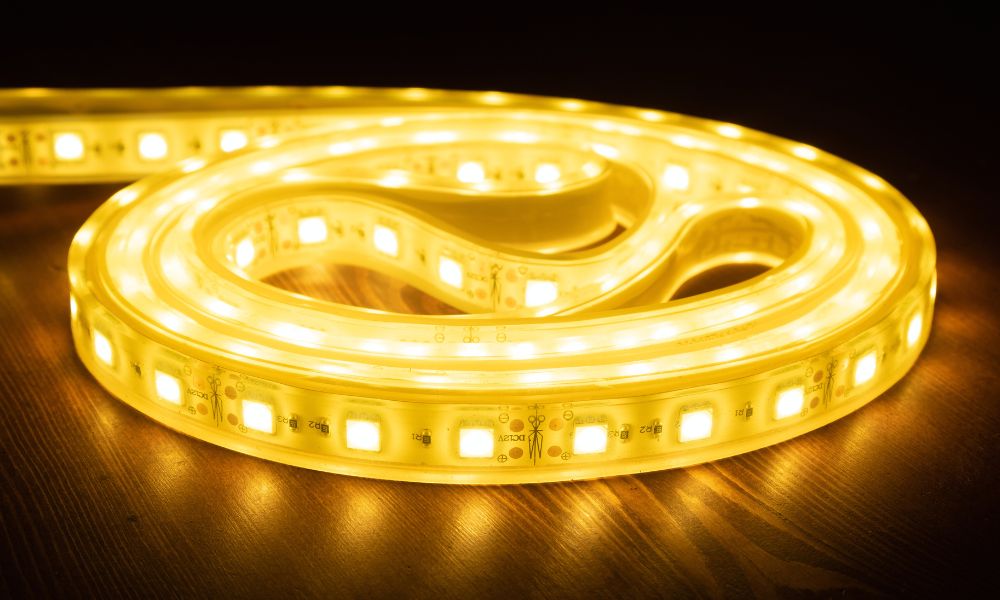
Last week, my LED strip stopped working. The glow behind my desk was gone. I checked the power. That was fine. The real problem was the tiny connector between two strip pieces. It had come loose. I didn’t want to replace the whole strip. So I learned how to fix LED light strip connector problems at home. It was easier than I thought. No tools? No problem. With just a few simple steps, I had the lights working again. In this guide, I’ll show you exactly what I did. You can fix yours, too—and it won’t take long.
Understanding the Problem: What’s Going Wrong?
LED connectors help power flow from one part of the light to the next. Inside the connector, small metal pins press against the copper pads on the strip. This contact is what keeps your lights working.
But sometimes, that connection gets loose. One side of the may stop glowing. Or you may see flickers or dim spots. It’s easy to miss, but this tiny piece can cause big trouble.
Before buying a new set, look closer. A loose clip is a common cause. Learning how to fix broken LED light issues often begins right here—with the connector itself.
Tools You’ll Need Before You Begin
You don’t need much to fix a connector. Just a few tools can make the job easy. I’ve used the same kit for years, and it works every time.
Scissors – These help you trim the strip cleanly. Always cut along the marked line between copper pads. A sharp cut keeps the connection strong.
Tweezers – Great for small spaces. They help place the inside the connector without bending the or touching the pins.
Spare connectors – Old ones can wear out or break. A new clip often solves the problem in seconds. I always keep a few in a drawer.
With these tools close by, you’ll save time. You’ll work smarter. And you’ll avoid simple mistakes that lead to bigger problems.
Step-by-Step: How to Fix LED Light Strip Connector
Fixing a connector sounds tricky, but it’s not. Just take your time. Follow these easy steps, and you’ll get your lights working again.
01. Turn off the power
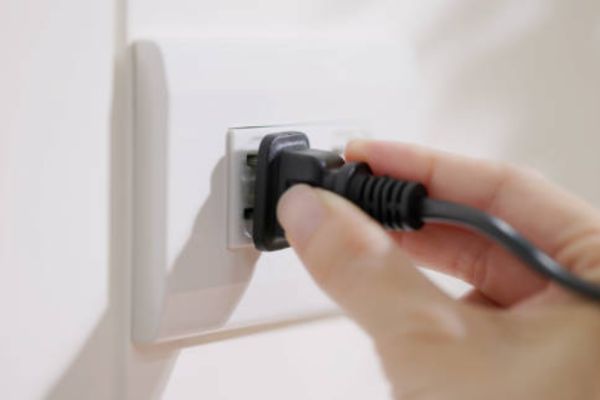
Unplug the strip before you start. This keeps you safe and protects the lights from short circuits.
02. Open the connector
Use your nail or a small tool to lift the latch. Go slow. The plastic can crack if you bend it too far.
03. Slide out the strip
Pull the strip from the connector. Do it gently. Don’t bend or twist the copper pads.
04. Check the strip ends
Look at the copper pads. They should be flat and clean. If they’re torn or dirty, you may need a fresh cut.
05. Trim if needed
Use scissors to cut just behind the last copper pads. This is where to cut on LED lights for a clean edge. Always follow the printed lines on the strip.
06. Reinsert the strip
Line up the pads with the metal pins in the connector. Use tweezers for better control. Make sure the strip is flat and centered.
07. Close the latch
Snap the connector shut. Press down gently until it clicks. A tight seal means better power flow.
08. Power it on
Plug the strip back in. If everything glows, you nailed it. If not, reopen the connector and check the alignment.
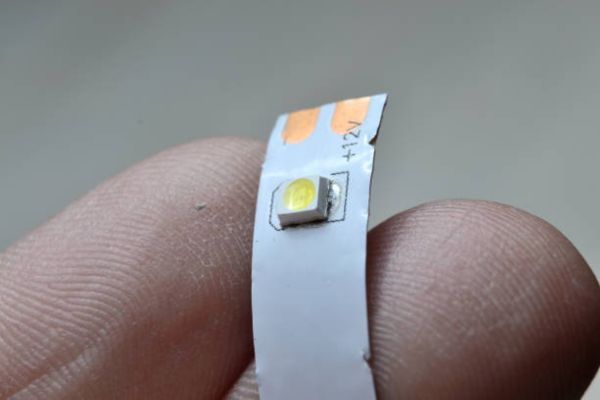
How to Tell Where to Cut on LED Strip Lights
Most LED strips have small lines printed across them. These lines show where you can cut without damage. You’ll usually see them between copper pads or just after a full LED section.
Cutting on that line keeps the strip working. It protects the circuit inside. Go too far off, and you risk breaking the lights. I’ve made that mistake once—it cost me a whole section.
So always look for the cut zone first. Measure twice, cut once. This is where to cut on LED lights for the cleanest result.
Still Not Working? What to Check Next
So you’ve followed the steps, but the lights still won’t turn on. Don’t worry—there are a few more things to check.
Start with the copper pads. Make sure they sit flat under the pins. Even a small shift can block the flow of power.
Next, look for dust or moisture. These two can sneak in and break the contact. Wipe the strip gently with a dry cloth.
Try a new connector. Some clips lose tension over time. I’ve had old ones that looked fine but didn’t work.
Still no luck? You may need a fresh strip. Not every fix works forever. In some cases, the only way how to fix broken LED light problems is to replace the damaged section.
How to Avoid Future Connector Problems
You’ve fixed the lights—great job. Now let’s keep them working. A few small habits can make a big difference.
Don’t bend the strips near the connector.
Sharp bends can loosen the pins inside. Keep that area flat and stress-free.
Always test before you stick.
Lay the lights out. Plug them in. Make sure they work before peeling the adhesive. It saves time and avoids frustration.
Use good connectors.
Cheap clips break fast. I’ve had some last just days. A solid connector means fewer problems later.
Watch out for moisture.
In kitchens or bathrooms, steam can sneak in. Use waterproof connectors or seal the edges with clear tape or silicone.
Extra Tip: Choosing the Best LED Strip Lights for Bedroom Use
Not all LED are built the same. In bedrooms, the goal is comfort and calm. You want lights that look good and last long.
Choose warm white for a soft glow. It feels cozy and helps you relax. Avoid harsh blue tones—they can feel cold at night.
Remote control is a nice touch. So is dimming. I like to lower the brightness before bed. It feels like the room is winding down with me.
Buying cheap strips may save money now, but they often fail fast. The best LED strip lights for bedroom use better parts and stronger connectors. That means fewer problems and more peace.
Final Thoughts
You don’t need to be an expert to fix a light. You just need a little care, a steady hand, and the right steps. What looks like a big problem is often just a small loose part.
Fixing it yourself feels good. You save money. You learn something useful. And your room glows again—just the way you like it.
So pass it on. Share the tip. Help a friend who’s stuck with half-lit strips or flickers. You’ve got the know-how now. And the next time your lights go dark, you won’t stress. You’ll fix it—like a pro.
FAQs
How do I know my connector is bad?
The lights may flicker or go dark. You might see only part of the strip light up. A quick press on the connector can tell you more. If the lights flash or change, the clip may be loose or damaged.
Can I fix a broken LED strip without soldering?
Yes. Use a clip-on connector. Cut the strip on the marked line, then slide it into a new clip. Close it tight, and you’re done. No heat or tools needed.
Do all LED strips use the same connectors?
No. It come in different widths and styles. Some use 8mm clips. Others need 10mm. Always match the size and type before buying.