
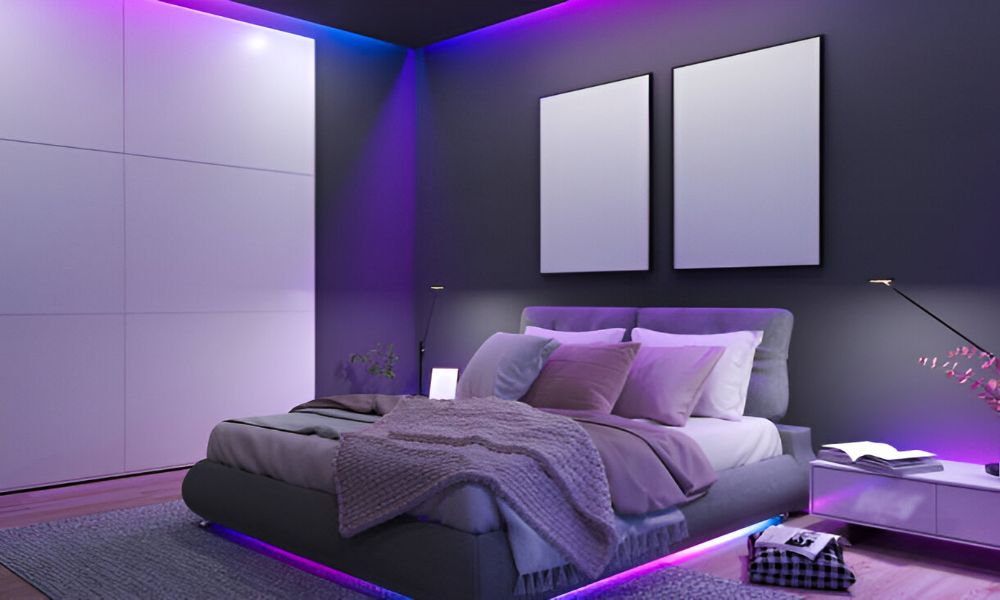
I had a dull bedroom and a single bright light that felt cold. One day, I tried LED light strips. I placed them behind my bed. I turned them on—and everything changed. The glow felt warm. Soft. Calm. My room looked better, and I felt better. In this guide, I’ll show you how to install LED light strips in room with simple steps. You’ll learn how to place them, power them, and make your space glow.
What Are LED Strip Lights?
LED strip lights are long, bendy strips filled with tiny lights. They stick to walls, shelves, or furniture. Most come with a sticky back and plug into a simple power source. Some even change color with a remote or app.
These lights work great in any room, but they’re extra special in bedrooms. You can place them behind a headboard, under a bed, or around a mirror. They make the space feel calm and cozy without being too bright.
That’s why so many people love LED strip lights for bedroom use. They save energy, set the mood, and are easy to install.
Choosing the Best LED Strip Lights for Bedroom
Not all LED strips are the same. To get the right one, you need to check a few things. The first is color temperature. Warm white (2700K–3000K) gives a soft, cozy glow. Cool white (4000K+) feels brighter and better for work zones.
Next, think about brightness. Some strips are very strong and better for large rooms. Others are dimmer, perfect for relaxing or bedtime. A dimmable option is ideal.
You’ll also want to choose between remote or app control. I love app control—it’s quick and fun. And always pick a cuttable design so you can size it just right.
For beginners, look for a plug-and-play strip. That means no tricky wiring or extra parts. A safe 12V model is perfect for bedrooms.
Planning Your Layout: Where to Install the Lights in Your Room
Before you stick anything, take a look around your room. Think about where light would feel best. Some great spots are behind your headboard, under the bed frame, along ceiling edges, or around mirrors. These areas add a soft glow without being too bright.
Check your walls too. Smooth surfaces work better than bumpy ones. Also, make sure you have a power outlet nearby. You don’t want wires stretching across the room. Look at your furniture. Make sure nothing blocks the light path.
Here’s a pro move: grab some masking tape and mark the line first. This shows you how it will look—before you peel and stick
Tools and Supplies You’ll Need
You don’t need fancy tools to get started. Just a few simple things will do the job right.
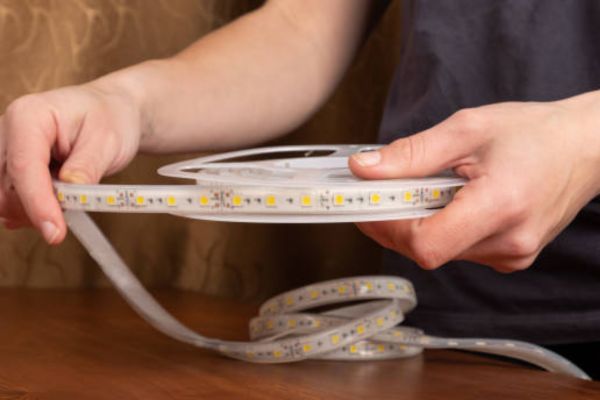
- LED strip – Pick one that’s cuttable and flexible. That way, it fits your space and bends around corners.
- Power adapter or USB plug – Make sure it matches the strip’s voltage.
- Clean cloth – For wiping dust off the wall or furniture.
- Ruler or measuring tape – Helps you plan the layout and cut to size.
Optional extras:
- Mounting clips – Useful for bumpy walls or tricky spots.
- Extension wires – Great for reaching outlets.
- Timers or remotes – For easy control and scheduling.
That’s it. You’re ready to go.
Step-by-Step Guide: How to Install LED Light Strips in Room
Let’s walk through it one piece at a time. This part is simple but important. Follow these steps to make your lights look clean and stay up long.
01. Measure and Cut to Fit
Start by measuring the space where the strip will go. Use a ruler or tape measure. Write down the length so you don’t forget.
Most strips can be trimmed, but only at marked points. Look for a small line with scissors printed on it. That’s the safe place to cut. Never cut between lights.
02. Clean the Surface
Wipe the area with a dry cloth. Dust and dirt stop the strip from sticking. Even clean-looking walls need a quick wipe.
Don’t use soap or polish. They leave behind a film that weakens the glue. Keep it dry and smooth.
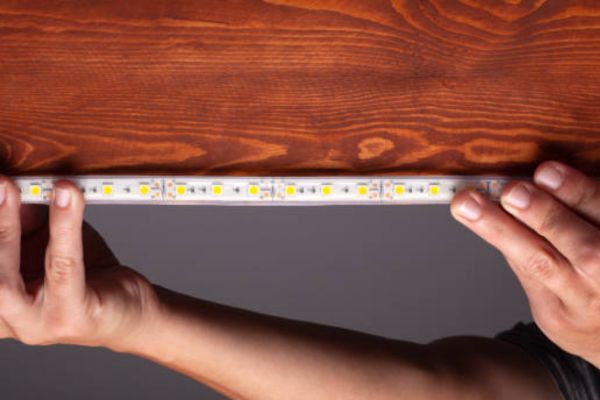
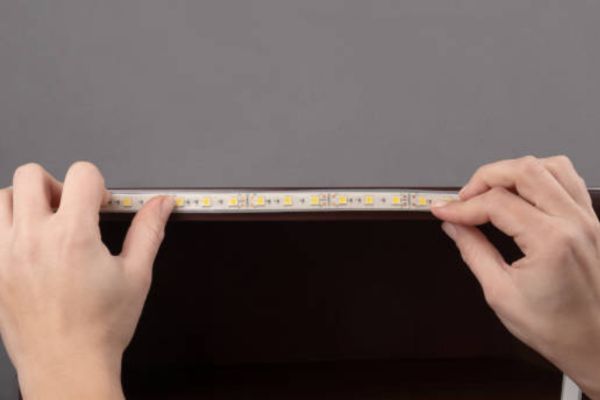
03. Stick the Strip
Peel the backing slowly and press the strip down as you go. Start at one end and move in small steps.
Use your fingers to press gently but firmly. Try not to touch the sticky side too much. That keeps the glue strong.
To avoid air bubbles, work in short sections and smooth as you go.
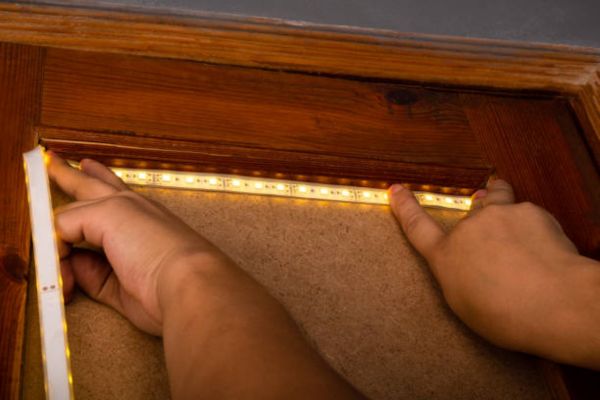
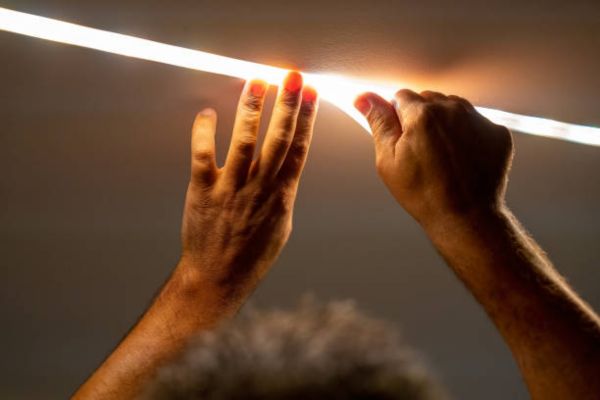
04. Connect Power and Test
Once the strip is in place, plug in the power. Use the adapter that came with your strip.
Turn on the switch or use the remote. The lights should come on right away.
If nothing happens, check the connection. Make sure the arrow on the plug matches the one on the strip. That tiny arrow matters a lot!
How to Hide Wires and Keep Things Neat?
Loose wires can ruin the look. The glow might be perfect, but messy cords pull focus. The good news? Hiding them is simple.
Start by running wires behind furniture. Desks, beds, and shelves make great covers. Use the edges to guide the cords out of sight.
Next, grab a few adhesive clips. These stick to walls or furniture and hold wires in place. Zip ties also work well. Loop them to bundle cords neatly.
For a cleaner finish, try a small cord box. It hides adapters and extra wire in one spot. Everything looks tidy—and your setup feels complete.
Make It Shine: Personalization and Mood Settings
This is the fun part—making your lights match your vibe. Start with color. Warm tones feel soft and calm. Great for relaxing or reading in bed. Cool tones feel bright and fresh. Better for work or getting ready.
Some strips come with dimmers or timers. You can lower the brightness before sleep or have the lights turn off at night. It feels smooth and effortless.
Many modern strips use apps for control. Change colors, set schedules, or sync lights with music. It’s simple to use and makes your space feel smart and modern.
Maintenance Tips: Keep Your Lights Working Long-Term
LED strips don’t need much care, but a little effort keeps them glowing for years. To clean them, use a dry, soft cloth. Gently wipe the surface. Don’t use water or spray cleaners. Moisture can damage the circuit.
Keep your strip away from wet areas like sinks or humid corners. Use a surge protector with your plug. It keeps the lights safe during power spikes.
If a strip starts to sag, press it back in place. For stubborn spots, use clear mounting clips or double-sided tape. A small fix goes a long way.
Bonus Ideas: More Creative Ways to Use LED Strip Lights
Once you try LED strips in one room, you’ll want them everywhere. They’re like magic tape that glows.
Try adding a strip under kitchen shelves. It makes late-night snacks feel fancy. Or place one inside a closet. It helps you see better—and adds a touch of style.
Got a desk or gaming setup? Wrap a strip around the back. It adds color and makes the space pop.
Want something unique? Coil a short strip inside a jar for a DIY nightlight. It’s cozy, fun, and looks great on a bedside table.
Common Mistakes to Avoid
Cutting in the wrong spot is the first one. Only cut where the scissors icon is marked. Cut anywhere else, and the strip might stop working.
Skipping surface cleaning is another big one. Dust or oil keeps the strip from sticking. Always wipe the area first with a dry cloth.
Choosing the wrong strip type can ruin the mood. Bright white for a bedroom feels cold. Look for warm tones and beginner-friendly kits. The right choice makes all the difference.
Conclusion
Installing LED strips is easier than it looks. A few simple steps—and your room feels brand new. No tools. No stress. Just peel, stick, and enjoy the glow.
You don’t need to light up everything at once. Start with one corner. Behind the bed. Under the shelf. See how it feels. Then add more as you go.
FAQ
Can I install LED strips without drilling?
Yes, most LED strips come with self-adhesive backing. Just peel and stick. For extra support, use adhesive clips—no drilling needed.
How long do LED strips last?
Good-quality LED strips can last 20,000 to 50,000 hours. That’s years of glow with little maintenance.
Do LED strips use a lot of electricity?
Not at all. They’re energy-efficient and use much less power than traditional bulbs. You can enjoy long hours of light without high bills.
Are LED strips safe in bedrooms?
Yes. As long as you follow the setup steps and use safe voltage levels (like 12V), they’re safe and reliable for bedroom use.