
I still remember the day I added LED strip lights to our bedroom. It was a quiet Saturday. My wife and I wanted a soft, warm glow to cozy up the space. We placed the lights behind the headboard and along the ceiling. The effect? Total magic. But later, as we planned to repaint, I hit a problem. I didn’t know how to take the lights off without peeling the paint. Some came off easy. Others caused damage. After testing many ways, I found the best method. Let me show you how to get LED light strips off the wall—clean and safe
Why It Matters
Removing LED strips the wrong way can peel off paint, damage wallpaper, or leave behind sticky gunk. That’s not something you want, Especially in a well-loved bedroom. Whether you’re upgrading your lighting or moving out of a rental, doing it right makes a big difference. And if you’re planning To replace them, check out the Best LED Strip Lights for Bedroom to make your next setup cleaner And safer.
What You’ll Need
Before you start, gather these tools. Trust me, it helps.
- Hair dryer or heat gun (on a low setting)
- Plastic scraper or old credit card
- Adhesive remover (like Goo Gone or rubbing alcohol)
- Microfiber cloth
- Gentle dish soap and warm water
- Painter’s tape (optional)
Simple tools, but they make a big impact. Now let’s dive into the steps.
Step-by-Step: How to Get LED Light Strips Off the Wall
01. Unplug Everything
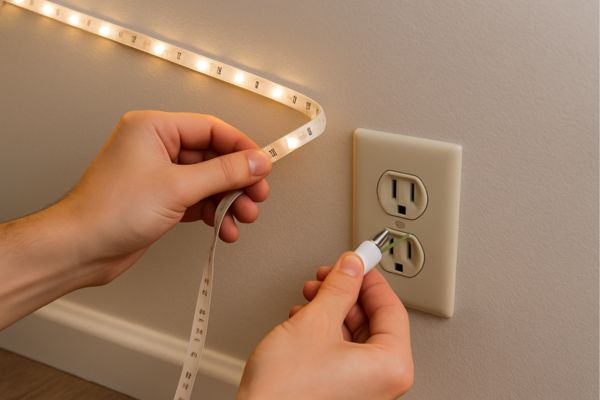
Start by turning off the power and unplugging the light strips from the adapter. It’s not just safer—removing a live strip can damage the circuit or even shock you. Pull gently at the connector to free it from the wall socket.
Take your time here. Rushing can tear the strip or damage the wiring.
02. Warm Up the Adhesive
Here’s where the hair dryer comes in. Hold it a few inches from the strip and warm a small section for about 20–30 seconds. Keep the setting on low or medium. You want to soften the adhesive, not melt the strip.
The warmth loosens the glue just enough to let go of the wall without a fight. I always test a corner first before moving down the line.
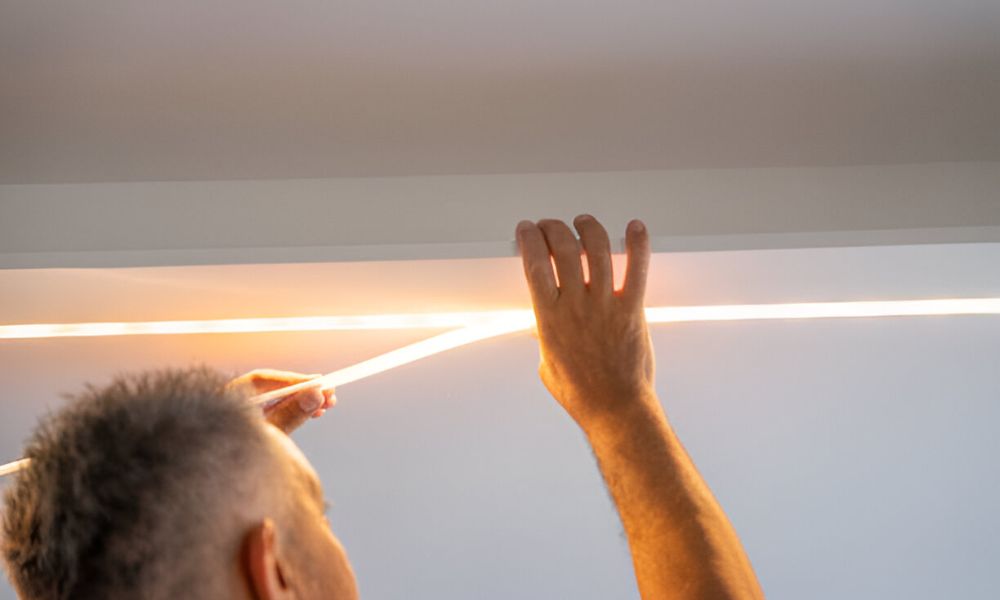
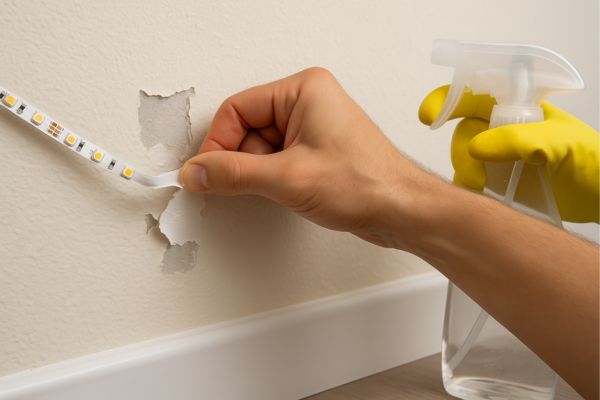
03. Gently Peel It Off

Now that the glue is warm, start peeling. Begin at the corner or end closest to the plug. Use your fingers or a plastic scraper to lift the edge. Work slowly—don’t yank.
Peel at a 45-degree angle. That helps keep the adhesive from pulling up paint or drywall. If you feel resistance, stop. Warm that area a bit more and try again.
One time, I got impatient and tugged too fast—left a patch of paint hanging from the strip. Learned my lesson.
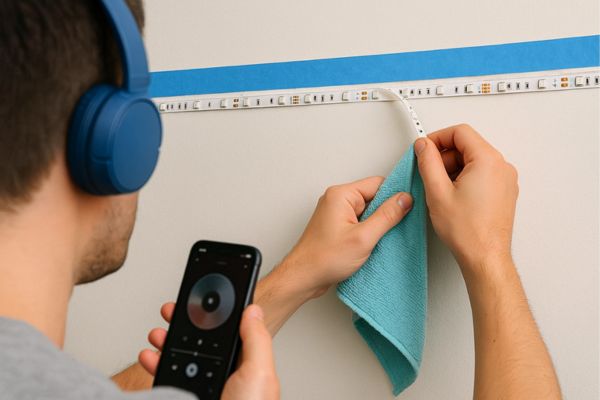
04. Remove Leftover Adhesive
Even with care, some glue will stay behind. That’s normal. Dampen a cloth with adhesive remover and press it onto the sticky area for a few seconds.
Wipe gently. Don’t scrub. For tougher spots, repeat or use a plastic scraper. Avoid metal tools—they can scratch the surface.
I once used a kitchen knife to scrape glue from a painted wall. Let’s just say, we ended up repainting that section.
05. Clean the Wall
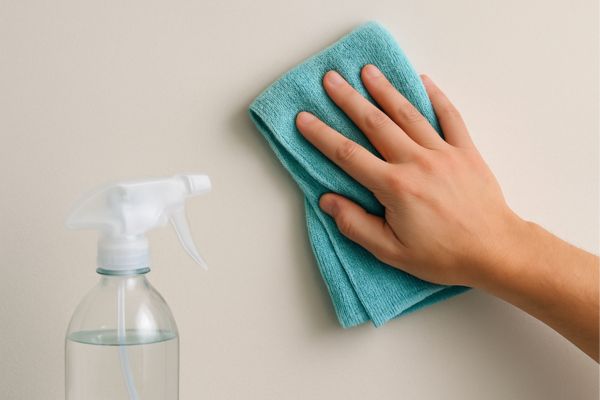
Mix warm water with a drop of dish soap. Use a soft cloth to wash off any remaining residue or oil from the adhesive remover.
Wipe again with plain water to rinse. Let the wall dry naturally or pat it with a towel.
At this point, your wall should look as good as new—or close to it.
Pro Tips from My Experience
Go Slow
Always take your time. The glue behind LED strips is strong. Rushing invites disaster.
I like to listen to music or a podcast while working on this. It helps me stay patient. The process becomes less of a chore and more of a rhythm.
Use Painter’s Tape for Future Installations
Want to make removal easier next time? Stick painter’s tape to the wall before applying the LED strips. The adhesive will stick to the tape, not your paint.
I tried this in our guest bedroom. Six months later, I pulled the lights off without any damage. Genius trick.
Avoid High Heat
Never use high heat. LED strips have plastic parts that can melt. Stick with low or medium heat and keep the dryer moving.
Also, never leave the dryer aimed at one spot too long. It can bubble the paint or warp the wall.
Test a Small Area First
Before you remove the entire strip, test a small section. You’ll get a feel for how strong the adhesive is. Some brands use tougher glue than others.
One brand I tried was nearly impossible to remove without heat. Another peeled off like a sticker. Test first, save frustration later.
Common Mistakes to Avoid
Pulling Too Hard
This can damage the wall, tear the strip, or even break your LED connections. Always warm up the area first.
Skipping Cleanup
Adhesive leftovers attract dust and dirt. Always wipe down the area after removal.
Using Harsh Chemicals
Stay away from acetone or strong solvents. They can strip paint and leave discoloration. Stick to alcohol or gentle adhesive removers.
Peeling While Cold
Cold glue sticks harder. It rips paint and pulls wall texture. Warm it up first—always.
A Quick Note About Removable LED Strips
Some newer LED strips use reusable adhesive or magnetic mounts. These are much easier to handle. No heat, no scraping. If you’re buying lights again, look for those features.
I recently replaced our master bedroom lights with magnetic LED strips. Game changer. They snap off clean and reattach just as easily.
What to Do If the Paint Comes Off
Don’t panic. It happens. Especially with old paint or humid walls.
Here’s what I do:
- Sand the spot lightly with fine-grit paper.
- Wipe away dust.
- Touch up with matching paint.
Keep a small container of your wall paint on hand for times like this. A little repair now saves a lot later.
Final Thoughts
Removing LED light strips doesn’t have to be stressful. With patience, The right tools, And a gentle approach, Your walls can stay clean and damage-free. I’ve made every mistake in the book—but I’ve also learned what works.
Lighting adds magic To a bedroom. But knowing how to take it down the right way? That’s the real expert move.
So go ahead—remove those lights, Refresh your space, And maybe even plan your next lighting upgrade. And remember, A cozy bedroom is all about feeling at home, Not just looking good.
How do you get LED light strips off the wall without damaging paint?
Use a hair dryer on low to warm the strip, Then gently peel at an angle. This softens the glue and helps protect the paint.
What’s the safest way to remove LED strip light adhesive?
Use rubbing alcohol or Goo Gone on a cloth. Rub the sticky area gently, then wipe clean with warm soapy water.
Can you reuse LED strip lights after removing them?
Yes, but only if the strip and adhesive are intact. You may need new double-sided tape or clips to mount them again.
Why is heat needed to remove LED light strips from the wall?
Heat softens the glue on the back of the strip. This makes peeling easier and stops paint or wallpaper from tearing.