
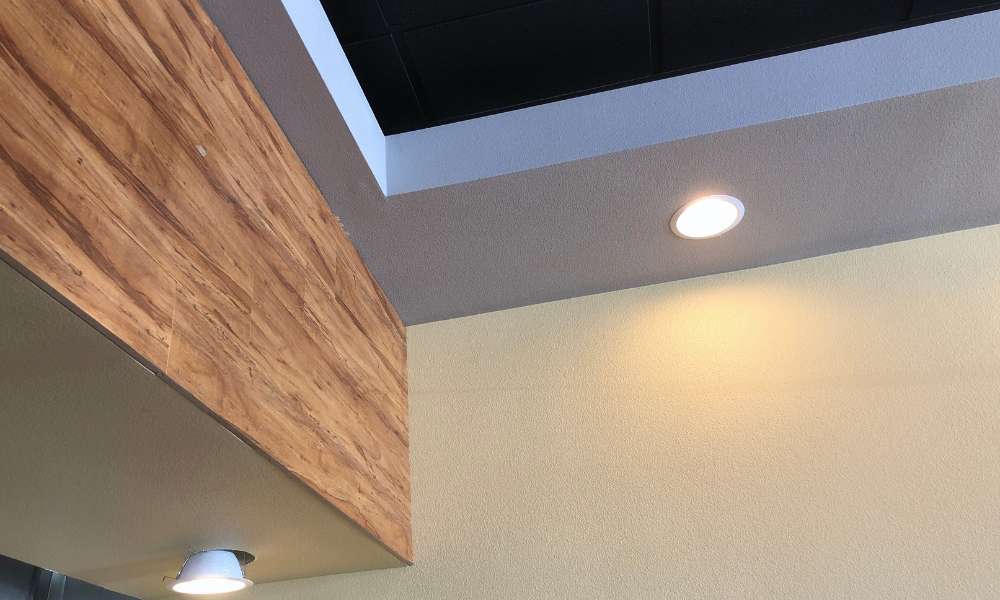
Getting the light right in a room feels magical. I remember adding recessed lighting in my kitchen. I wanted a bright, cozy space to cook and chat over tea. The old light made odd shadows and shrank the room. I switched to recessed lighting. The glow on my counters won me over. Let’s go over how to connect recessed lighting, share tips, and pick the right type.
A Step-by-Step Guide
Before we get started, a quick note: If you’re ever unsure or uncomfortable working with electricity, call a licensed electrician. Safety first, always.
What you’ll need:
- Recessed light housing (can or fixture)
- LED or halogen bulbs (depending on your preference)
- Wire connectors (wire nuts)
- Electrical cable (Romex is common for residential wiring)
- Drywall saw
- Voltage tester
- Screwdriver
- Ladder
01. Plan your layout carefully.
Before you start cutting any holes, sketch out where will go. I like to measure twice (sometimes three times!) to ensure I’m not hitting a ceiling joist. I typically space lights about 4-6 feet apart, depending on the room size.
02. Turn off the power
Head to your breaker box and switch off the circuit you’ll be working on. Then, use a voltage tester at your fixture location to double-check that there’s no power.
03. Cut the holes
Using a drywall saw, cut holes for your recessed housing according to your layout plan. The housing will come with a template to make this easy.
04. Run the wiring
This is where it gets real! Run your electrical cable from your power source to the first fixture hole, and then from fixture to fixture. Secure cables with staples if needed, being careful not to damage the wire.
05. Make your connections
Inside each housing, connect the black (hot) wire to black, white (neutral) to white, and ground wire to the fixture’s ground. I use wire connectors to keep things tight and safe.
06. Install the housings
Insert the housings into the holes and secure them with the clips or screws provided. Make sure they sit flush against the ceiling.
07. Insert the bulbs and trims
Once all wiring is connected and housings are secure, add your bulbs and snap on the trim for a clean finish.
08. Restore power and test
Turn the breaker back on and flip your switch. If all goes well, your room should be bathed in that beautiful.
My Hard-Earned Tips for Perfect Recessed Lighting
- Mock it up first. I like to tape paper circles to the ceiling where I plan to install . This helps me visualize the spread and catch any awkward spacing.
- Consider dimmers. Trust me, adding a dimmer switch is worth it. There’s nothing better than dialing down the brightness for a movie night or a relaxed dinner.
- Mind your ceiling height. In my kitchen (with standard 8-foot ceilings), I opted for shallow housings to save space. For rooms with higher ceilings, deeper cans can provide a more focused.
- Think layers. Recessed lighting is great for general illumination, but I always pair it with under-cabinet or pendant fixtures to create warmth and dimension.
Types of Recessed Lighting and Uses
I have tried many types of recessed lighting over the years. Here is what I have learned.
- IC-rated housings work near insulation. These keep things safe where the light touches insulation. Non-IC-rated cans need a gap of at least 3 inches. I check this first to stay safe.
- Shallow housings fit places with low ceilings. I used them in my laundry room, and they worked well.
- Adjustable fixtures help highlight art or key spots. I have some aimed at my fireplace. They make it stand out.
- Wet-rated housings work in baths or outside spots. I once used the wrong type, and it rusted over time. Wet-rated ones last longer in damp areas.
- LED-integrated save power and last a long time. Bulb-based fixtures are good if you want to change the bulb style later.
Final Thoughts
Recessed lighting changed my kitchen. It brightened the space and made it feel warm. The project seemed big at first. But once done, it opened new ideas for other rooms. A good light setup lifts a space. You can brighten a kitchen, add glow to a living room, or bring calm to a bath. I hope my tips help with your next lighting project.