
I remember the day I looked up at my recessed lights And thought, This room needs more warmth. The cold glow made my space feel plain. That’s when I decided To swap them for flush mounts. It was A simple change that made A big difference. The room looked brighter, Cosier, And more stylish. I also noticed my energy bills went down thanks To modern lights. In this guide, I’ll share how to change recessed lighting to flush mount. It’s easier than you think, And I’ll walk you through each step So you can do it with confidence.
What Is Recessed Lighting and Flush Mount Lighting?
It is a type of light that sits inside the ceiling. The bulb And trim stay hidden. This makes the room feel open and neat. People use these lights in kitchens, Halls, And living rooms. The best recessed lighting for bathroom areas has sealed covers. This keeps the light safe from steam.
Its lighting sits close To the ceiling. The fixture hides the wires And bulb. It adds style And warmth to a room. I like using flush mounts in bedrooms and small spaces. They make the ceiling look smooth And clean.
Why Change Recessed Lighting to Flush Mount?
A flush mount fixture can change the look Of any room. It gives a style that A plain does not. The room feels fresh and cosy. The light spreads in A soft, Even way that flatters the space.
They are simple To keep clean. The shape keeps dust from building up. You can wipe the surface with ease. There is no need To reach the ceiling.
Many use LED bulbs. These lights save power And last for years. The change helps your home look good And lowers your bills. It is A smart, Stylish choice.
Tools and Supplies You’ll Need
Here’s a list to help you get started:
- Voltage tester
- Flathead screwdriver
- Phillips screwdriver
- Ladder
- Wire nuts
- fixture
- Ceiling junction box (if needed)
Step-by-Step Guide
Let’s look in simple steps. This guide will help you work safely and with ease.
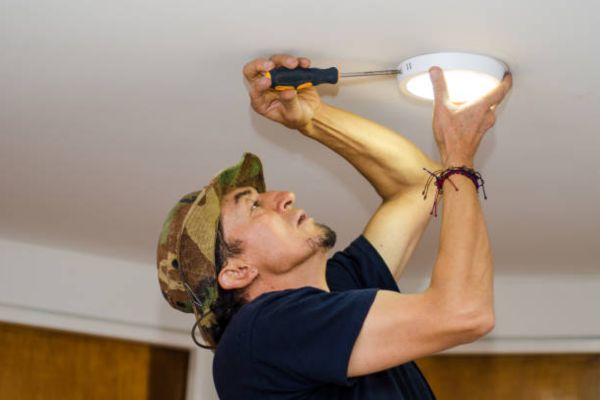
Step 1: Turn off the power at the breaker. Use a voltage tester To be sure the wires are not live.
Step 2: Remove the trim from the light. Take out the bulb And set it aside.
Step 3: Pull out the housing. Loosen Any clips Or screws that hold it in place.
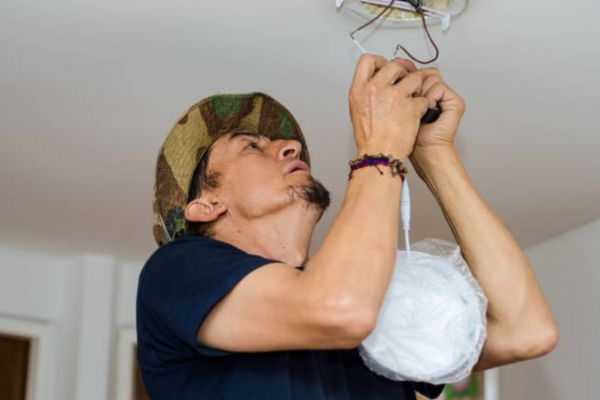
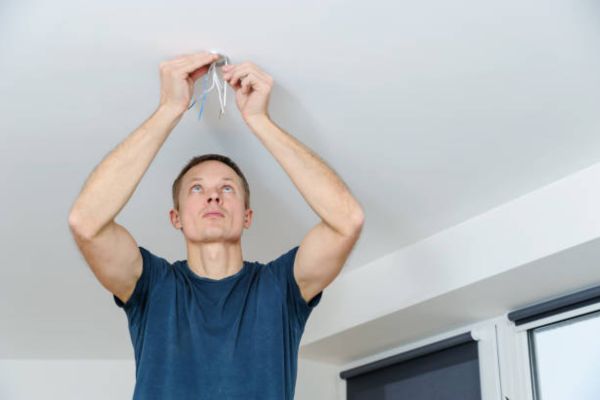
Step 4: Check the wiring. Make sure the wires Are in good shape.
Step 5: Add a ceiling junction box if there isn’t one. This keeps the wiring safe.
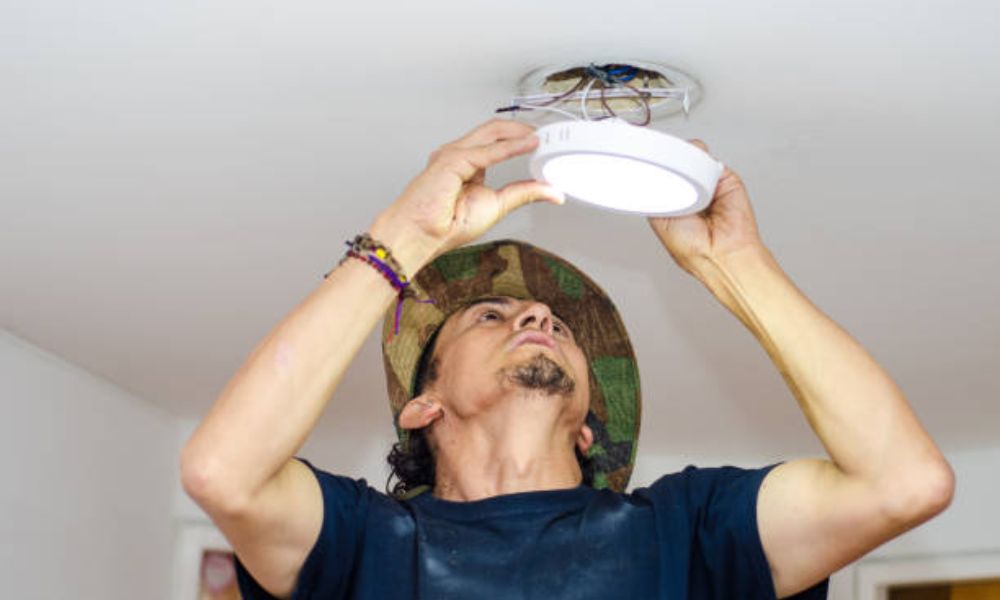
Step 6: Attach the bracket For your new flush mount. Follow the fixture’s instructions.
Step 7: Connect the wires. Match the black, White, And ground wires. Use wire nuts To keep them secure.
Step 8: Fix to the bracket. Turn the power back On and test the light.
Helpful Tips for Beginners
Pick one that covers the hole left by your old light. Measure the opening before you shop. A fixture with a wide base will hide gaps and give a neat look.
Use LED in kitchens and bathrooms. They give bright light and use less power. In bathrooms, pick a fixture made for damp spots. This keeps things safe and lasting.
Call a pro for tricky jobs. A bathroom light near water may need extra care. A licensed pro can help with safe wiring and code rules. This gives peace of mind.
Flush Mount Options: What Works Where
Dome lights are simple and neat. They are great for utility rooms and hallways. They give wide, bright light that covers the space well.
Fabric or drum shades add style. They fit bedrooms, dining rooms, and living spaces. The soft look makes the room feel warm and cozy.
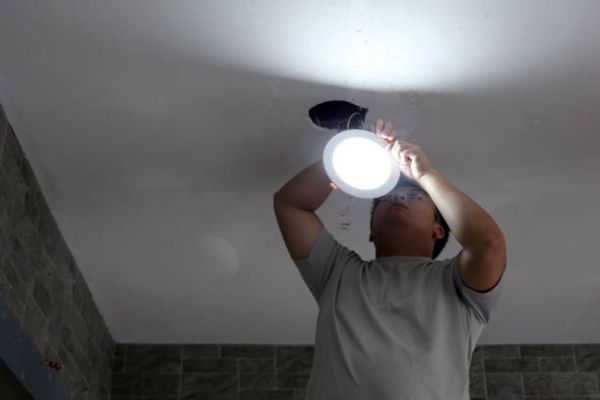
Low-profile LED work well in small spaces. They suit bathrooms and kitchens too. These lights give strong, even light without taking up much room.
Final Thoughts
You’ve got this! Changing a light may seem hard at first, but it’s a task you can handle. Take it step by step, and enjoy the process.
Pick a light that fits your style. It can bring out the charm of your space. It helps your home feel more like you.
Remember, changing can transform your home with just a little effort. It’s a small change that makes a big impact. Enjoy the fresh look and cosy glow!
Faqs
What is the best flush mount for a small bathroom?
A low-profile LED works best. It saves space and gives strong, even light. Choose a fixture rated safe for damp spots. This keeps your bathroom safe and bright.
Do I need to patch the ceiling after removing recessed lighting?
Not always. Many have a wide base that covers the hole. Measure the space first. This helps you choose a fixture that fits well.