
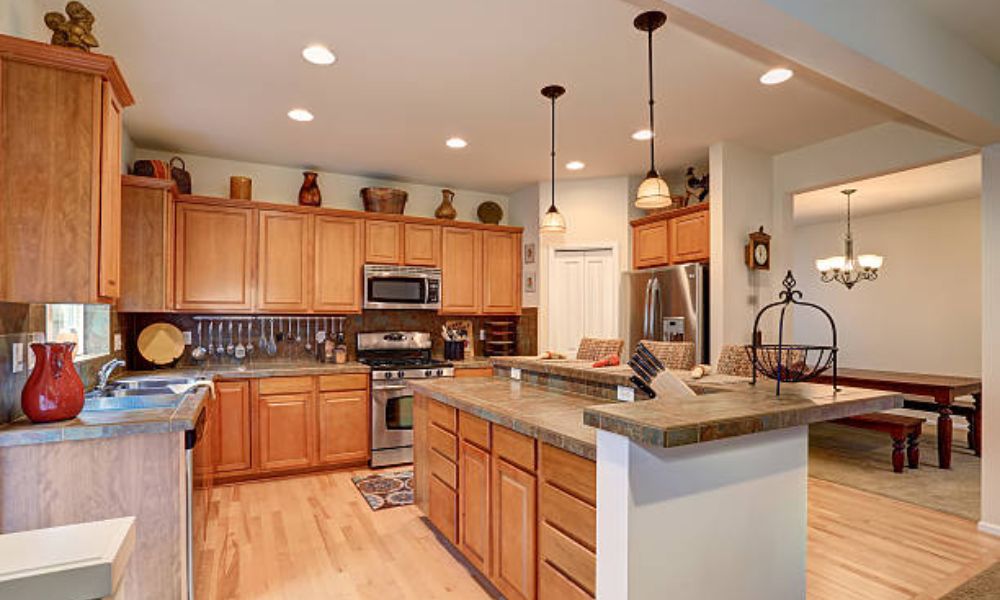
Last winter, I cut vegetables under a dull ceiling light. Shadows made it hard to see. It felt more like guessing than cooking. That’s when I added recessed lights. The change was huge—bright counters, Clear views, And a warm, Cozy feel. Recessed lighting fits into the ceiling And lights up your space without getting in the way. It looks clean And works like magic. In this guide, I’ll show you how to place recessed lighting in kitchen spaces for comfort, Style, And ease. Ready to light up your kitchen?
Why Recessed Lighting Works So Well in Kitchens
Recessed lighting keeps things simple. It fits right into the ceiling, so the room stays open and clean. Nothing hangs down or gets in the way. It adds light without adding bulk.
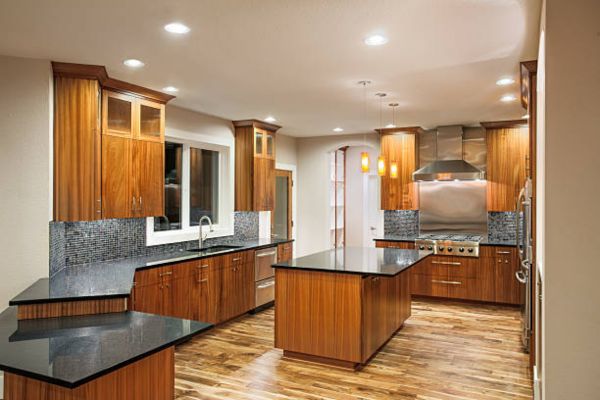
This type of lighting gives kitchens a smooth, even brightness. You see your counters, your sink, and your stove. Shadows stay away. The light spreads gently across the room.
It also saves space. In a small kitchen, that matters. Recessed lights keep the focus on your food and tools, not on the ceiling.
Good lighting boosts comfort and safety. For a sleek upgrade, try the Best Recessed Lighting For Bathroom — it’s functional, calming, and easy to move around in.
Step-by-Step: How to Place Recessed Lighting in Kitchen
Lighting your kitchen can feel easy once you break it down. Here’s a simple way to plan the layout. Follow these steps to get bright, even light where you need it most.
Map Out Your Kitchen
Start with a quick sketch. Draw your sink, stove, island, and prep spots. These are your high-use areas. You want light that helps you work in each one.
Use a room planner or pen and paper. Keep it simple. The goal is to see your kitchen from above.
Divide into Lighting Zones
Every kitchen has zones. Think about what happens in each one.
- Task lighting goes where you chop or cook.
- Ambient lighting fills the whole room.
- Accent lighting adds style over shelves or islands.
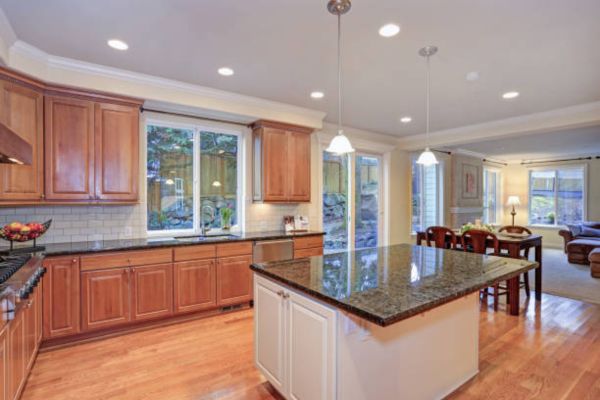
Put light where work happens. For example, place a can light over your prep counter or stovetop.
Use the Recessed Lighting Rule of Thumb
A good rule is one light for every 4 to 6 feet of ceiling space. This keeps your kitchen bright without dark spots.
In a 10×12 kitchen, you may need 6 lights. Start near the corners and space them evenly. Adjust for islands or deep counters.
Many people ask, “how many recessed lights do I need?” The answer depends on room size and layout, but this rule gives you a strong start.
Avoid Common Placement Mistakes
Avoid lights that are too close to upper cabinets. They cast shadows and make it harder to see.
Don’t place lights right behind you. That blocks light from your workspace.
Skip the grid. A perfect grid looks nice on paper but fails in real life. Focus on lighting each zone instead.
Kitchen Recessed Lighting Placement Tips (from Experience)
Here are simple tips I’ve learned from lighting my kitchen—and helping friends light theirs. These make a big difference in how your space feels and works.
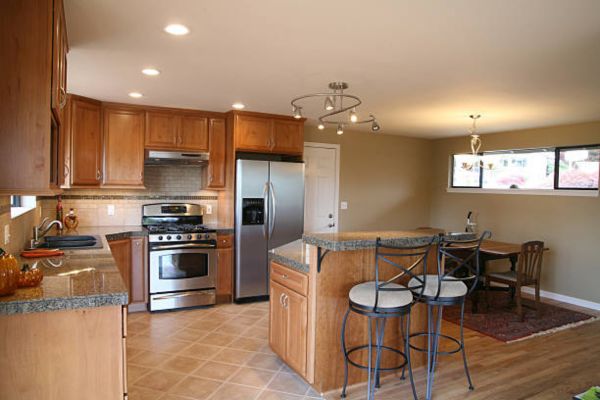
- Keep lights 12 to 18 inches from upper cabinets. This helps stop shadows and gives your counters full light.
- Space lights to spread light evenly. Avoid dark patches or hot spots. The goal is smooth light across all work areas.
- Add dimmers to every zone. This gives you control. Bright for cooking, soft for late-night snacks.
- Plan kitchen recessed lighting placement with your routine in mind. Think about where you chop, stir, and serve. Light should follow your steps, not just fill the ceiling.
- Test placements with paper or painter’s tape. Mark the spots on your ceiling before cutting. This helps you see the flow before making it final.
How Many Recessed Lights Do I Need in My Kitchen?
This is one of the first questions people ask. The good news? You don’t need fancy math.
Here’s a simple rule:
Take the length of your room and divide it by 2. That’s your starting point for how many lights to use on one side. Do the same for the width. Multiply both to get the total.
Example:
For a 10×10 foot kitchen:
10 ÷ 2 = 5 (length)
10 ÷ 2 = 5 (width)
5 x 5 = 25 square feet per light
That gives you around 4 to 6 recessed lights for even, balanced light.
Ceiling height matters too.
- Lower ceilings (8 feet) need closer spacing—about 4 feet apart.
- Higher ceilings (10 feet or more) can spread lights out—closer to 6 feet.
Beam spread also plays a role.
Wider beams cover more area. A 60° beam works well for soft light. A 90° beam spreads farther but might need fewer lights.
Final Thoughts
You don’t need to get it perfect on day one. Start small. Make a plan. Think about how you use your kitchen each day. That’s the best guide.
Try different layouts before you make any cuts. Use tape or paper To mark light spots on your ceiling. Stand back And see how it feels. This one step can save you time and stress.
Once it all comes together, the glow is worth it. Your kitchen will look better, Work better, And feel more like home.
FAQ
How do I know where to place recessed lights in my kitchen?
Start by looking at your key work areas. Place lights above the sink, stove, island, and prep counters. Keep them spaced evenly and avoid placing them behind you. This keeps shadows off your workspace and light where you need it most.
What is the best distance between kitchen recessed lights?
The best distance is 4 to 6 feet apart. Use closer spacing for lower ceilings and wider spacing for higher ones. Keep lights 12 to 18 inches away from cabinets to avoid shadows and glare.
Can I install recessed lighting myself?
Yes, you can install recessed lights on your own if you’re comfortable with basic wiring and ceiling work. Use remodel-type housings for existing ceilings. For safety, turn off power and follow local codes. For bigger projects, hiring a licensed electrician is always a smart choice.