
Sunlight kissed every wall in my living room, yet the ceiling lurked in shadow. No attic hatch, no crawl space, just stubborn drywall mocking my desire for soft overhead light. That hurdle pushed me toward a bold lighting upgrade without an attic and sparked countless successful recessed lighting DIY projects. Over a decade, I have guided friends, neighbours, and clients through the same ceiling puzzle, learning savvy tricks. Today, you will see exactly how to install recessed lighting without attic access using clear steps, budget tools, and stress-free methods. Grab tape, courage, and coffee; let us light up your space bright today.
What You Need to Know Before You Begin
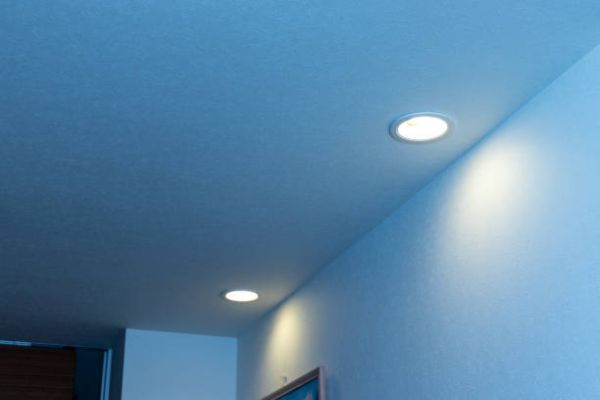
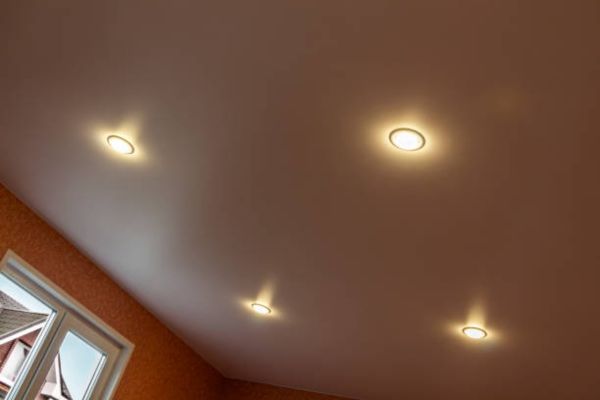
Recessed lighting sits inside the ceiling. It spreads light evenly without hanging fixtures. The room looks neat, clean, and bright. It adds style without taking space.
This lighting works great for low ceilings. It’s also perfect for rooms under a second floor. You get more light without making the room feel tight. That’s why it’s a favourite choice for modern homes.
Some ceilings don’t have attic space above. That’s fine. You can still do a lighting upgrade without attic access. All it takes is planning, the right tools, and a step-by-step guide.
Wiring sounds tricky, but many homeowners handle it with care. DIY recessed lighting is easy with simple lights and basic skills. Just turn off the power, take your time, and follow safe steps.
Tools and Materials Checklist
You don’t need a toolbox full of fancy gear. Just a few basic tools make this job smooth and safe. Gather these before you begin.
- LED canless lights/wafer lights
These slim lights snap into place. No bulky cans. Great for tight ceilings. - Stud finder
It helps you spot joists behind the ceiling. Avoids wrong cuts. - Fish tape
A bendy wire guide. Helps you slide cables through small spaces.
Voltage tester
Checks if wires have power. Always test before touching anything. - Wire strippers
Cleanly remove wire coating. Makes connections fast and neat. - Hole saw
Cuts perfect circles in drywall. Match the size to your light.
Step-by-Step Guide
Let’s break it down into easy steps. No need to rush. Take it slow and steady.
Step 1: Plan Your Layout
Think about where you want light to shine. Start with even spacing across the room. Keep lights about four feet apart for soft, full coverage.
Avoid placing lights too close to walls or corners. Look at where the furniture sits and where shadows fall. A good layout brings balance and comfort.
Step 2: Locate Ceiling Joists
Grab your stud finder and scan the ceiling. Joists run across and hold everything above. Your lights need to fit between them.
Mark each joist with painter’s tape. This keeps you from cutting into the wrong spot. A clean plan saves patchwork lat
Step 3: Cut Your Opening
Use a paper template or trace the back of your light. This shows where to drill. Grab your hole saw and line it up.
Go slow and steady to avoid a dusty mess. A drop cloth helps catch debris. Clean cuts make light installation easier.
Step 4: Run the Wires
Here’s where the fish tape shines. Push it through one hole to the next. Tape the wire to the end and pull it across.
Always turn off the breaker before working with wires. This keeps you safe and calm. Clear power means clear focus.
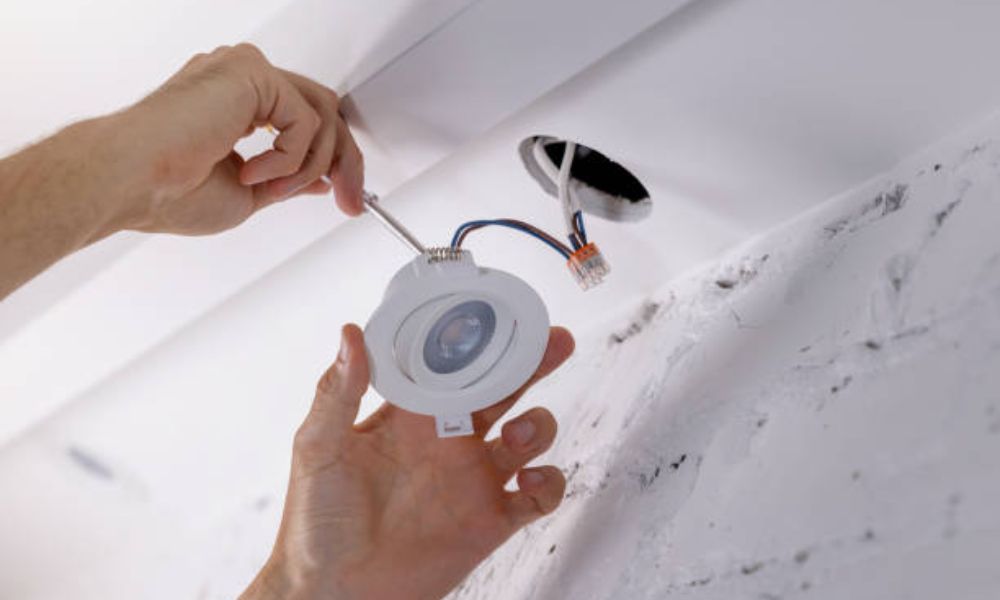
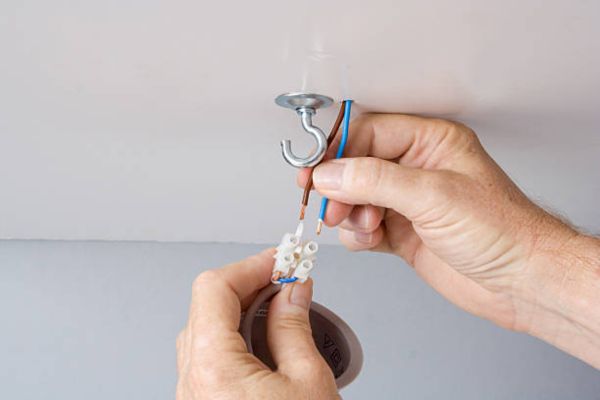
Step 5: Connect the Fixtures
Each light has three wires—black, white, and ground. Match like colors using push-in connectors for a quick, secure setup.
Tuck wires neatly into the box to ensure safety and a clean finish. Neat wiring is especially important with the best recessed lighting for bathrooms, where moisture protection and easy testing matter.
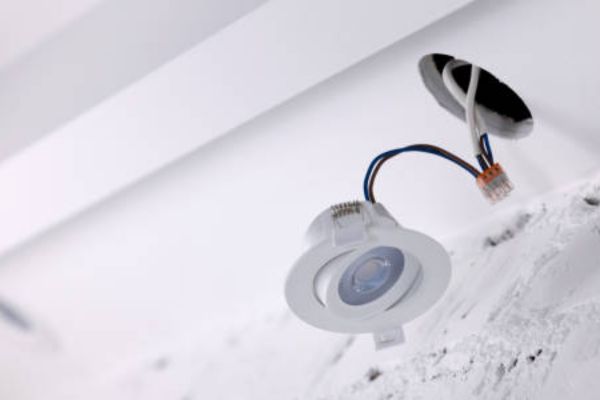
Step 6: Secure and Test Your Lights
Now, pop each fixture into its hole. Use the spring clips to snap it into place. Push gently, and it locks in tight.
Flip the breaker on. Hit the switch. Your room should glow like sunrise. Test each light before moving on.
Practical Tips for a Perfect Finish
Start with a plan. Take time to map out your light layout on paper. This step avoids guesswork and saves hours later. A good plan makes the whole project smooth.
Less is more. Too many lights can feel harsh. Add a dimmer switch to fine-tune brightness. This works great with canless recessed lighting and adds comfort to any space.
Pick your colour wisely. Use warm lights for cosy spots like bedrooms or living rooms. Go with cool lights for kitchens or work areas. The right tone changes the whole mood.
Keep touch-up paint close. Even clean cuts leave marks. A little paint hides scuffs and leaves your ceiling looking fresh. It’s a small step with a big payoff.
Common Mistakes to Avoid
I’ve made every mistake, so you don’t have to. These small missteps can cost time, money, or worse—your ceiling.
Don’t cut too close to a joist
I once misjudged by half an inch and had to patch a big hole. Always scan twice before drilling. Lights need a clear space to sit right.
Never use non-IC-rated fixtures near insulation
In my first install, I used the wrong type. The light ran hot, and I had to swap it out. Canless recessed lighting needs the right rating for safety.
Always test your circuit
Once, I skipped the voltage test. The breaker was off, but one wire still carried power. A quick check could have saved the shock and stress.
FAQ
Can I install recessed lights without attic access?
Yes, you can. Use canless lights that need no space above. These lights fit between ceiling joists. You run wires from hole to hole using fish tape.
What tools do I need for this project?
You need a few basics: a stud finder, a hole saw, wire strippers, and a voltage tester. You also need LED wafer lights and fish tape. Keep things simple and safe.
Are recessed lights safe for low ceilings?
Yes, they are. They sit flat against the ceiling and take up no extra room. This makes them great for low or second-floor ceilings.
Do I need an electrician?
Not always. Many people do this on their own. But ask a pro for help with wiring if you’re unsure. Safety should always come first.
Conclusion
You’ve seen the full path—plan your layout, cut clean holes, run the wires, and pop in the lights. Test each one, stand back, and enjoy that fresh, bright glow. It’s a project you can tackle with calm hands and the right tools.
Start small. One room is all it takes to build skill and confidence. Before you know it, you’ll be lighting up hallways, kitchens, and more with ease.