
Wire A Table Lamp may look like a daunting mission, however it’s a remarkably trustworthy and rewarding challenge. Whether you are reviving a vintage discover, developing a custom lamp, or certainly replacing defective wiring, this guide will walk you through each step. With the proper equipment, patience, and attention to element, you can cord a table lamp and convey it to life accurately and efficiently.
1. Understanding the Anatomy of a Table Lamp

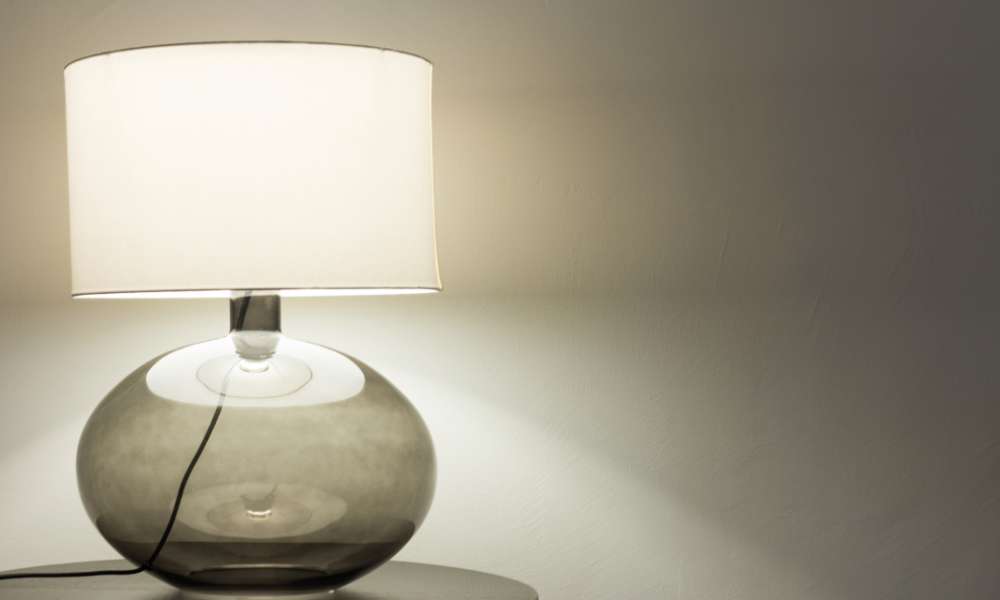
Before you begin, it’s vital to familiarize yourself with the primary additives of a table lamp. These usually encompass the base, the frame, the socket, and the cord. The socket is wherein the bulb sits and connects to the wiring. The wire runs from the socket through the lamp’s body and base, connecting to a power supply. Understanding these elements will help you visualize how everything suits together and works in harmony.
2. Choosing the Right Tools and Materials

Having the right tools and materials on hand is key to a successful wiring project. Here’s what you’ll need:
- Tools: Wire cutters, wire strippers, pliers, and a screwdriver.
- Materials: Lamp wire, a socket, a cord, and a plug.
Choose high-quality materials that comply with safety standards to ensure durability and performance. If you’re replacing old wiring, match the wire gauge and socket type to the original design for a seamless fit.
3. Safety Precautions Before You Begin
Safety is paramount while operating with electrical additives. Always unplug the lamp before starting any paintings. If you’re handling an antique lamp or one with unknown wiring, investigate it very well for harm or wear. Use insulated equipment to limit the danger of electric shock and make certain your workspace is dry and unfastened from capacity hazards.
4. Removing Old Wiring From a Table Lamp
Wire A Table Lamp To begin, carefully disassemble the lamp, starting with the bulb and shade. Unscrew the socket to access the internal wiring. Gently pull out the old wires, noting their connections to the socket and plug. If the wires are frayed or stuck, use pliers for assistance. Keep track of any small parts to avoid misplacing them during reassembly.
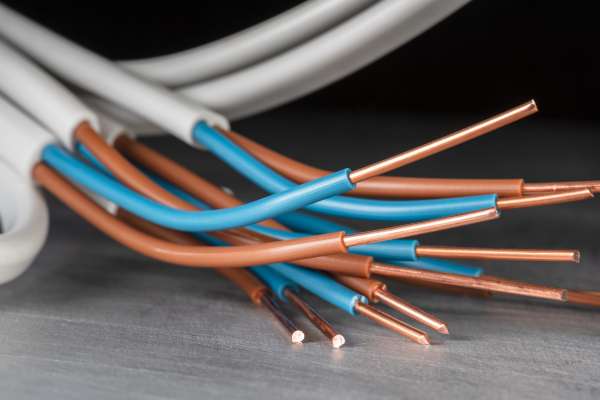
5. Preparing the New Wiring
Measure and cut the new wire to the appropriate length, ensuring it will reach comfortably from the socket to the plug. Strip about half an inch of insulation from each end of the wire to expose the copper strands. Twist the strands tightly to create a neat connection point. Double-check that the wire is free from cuts or damage to prevent short circuits.
6. Connecting the Socket and Cord
Attach the prepared wire to the socket terminals, typically marked as “hot” and “neutral.” The ribbed side of the cord connects to the neutral terminal, while the smooth side connects to the hot terminal. Secure the wires tightly under the screws to ensure a stable connection. Thread the cord through the lamp body, making sure it’s properly aligned and won’t snag during use.
7. Assembling the Table Lamp

Reassemble the lamp by reversing the steps you took to disassemble it. Secure the socket firmly into place and tuck any excess wire neatly into the lamp body. Ensure all screws and connections are tight to avoid instability. Replace the shade and bulb once you’ve confirmed everything is assembled correctly.
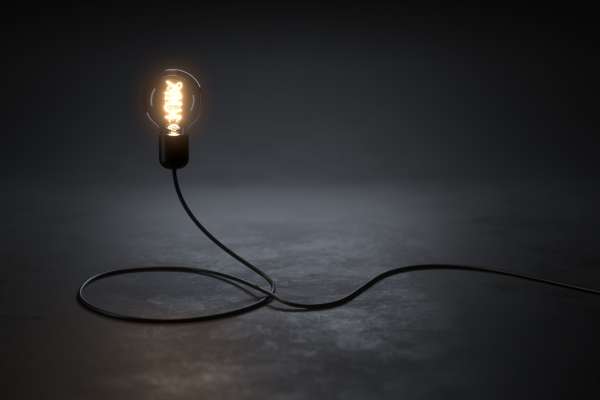
8. Testing Your Rewired Table Lamp
Plug in the lamp and switch it on to test its functionality. If the lamp doesn’t light up, double-check your connections for loose wires or misplaced terminals. A multimeter can help you identify electrical issues if troubleshooting is necessary. Once the lamp works as intended, you can proceed to personalization.
9. Creative Ideas to Personalize Your Table Lamp
A newly rewired lamp is the proper blank canvas for creativity. Consider painting the bottom, including ornamental trim to the color, or wrapping the twine in cloth for a custom look. Personal touches can transform a practical lamp into a assertion piece that complements your décor.
10. Maintenance and Troubleshooting Tips
To keep your table lamp in top condition, regularly inspect the cord and plug for wear and tear. Clean the lamp with a dry cloth to avoid electrical issues caused by dust accumulation. If the lamp flickers or stops working, check the bulb and connections before considering a complete rewiring.
Conclusion
Learning how to Wire A Table Lamp is a precious skill that mixes practicality with creativity. Whether you’re restoring an heirloom or crafting something new, the procedure is empowering and fun. By following those steps, you can make sure your lamp is each purposeful and exquisite, adding a warm glow for your space. So acquire your equipment and substances, and let the mild shine to your DIY fulfillment!