
A flickering table lamp or one which refuses to mild up can be a frustrating problem, however don’t depression. Repair A Table Lamp is often easier than it seems, requiring basic gear, a piece of endurance, and some information. Whether it’s a broken electricity twine, a faulty socket, or just a unfastened connection, gaining knowledge of how to repair a table light is a practical talent which can keep cash and breathe new life into your favored domestic accessory. Let’s embark in this illuminating journey.
1. Understanding the Basics of Table Lamp Repair
Before diving into maintenance, it’s vital to recognize the additives of a table light. Most lamps include a base, a wire, a socket, and a bulb. Common issues stem from wear and tear, electric faults, or mishandling. Familiarizing yourself with the anatomy of a light now not simplest simplifies the restore manner but also facilitates in identifying the foundation reason of the trouble.
2. Diagnosing the Problem
When your lamp isn’t working, start with a thorough examination. Begin by checking if the bulb is functional—sometimes, the simplest issues are the most overlooked. Inspect the power cord for visible damage, such as frays or cuts. Test the socket by replacing the bulb with a known working one. If the light still doesn’t function, the issue could lie in internal wiring or the switch mechanism.
3. Gathering the Right Tools and Materials
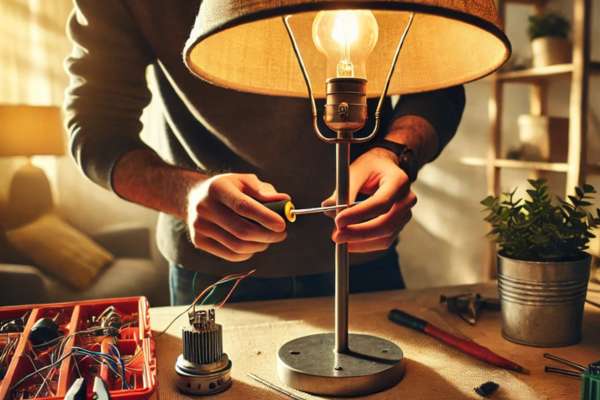
Repairing a table lamp doesn’t require a excessive-tech toolbox, however having the proper tools makes the task less complicated. Essentials include a screwdriver, twine stripper, electric tape, alternative components (like sockets or cords), and a voltage tester. These gear are effectively available at most hardware shops and are helpful for DIY electric projects.
4. Safety First: Preparing to Repair Your Lamp

Electricity needs respect and warning. Always unplug the lamp earlier than starting any restore paintings. If you’re dealing with a broken twine, make sure the vicinity is dry to prevent unintentional shocks. Use insulated tools and wear gloves if important. Remember, protection is paramount in any electrical restore assignment.
5. How to Fix a Damaged Power Cord
A damaged power cord is one of the most common issues in table lamps. Begin by cutting away the damaged portion using wire cutters. Strip the insulation to expose clean wire, then attach a new plug or cord using wire connectors. Secure everything with electrical tape, ensuring the connections are tight and insulated.
6. Repairing or Replacing the Lamp Socket

The lamp socket can wear out over time, leading to poor connectivity. To replace it, unscrew the old socket from the base. Disconnect the wires and note their placement. Attach the wires to the new socket—usually, the brass screw connects to the live wire and the silver screw to the neutral wire. Reassemble the light and test it with a bulb.
7. Troubleshooting a Flickering Lamp
A flickering lamp is often caused by loose connections or a failing bulb. Tighten the bulb to ensure it’s seated correctly. If the flicker persists, check the socket for wear or corrosion. Cleaning the socket contacts with a bit of rubbing alcohol can resolve minor issues. Persistent flickering may indicate internal wiring problems that require more attention.
8. Revamping the Lampshade and Aesthetic Elements

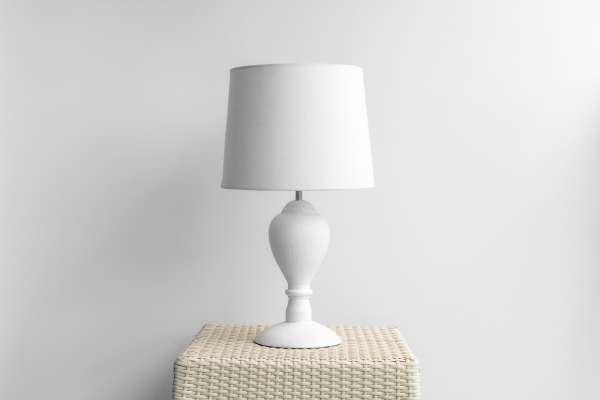
While useful maintenance are critical, don’t overlook the aesthetic thing of your desk light. A new lampshade can dramatically remodel its look. Choose a shade that complements your decor and suits securely at the light. If the bottom is scratched or tarnished, do not forget polishing or repainting it for a refreshed appearance.
9. Testing the Repaired Lamp
Once repairs are whole, it’s time to test your handiwork. Plug within the lamp and switch it on. If it functions easily, double-test all connections to make sure they’re steady. Testing below controlled situations facilitates affirm the lamp is safe and equipped for use.
10. Prolonging the Life of Your Table Lamp
Regular upkeep can make bigger the lifespan of your lamp. Avoid yanking the wire whilst unplugging, and look at it periodically for signs and symptoms of wear. Use bulbs with an appropriate wattage to prevent overheating. Keeping the lamp smooth and unfastened from dust ensures ideal performance.
11. When to Seek Professional Help
Not all maintenance are appropriate for DIY lovers. If you come across complex wiring troubles or feel uncertain about handling electric additives, it’s high-quality to seek advice from a expert. An professional can deal with complicated issues and make certain the repair is secure and powerful.
Conclusion
Repair A Table Lamp may be a profitable DIY task, mixing practicality with creativity. By following those steps, you can restore capability for your light and possibly even beautify its visible attraction. Whether you’re tackling a defective socket or revamping the lightshade, the process is an possibility to develop new talents even as bringing mild lower back into your house.